How to sew lacy heirloom stitching with a wing needle

Add a little bit of old-world charm to a garment or homewares with this lacy heirloom style sewing technique.
By using a wing needle and selecting heirloom type stitches on your Brother sewing machine, you can create a beautiful lacy effect.
Lacy heirloom style stitching provides a charming finish to collars, cuffs, button bands and hems. In your home you can add this effect to pillowcases or curtains.

What fabric should I use when sewing lacy heirloom stitching with a wing needle?
Woven cotton, linen or synthetics all work with the correct stabilising. A looser weave or thinner fabrics will give a more amplified effect.
In the picture below are (from left to right) examples of how the same stitches sewed out on a fairly heavy but loosely woven linen, a fine cotton and linen mix, and an organza.

Do I need to use fabric stabiliser when sewing with a wing needle?
Stabilising the fabric is very important when sewing with a wing needle.
The stabiliser is key to keeping the work flat, which serves two purposes:
- to minimise puckering, and
- to prevent the stitches from pulling the openings closed.
The thinner and softer the fabric, the more chance there is of puckering and pulling.
Which fabric stabiliser should I use when sewing with a wing needle?
Water-soluble stabilisers and temporary fabric stiffeners are the best to use, as they will keep the fabric taut while you sew. They can be removed completely afterwards to return the fabric to its original drape.
Non-woven water-soluble stabiliser (the white type that looks like interfacing, not the film type) can be adhered to the wrong side of the fabric with a basting spray.
Non-woven water-soluble stabiliser is also available in a sticky back form – which works just like a sticker. Be aware, sticky back stabiliser does leave a bit more glue on the fabric which you will need to wash out.
For softer and thinner fabric, a double layer of stabiliser may be needed. We recommend you test on a scrap piece of the same/similar fabric first.
Not sure which stabiliser is which? Check out our handy Know Your Stabilisers blog here.
How do I prep my stabiliser and fabric for sewing with a wing needle?
Adhere the stabiliser to the wrong side of the fabric and sew all the lacy heirloom stitches.
When all the sewing stitches and edges have been sewn, trim as much as possible of the stabiliser away.
Soak your garment in a bowl of lukewarm water to dissolve the water-soluble stabiliser or fabric stiffener. Once the stabiliser has dissolved, rinse repeatedly to remove any glue-like residue and finally wash with a soft detergent to remove the last remains of the water-soluble fabric or stiffener.
Dry, and test. If your fabric is still stiff or sticky, wash again. Let it dry and then press the fabric well at the appropriate temperature, using a pressing cloth. Softer fabric may need to be pulled before pressing to open up the stitching.
If you have sewn a scalloped edge to add extra detail alongside your lacy heirloom sewing stitches, wet the stabiliser with a sponge so it becomes really sticky. Let it dry – it will be hard as cardboard – and then trim the excess fabric as close as possible to the scalloped stitches before removing all the stabiliser. For more in-depth detail on scalloped edging, read our blog post about it here.
Can I use a fabric stiffener instead of a fabric stabiliser when sewing with a wing needle?
Spray on fabric stiffeners or old-fashioned laundry starch will stiffen the fabric to feel almost like card and can be used instead of fabric stabilisers.
Follow the manufacturer’s instructions for application. Let the fabric dry completely before sewing. Press if directed. After sewing all your heirloom stitches and edge stitches, trim the scalloped edge (if you have sewn one), then soak and wash thoroughly to remove all product. Dry and press.

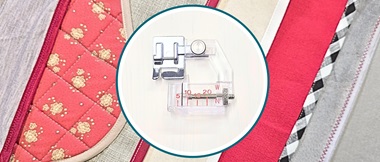
Which sewing machine presser foot should I use when sewing with a wing needle?
You can use your Brother N foot or the new Advanced N+ monogramming foot.
The Sachilite-plated surface of the N+ foot reduces friction and lets your fabric glide smoothly. It also has a clearance at the bottom, allowing easier passage for dense stitching.
Can I create the lacy effect with any sewing machine needle?
No, you have to use a wing needle. The sewing needle is the star of this story!
A wing needle, also called a hemstitching needle, has widened sides (wings) on both sides of the needle shaft.
These wings push the fibres of the fabric apart as you sew, causing the lacy openings. The fabric’s warp and weft threads are not broken or cut, only pushed aside, and then caught by the sewn stitches. This keeps the little openings open and therefore creates the lacy heirloom effect.
REMEMBER!! Your needle threader will not work on a wing needle! You will have to thread the needle by hand.
What thread should I use when sewing lacy heirloom stitches with a wing needle?
For the lacy openings to be as pronounced as possible, you want to use the thinnest possible thread. However, you also want it to be strong enough to survive regular washing and wearing.
We recommend no 60 or no 90 embroidery bobbin thread in the bobbin and the needle. You can also use no 40 or no 60 embroidery thread.
The thread colour in your bobbin needs to match the thread colour you are using for the upper (sewing) thread.
The best effect is achieved when the thread you’re sewing with matches the fabric colour. With wing needle stitching it’s all about the texture you’re creating, so highly contrasting colours will not yield the same result.
If you want to introduce some colour, try a sewing or embroidery thread with a low colour contrast. For example pastel colours on white, or metallic threads on black.

How do I find sewing stitches that will work with a wing needle on my Brother sewing machine?
Almost any Brother utility or decorative sewing stitch can be used with a wing needle to create a lacy heirloom effect, providing the needle will not hit the presser foot when sewing. Stitches with repeated sections or several components in many directions create the ‘laciest’ effects.Experiment with stitches like feather stitch, ladder stitch, fagoting cross stitch, honeycomb stitch and all the variations of hemstitching. You can also try some of the utility stitches, as some of them work beautifully.
Below are images of the stitch selection screens and panels from a few different models of Brother sewing machines to give you an idea of suitable stitches. Look in the utility stitch, quilt stitch, character and decorative stitch menus.
A word of caution: if the stitch looks wide, try it first by rotating the machine’s flywheel slowly through one unit of the pattern to make sure the wing needle does not hit your presser foot. If all is good, continue to sew your lacy heirloom stitching!

Do I need to sew a practice piece before sewing on my project with lacy heirloom stitching?
Yes! It’s very important!
- Unpicking sewing stitches sewn with a wing needle is pretty much impossible, so practice on an offcut or similar piece of fabric to make sure the stitches work on your fabric type.
- Stitches will look different on different fabrics, so experiment before you start your project. This way you can choose which stitches work best and the ones that look better together.
The best advice is to make a sewing sample piece, with the stabiliser you intend using, noting down the stitch numbers, stitch length and width. Then choose your favourites and plan the sequence. Sew another sample to see if you like the final effect.
It is also a good idea to wash the sewing sample to see how the heirloom stitching will appear after removing the stabiliser.

What are the best tips and tricks when creating a lacy heirloom stitching with a wing needle?
-
Draw a guideline with water-soluble pen to sew along. Use the edge or centre mark of the presser foot as your guide. This will keep your lines of heirloom stitching straight.
- With most of these decorative stitches your Brother sewing machine’s feed dogs will move the fabric forward and backwards, and even sideways. Your main job is to keep the fabric feeding straight, so you get a straight line of stitches. Hold the fabric gently with your fingers and allow the machine to move the fabric. If you hold your fabric too tightly, or pull while it is feeding, your stitches will be wonky, and your fabric could distort.
- Allow enough fabric to sew the stitching you need without having to get too close to the edge. Heirloom stitching will shrink the fabric, so allow for that too. Do not cut massive amounts of extra fabric, just enough to accommodate for these considerations, as a large piece of fabric could make it harder to allow the fabric to move freely under the presser foot. If you have a large piece, rest the bulk on the table or between you and the machine while lifting the fabric up to the machine so there is no drag on the needle and presser foot.
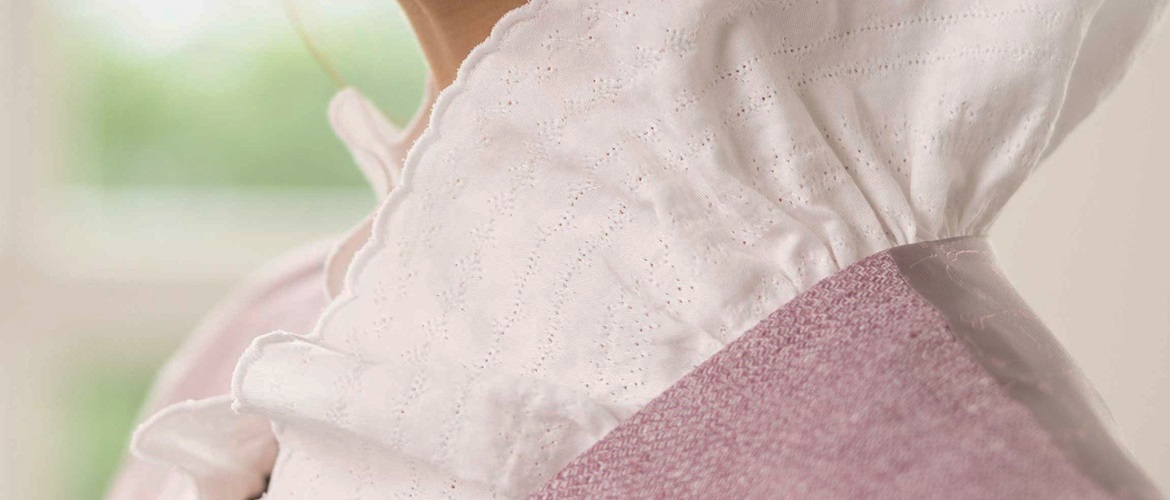
- If possible, prepare a piece of fabric with your heirloom stitching first and then cut it according to the pattern piece you need. In our example we made a piece of lacy fabric first, washed and pressed it, then used it to make the ruffle for the shirt.
- A scalloped edge is a great finish to heirloom stitching. If you’re creating a ruffle as we have on the shirt images in this blog post, then head over to our How To: sew a perfect scalloped edge blog post here.