How to embroider on tulle

Embroidering on tulle creates stunning, illusionary see-through panels that add a couture finish to your garments.
It’s also a great fabric on which to embroider light or small decorative pieces where you don’t want fabric you’re stitching onto showing in the end design.
Due to its delicate nature tulle can be difficult to work with. However, with the right prep, the intelligent embroidery pattern choice and your Brother embroidery machine it’s not as hard as it looks.
Read on as we teach you how to embroider on tulle in six simple steps.

Materials needed
- Tulle: opt for a soft fabric with small holes
- Sticky back non-woven (the white fabric type) water-soluble stabiliser. The non-sticky white water-soluble fabric type also works with some basting spray. Note! Water-soluble film is not suitable for this project.
- Embroidery pattern: choose a pattern with less dense stitching
- Embroidery thread of your choice
Equipment needed
- Brother embroidery machine
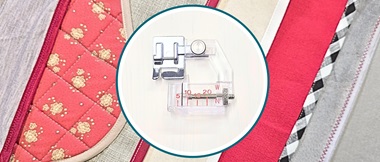
- Embroidery frame – a Brother magnetic embroidery frame makes tulle a lot easier to hoop!
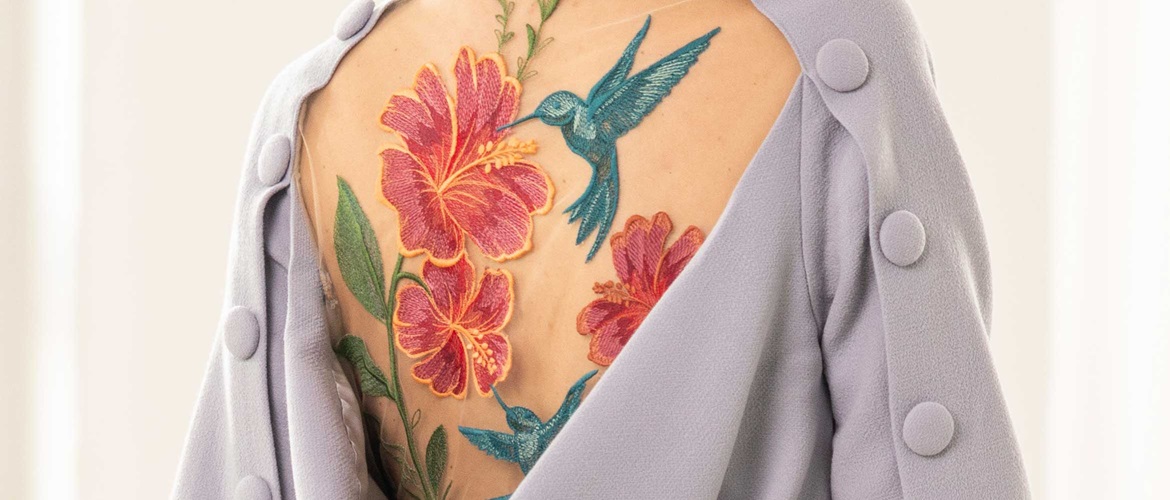
To create the illusion embroidery panel for the back of the grey dress we used the hummingbird embroidery pattern from Urban Threads.
How to embroider on tulle
Step 1 – how much fabric do you need to embroider on tulle?
Calculate how big a piece of tulle you need for your project. Cut it approximately 20cm larger all the way around to make sure you have enough fabric for hooping and to allow for shrinkage. Make sure the tulle is flat and clean – press lightly with a cool iron and a pressing cloth if needed.
Step 2 – how do you prepare your embroidery hoop to embroider on tulle?
If you’re using water-soluble sticky back stabiliser: cut a piece 2-4cm larger than the outside of your Brother embroidery frame. Hoop the stabiliser with the paper facing up. With a pin, score a line around the inside of the frame. Carefully peel the paper away, revealing the sticky side of the stabiliser. Lay the tulle over the exposed sticky surface and lightly pat it down. Make sure it is smooth and flat with no puckered bits.
If you’re using water-soluble stabiliser without a sticky backing and a standard 2-part embroidery frame: hoop the stabiliser and spray a light coating of temporary basting spray onto the stabiliser and lay the tulle on top.
If you’re using water-soluble stabiliser without a sticky backing and a Brother magnetic embroidery hoop: spray a light coating of temporary basting spray onto the stabiliser, lay the tulle on top and hoop together. You could use a normal 2-part frame; however this is trickier and the tulle distorts easily, therefore we recommend the floating option instead.
Note: do not use spray while the frame is in the machine – spray away from your machine and ironing surface. A little goes a long way!
Step 3
Insert your embroidery frame into the machine, making sure that some of the tulle does not get caught under the frame.
Tip: use a basting stitch to secure your tulle (especially when you are using the non-sticky back stabiliser) before you start stitching out your design. Most Brother embroidery machines have a basting function in embroidery mode.

Step 4
Stitch out your chosen design.
If you are using several components to form a larger design and need to rehoop your fabric, repeat the steps as above. If the stabilised areas overlap, carefully peel and trim away the excess stabiliser around the already embroidered motifs, place a new piece of stabiliser and continue with the steps as above.

Step 5 – how do you remove embroidery stabiliser from tulle?
When all the elements of your design have been embroidered onto the tulle, remove the embroidery from the frame, very carefully peel away the excess stabiliser and trim it away.
Submerge the entire piece of tulle fabric in lukewarm water. Soak for a few minutes and then rinse.
The water-soluble fabric will disintegrate and leave a glue-like residue. You may need to do several rinses to get rid of all the sticky bits. Keep rinsing in a bowl, changing the water frequently, or rinse under running water.

Step 6 – how do I finish my embroidered tulle fabric?
Smooth the fabric and embroidery down on a towel and leave to dry.Press with a pressing cloth and steam.
You can now use the embroidered illusion panel in a garment, like we did on the draped dress in our main picture.
This technique can also be used to create a collar like the butterfly shaped one on the picture below. For this design, we used a double layer of tulle, so the finished collar is slightly stiffer.