Upcycle a vintage velvet curtain into a chic bed throw


Gorgeous velvet throws are on trend at the moment and it’s easy to see why. They add such cosy luxury and a pop of colour, bringing the perfect finishing touch to an elegant bed or even draped across a sofa for a timeless and stylish home. They also make beautiful and personal gifts.
Buying one new can set you back 250€, so why not save some money and make your own with easily repurposed good quality vintage velvet? This is one of my favourite easy sewing projects and now many bedrooms at Château de Bourneau have a unique velvet throw, handmade for our guests to enjoy.
This project may look hard, because it’s large, but it’s actually quite easy once you start sewing. Reusing vintage velvet curtains cuts down on the cost, plus it’s a great way to reduce, reuse and recycle!

Materials needed
- Sewing machine. Mine is a fabulous Brother Innovis VQ2. I also highly recommend the Brother wide table adapter that fits this machine and makes large projects much easier to sew
- A cleaned vintage velvet curtain (check out charity shops and thrift stores. Often single curtains are discarded without a matching pair, but curtain fabric is often excellent quality and very affordable)
- Complimentary backing fabric for the underside of your throw.
- Rolled batting (stuffing) to your preferred thickness (I used batting around 2cm thickness)
- A pair of sharp scissors
- Tape-measure
- Pins
Optional:
- Trims for edging
If you want to quilt the throw:
- Tape measure
- Tailor’s chalk
- A hand sewing needle with contrast colour embroidery thread

How to make the velvet throw
Step 1
Remove all the fixtures from the velvet curtain, such as hooks, and unpick any pleating from the curtain so you are left with the flat rectangle of fabric. This will represent the size of your finished quilt, unless you decide to reduce it.
Step 2
Cut a piece of contrast backing fabric to fit your curtain size, using your curtain as a template.Step 3
With right sides facing together, carefully line up the backing fabric and velvet curtain and pin in place. Sew the velvet and backing fabric together around the edges of the two layers with a simple running stitch, leaving a 2cm margin all the way around, unpinning as you sew. Leave an opening of around 30cm unsewn at the end.Step 4
Turn the throw the right way again by reversing the throw through the 30cm opening. Now you have the outer casing of your throw.Tip: you can use a knitting needle to help push out the corners.

Step 5
Lay out your sewn throw and use it as a template to cut a section of rolled batting to fit it. I used a very light batting, only 2cm thick, to add a plush filling but without being too heavy.Step 6
You can now stuff the section of cut batting into the throw through this opening and pull it into place like a duvet. Once you're happy with its position, fold in the raw ends of the opening inside each other and pin in place.
Step 7
Carefully sew the opening shut very close to the edge so it blends in. Remember, you'll be able to see the closure stitches as you're sewing on the "right side." You can always add a trim to cover and edge your throw by pinning the trim in place and securing it with a line of running stitch. That’s the main throw done!Tip: press the edges of the opening inside before you sew can provide a neater end result.
Optional quilting

Measuring where to put the quilting hand-ties:
Decide on how many quilting hand ties you wish to add to achieve your desired ‘look’. Measure the length of your finished throw and divide this by the number of ties you wish to have per row. This will give you the spacing measurement required which you can mark onto the throw with the tailor’s chalk and a measuring tape/metre ruler. Repeat with the width and start to build your quilting points.
I like to create a diamond quilting look with a gap roughly every 20cm by placing hand-ties staggered in alternate rows. However, you can also put them in squares if you prefer. Let your creative imagination be your guide!

How to make a quilting hand tie
Pick a contrast colour embroidery thread and double thread the needle for a double length of around 20cm. Holding the needle perpendicular on the top velvet side, push it completely through the quilt and then directly back up through the velvet again, almost through the same hole, so you have created a single hand stitch.
Then, cut the needle off, close to the eye, so you're left with four little tails of unsecured thread poking up out of the velvet side. Tie each thread together on the diagonal tightly with its opposite counterpart to secure the threads together and to create a quilted dimple.
Once secure, gather all four threads together and trim to the same desired length. You will be left with a dimpled hand-tie with four tails. Repeat wherever you want ties.
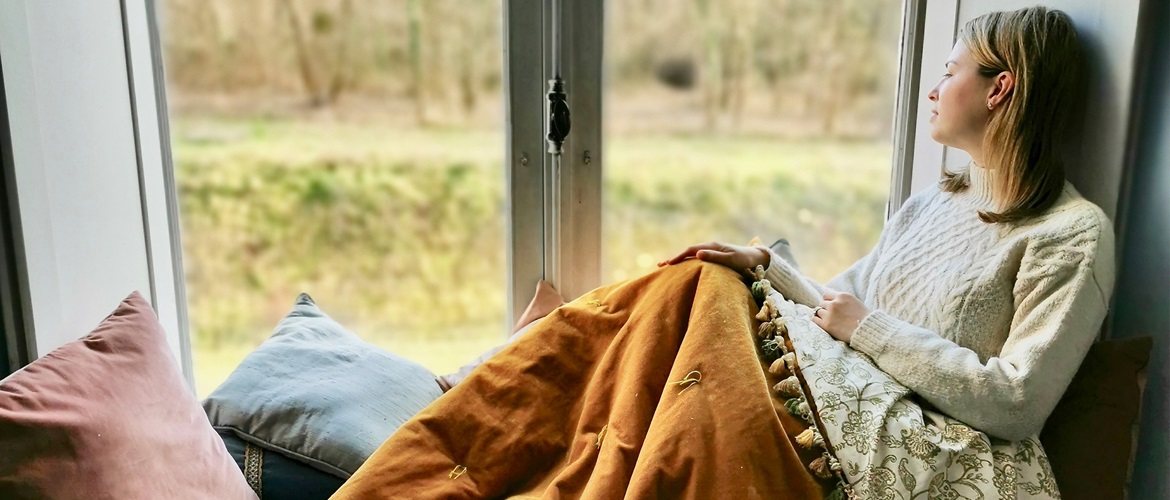
And that's it! Grab a cup of tea, a good book and cosy underneath this luxury plush throw for the perfect winter hibernation!

I hope you like my easy vintage velvet curtain upcycling project. Once you’ve made one, you’ll never walk past that lone velvet curtain again! Get creative and make some for lovely personal gifts as well.
Remember to tag in Brother on Instagram and Facebook, and me @theintrepidchatelaine. I can’t wait to share your versions!


