Custom printed book covers


Keep your books fresher for longer.
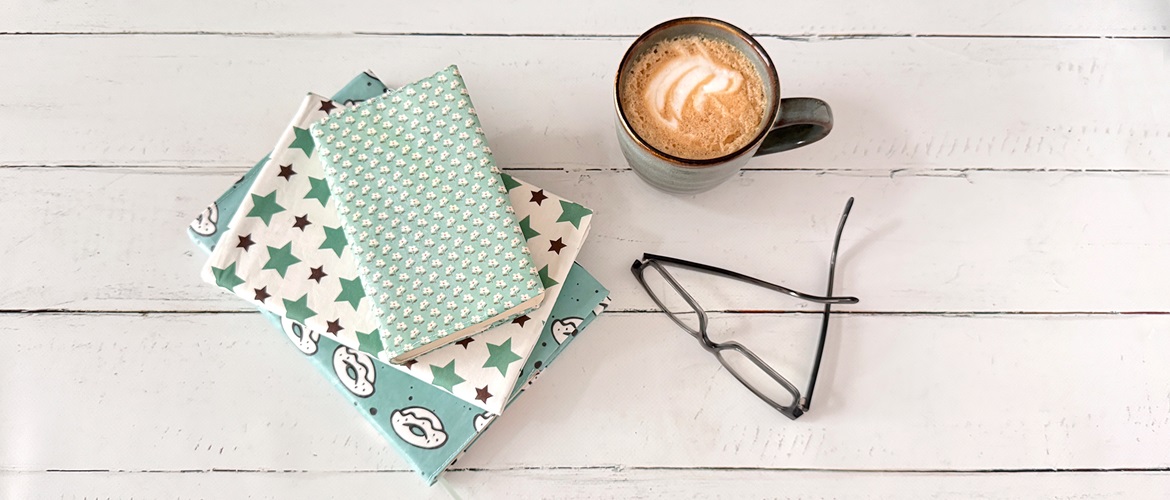
I have always loved reading – some books I have read several times. I like to protect books I treasure with a fabric cover. It’s not only practical, but also pretty, and I can enjoy them for longer.
In Japan I often saw people reading while traveling on buses and trains, and most of them had fabric covers for their books. I like that they value their books and protect them.
In this blog post I will show you how I sew my book covers. It's pretty simple, and even more fun if you can print the fabric pattern yourself!
In this project I am sewing a cover for a cookbook in which I collect my favourite recipes. Mainly because I don't like the colour orange, so I had to sew a fabric cover in another colour ;-). I also laminated the cover, so I can just wipe it if it gets messy in the kitchen.
Materials needed
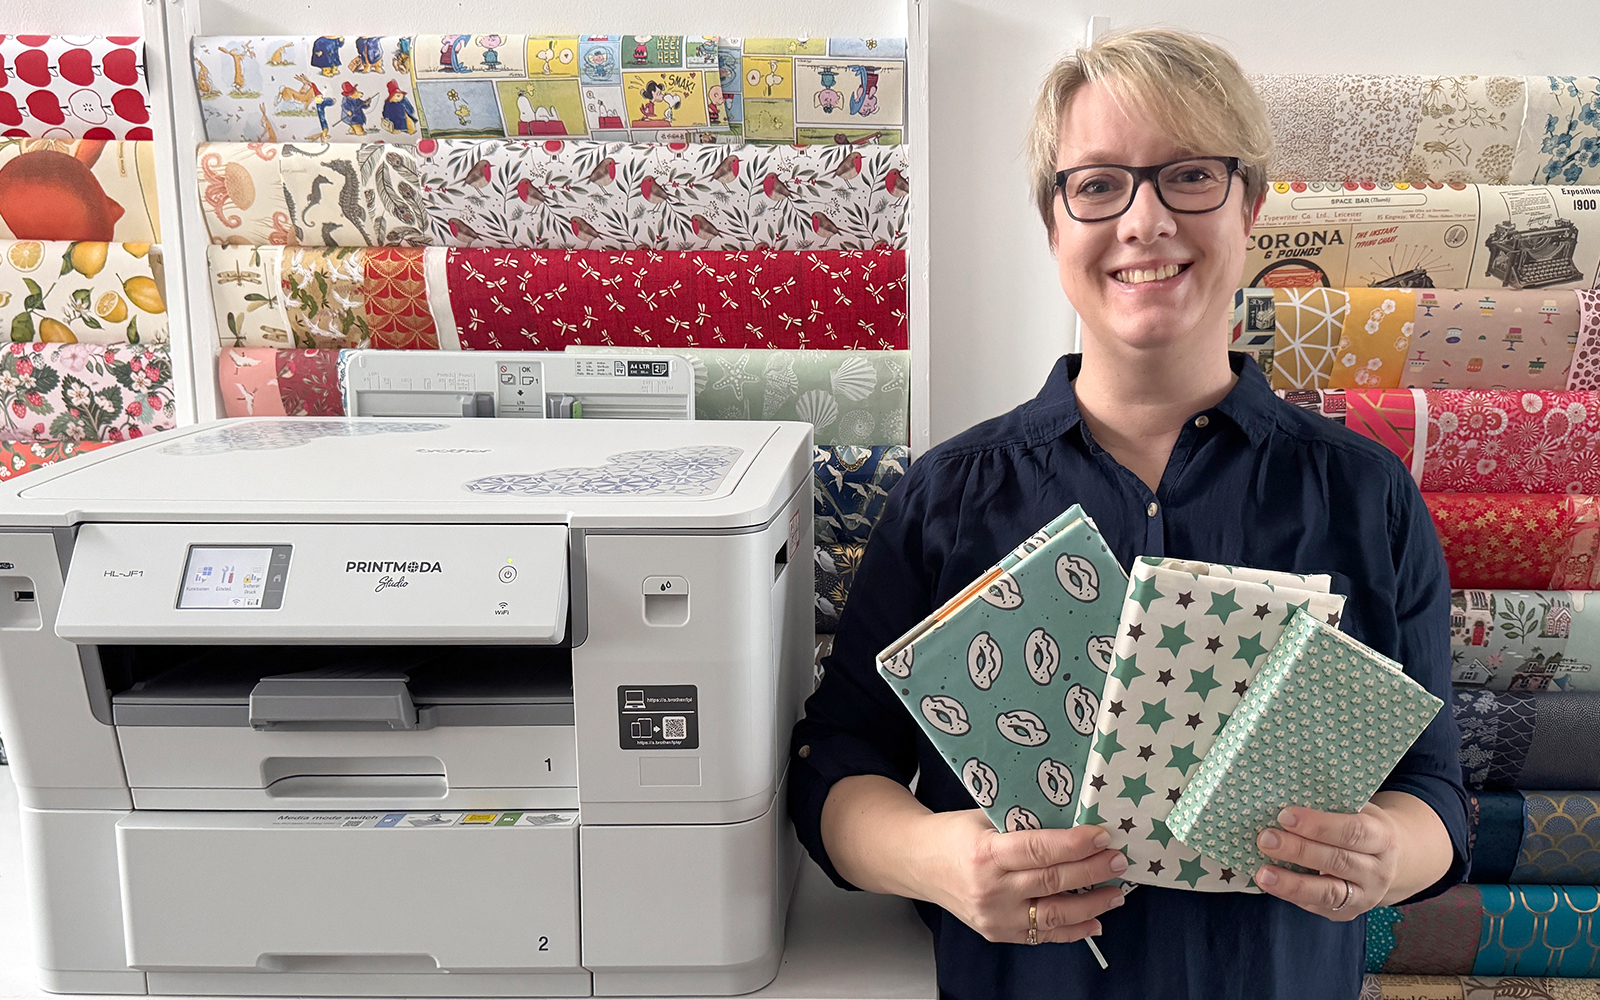
- PrintModa Studio Fabric Roll
- PrintModa Studio Laminate Sheet
- A book to cover
- Fabric for the inside of the cover, as large as the piece that is being printed (see How To section on how to determine the size)
- Satin ribbon: about 5cm longer than the height of the book
Equipment needed
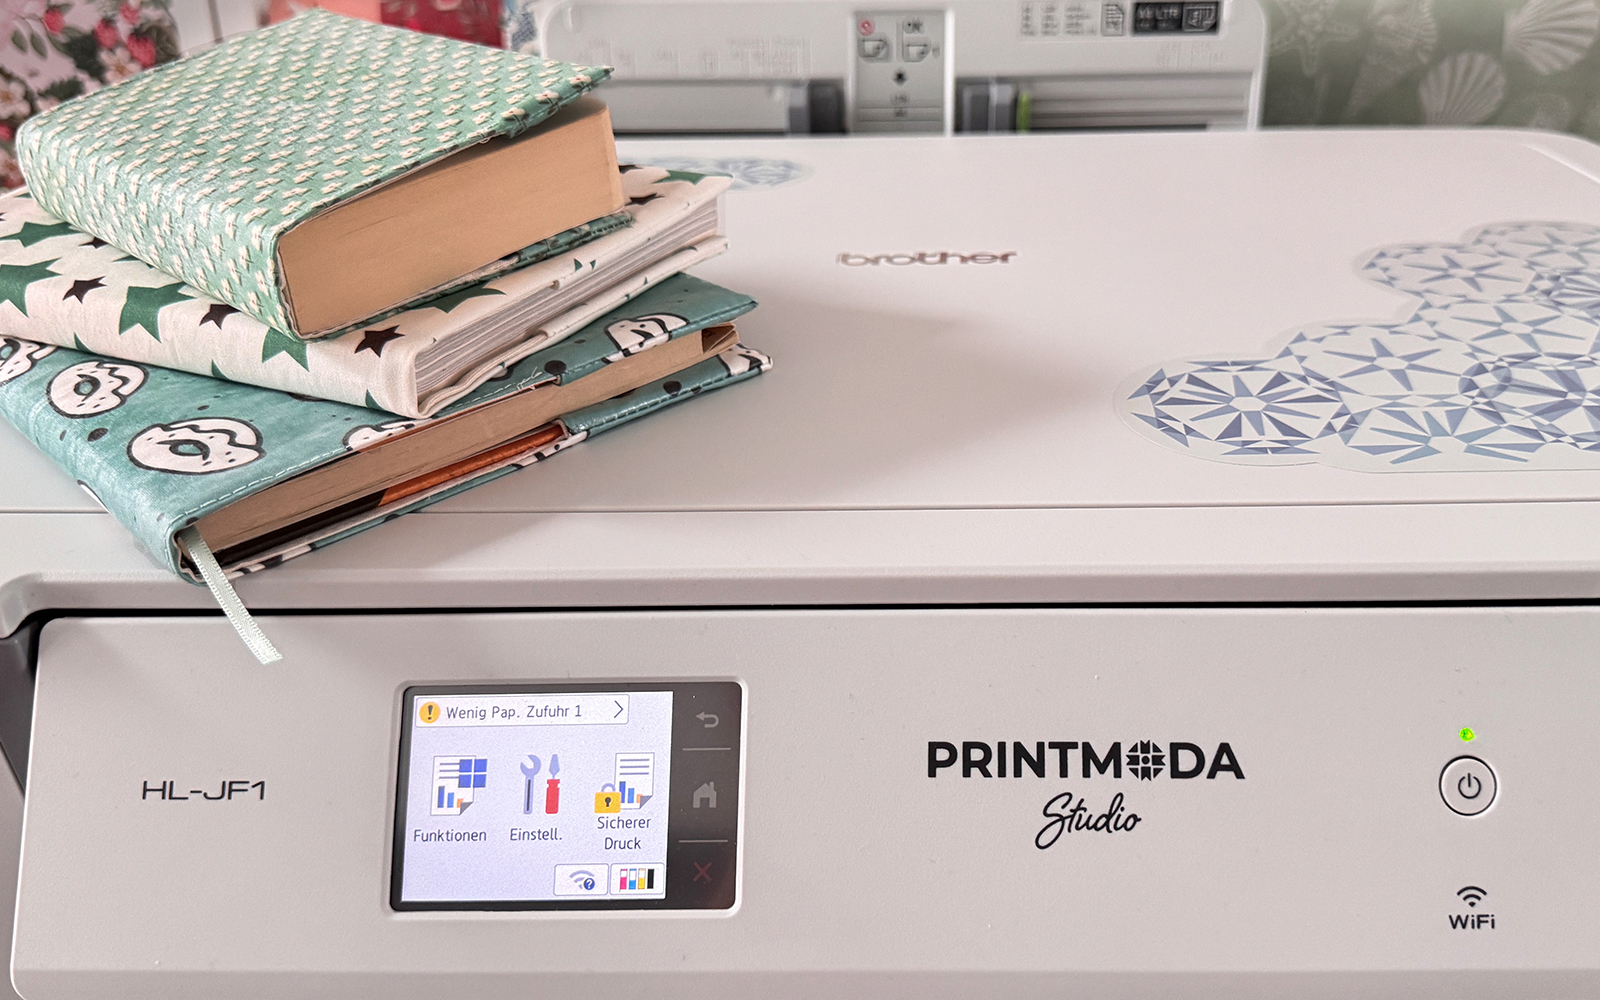
- Brother PrintModa Studio fabric printer
- Artspira app on your phone/tablet*
- Sewing machine
- Ruler
- Tape measure
- Pencil
- Fabric scissors
- Clips
- Iron and ironing surface
Notes
All seam allowances are 1cm
How to
Step 1
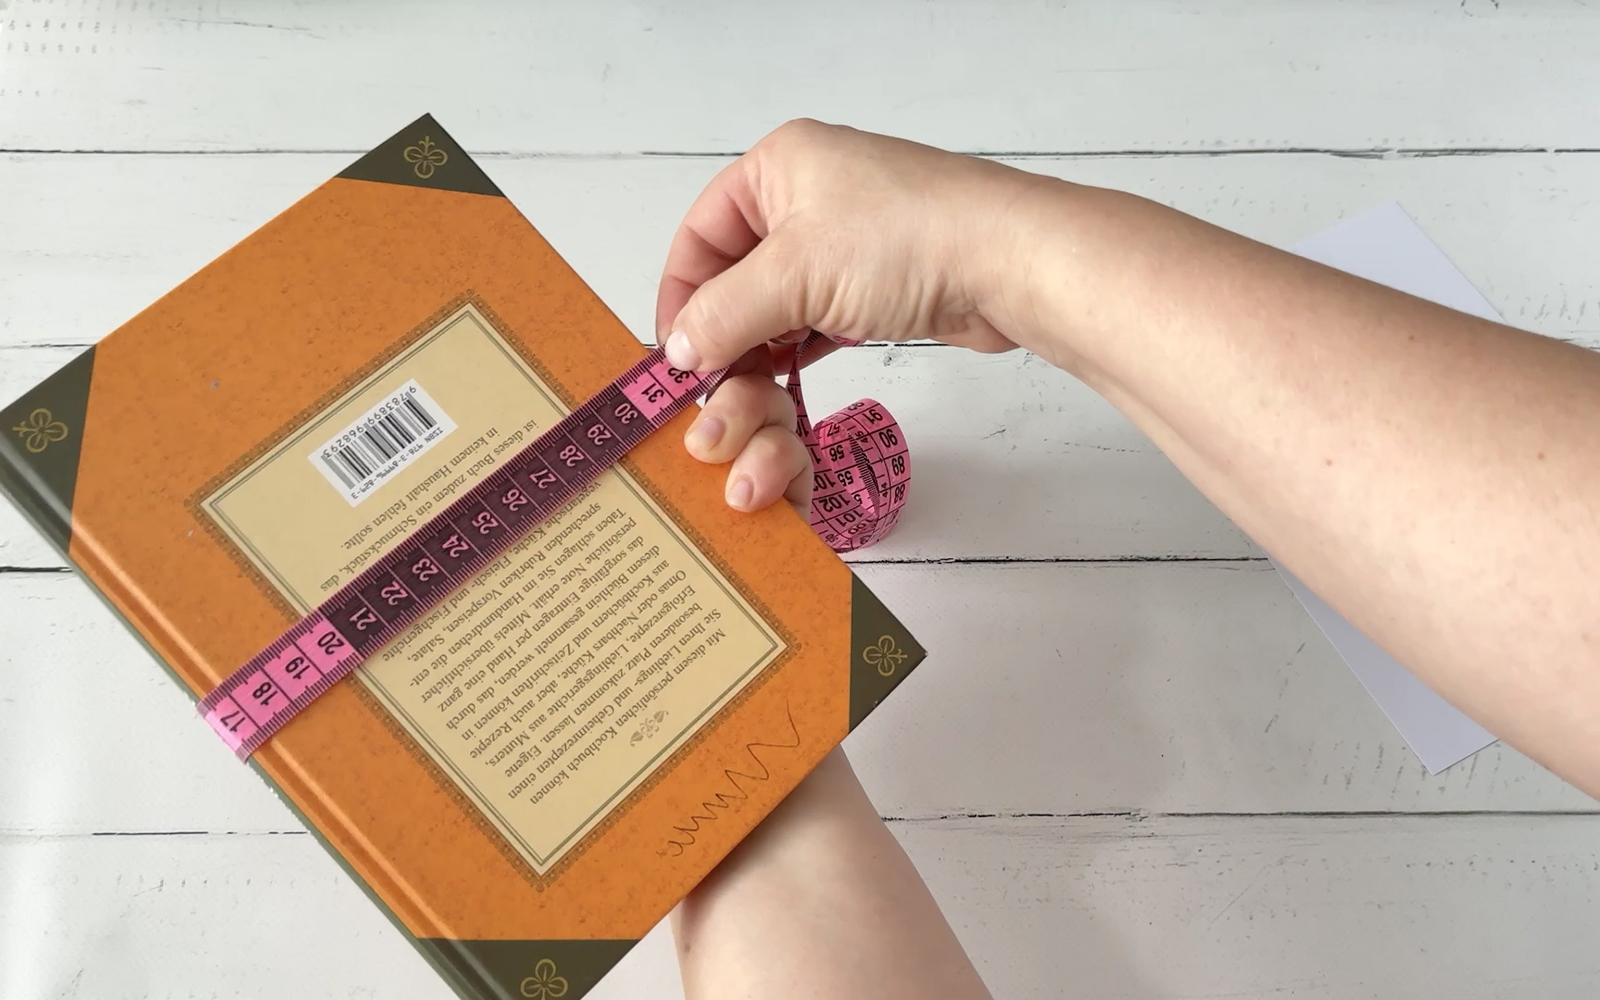
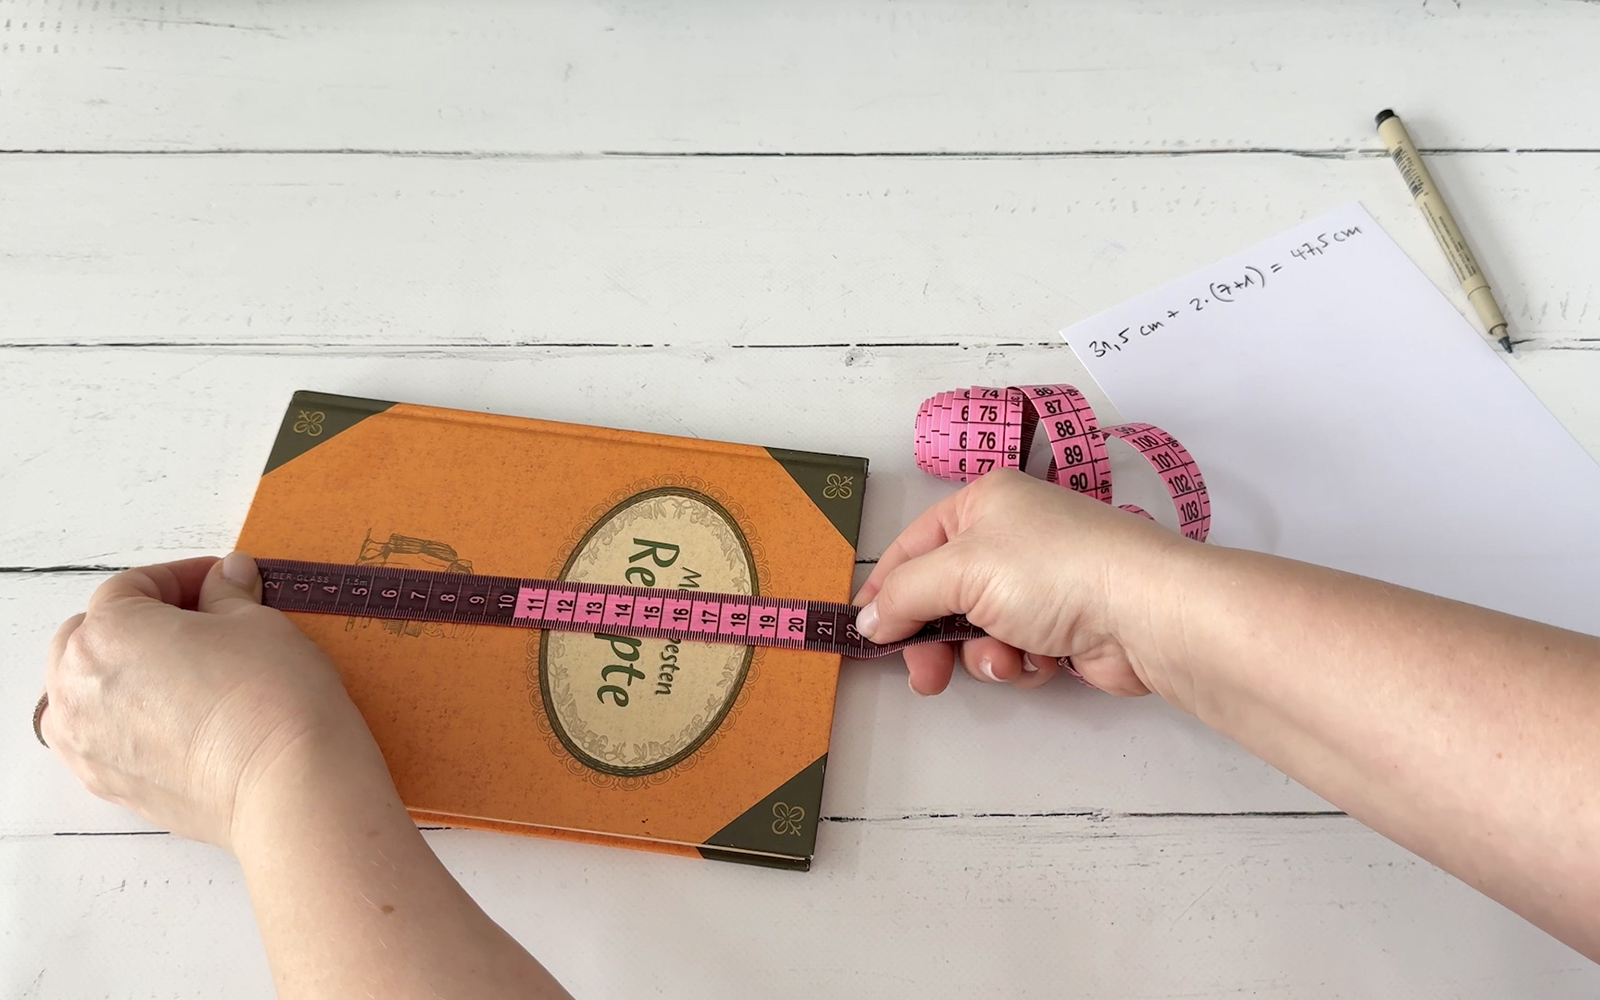
Measure the book as follows:Circumference (width of front + width of spine + width of back) – in my example this came to 31.5cm.
Pockets: two pockets of 7cm each = 14cm (see the tip below)
Seam allowances: two seams of 1cm each = 2cm
To calculate the width of fabric needed:
Circumference (31.5cm) + pockets (14cm) + seam allowances (2cm) = width of fabric to cut (47.5cm)
Tip: the widths of the pockets for the front and back cover can be adjusted to suit the size of the book. An average pocket is 7cm wide. For a small book it can be reduced to 4cm and for larger books increased to 10cm. These are approximate values. The pocket should ideally be more or less half to three quarters of the width of the front cover.)
Step 2
To calculate the length of fabric needed, measure the book as follows:Height: measure the height of the book – in my example it is 21.5cm.
Extra height for a good fit: 0.5cm at both top and bottom = 1cm
Seam allowances: two seams of 1cm each = 2cm
To calculate the height of fabric needed:
Height (21.5cm) + extra allowance (1cm) + seam allowances (2cm) = length of fabric to cut (24.5cm)
So in my example, the piece of fabric to be printed is 24.5 x 47 cm. See the diagram below.

Step 3
Turn on the PrintModa Studio fabric printer. Open the Artspira app and click as follows:
Print Designs (at the top of the starting page) > Fabric patterns > Food & Drink (or another category of your choice) > Donut > Create > A4, Landscape > Custom Size > Width: 245mm (instead of the 297 mm shown) > Height: 475mm (instead of the 914.4 mm shown) > Create > Done > Don't Save (or do save, if you want) > Print > OK > OK.
The printing will start.
Step 4
Remove the printed fabric from the printer. Leave it for at least 15 minutes to allow the ink to dry properly. Cut off the unprinted edges and peel off the backing film.
Step 5
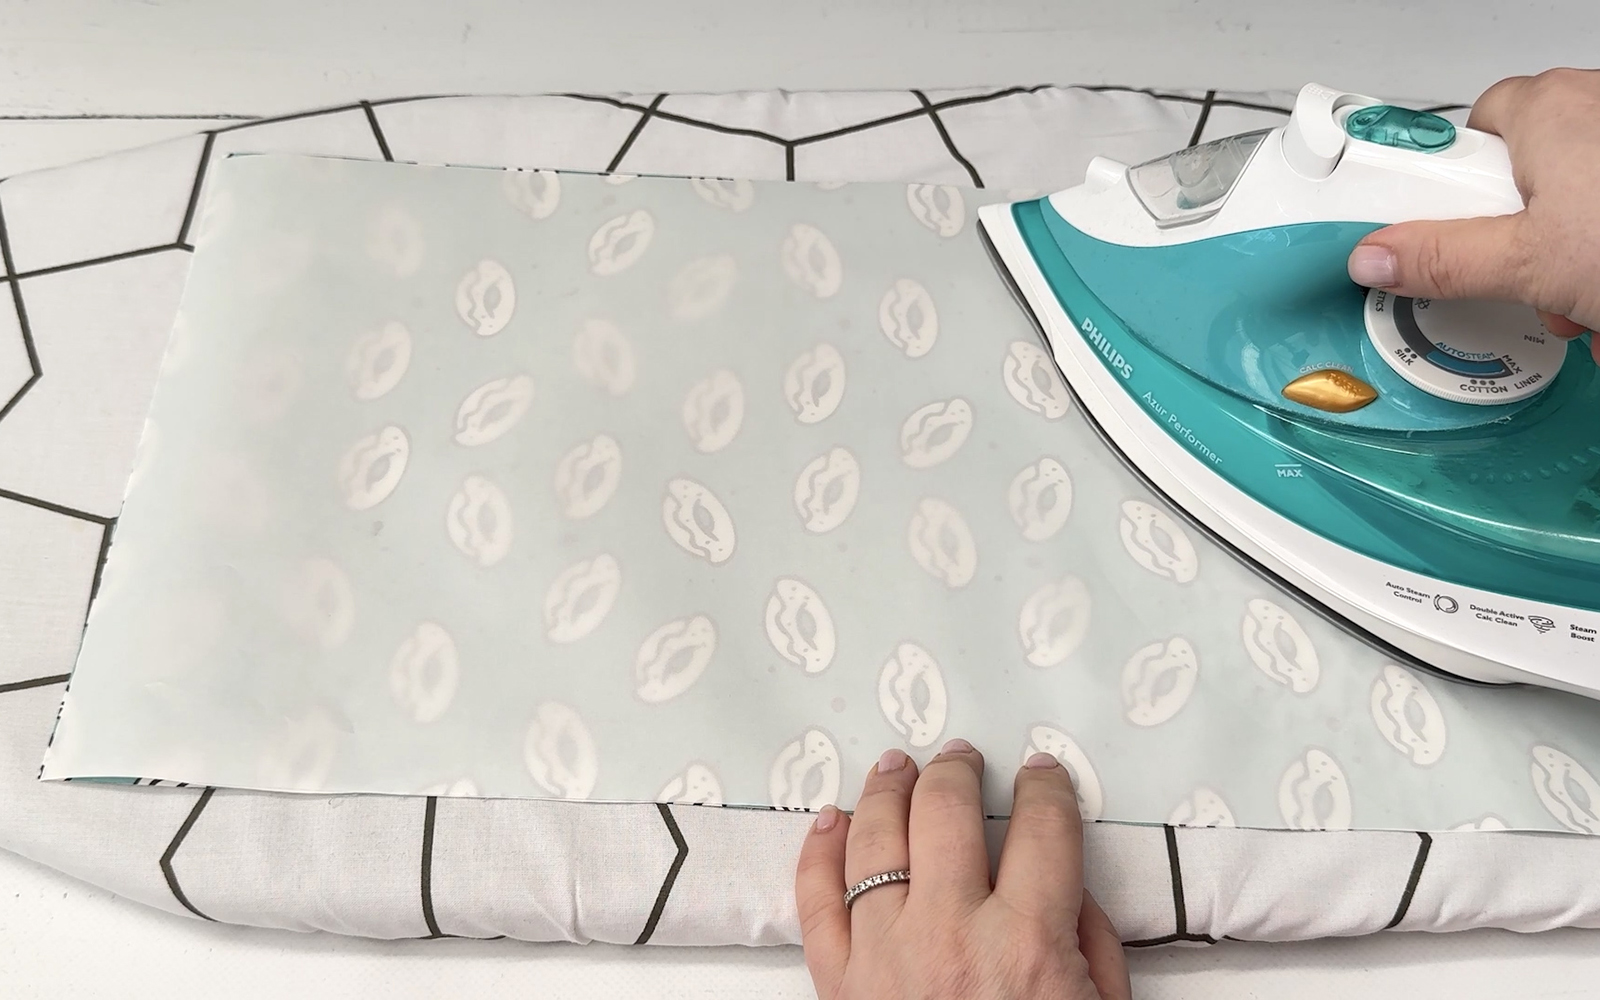
Cut a piece of laminating film to the same size as the printed piece of fabric, in my example it is 24.5 x 47.5cm. Carefully iron the laminating film onto the printed side of the fabric, following the instructions on the packaging. Make sure that your iron is not too hot. Leave the laminated fabric to cool down and then remove the protective sheet from the laminate film.
Tip: if you will be handling the book very often or if it is used in messy or damp environments, like the kitchen or at a swimming pool, laminating the cover is a good idea. It will allow you to wipe the cover clean and prevent it from getting damaged by food splashes or drops of water.
Step 6
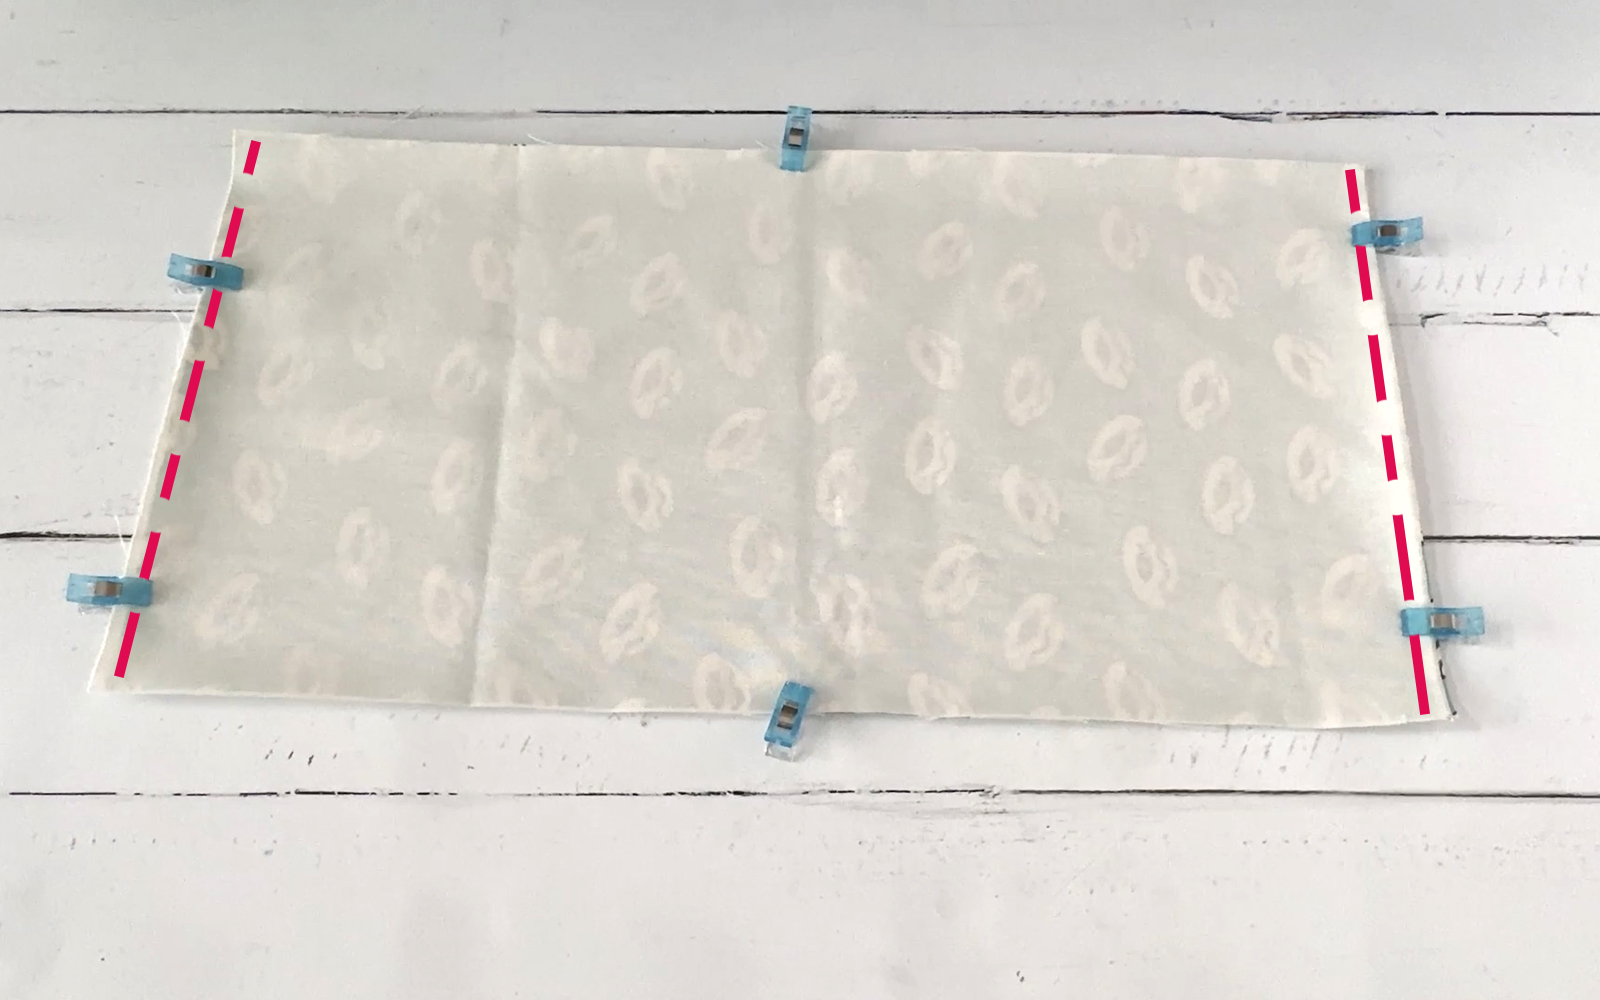
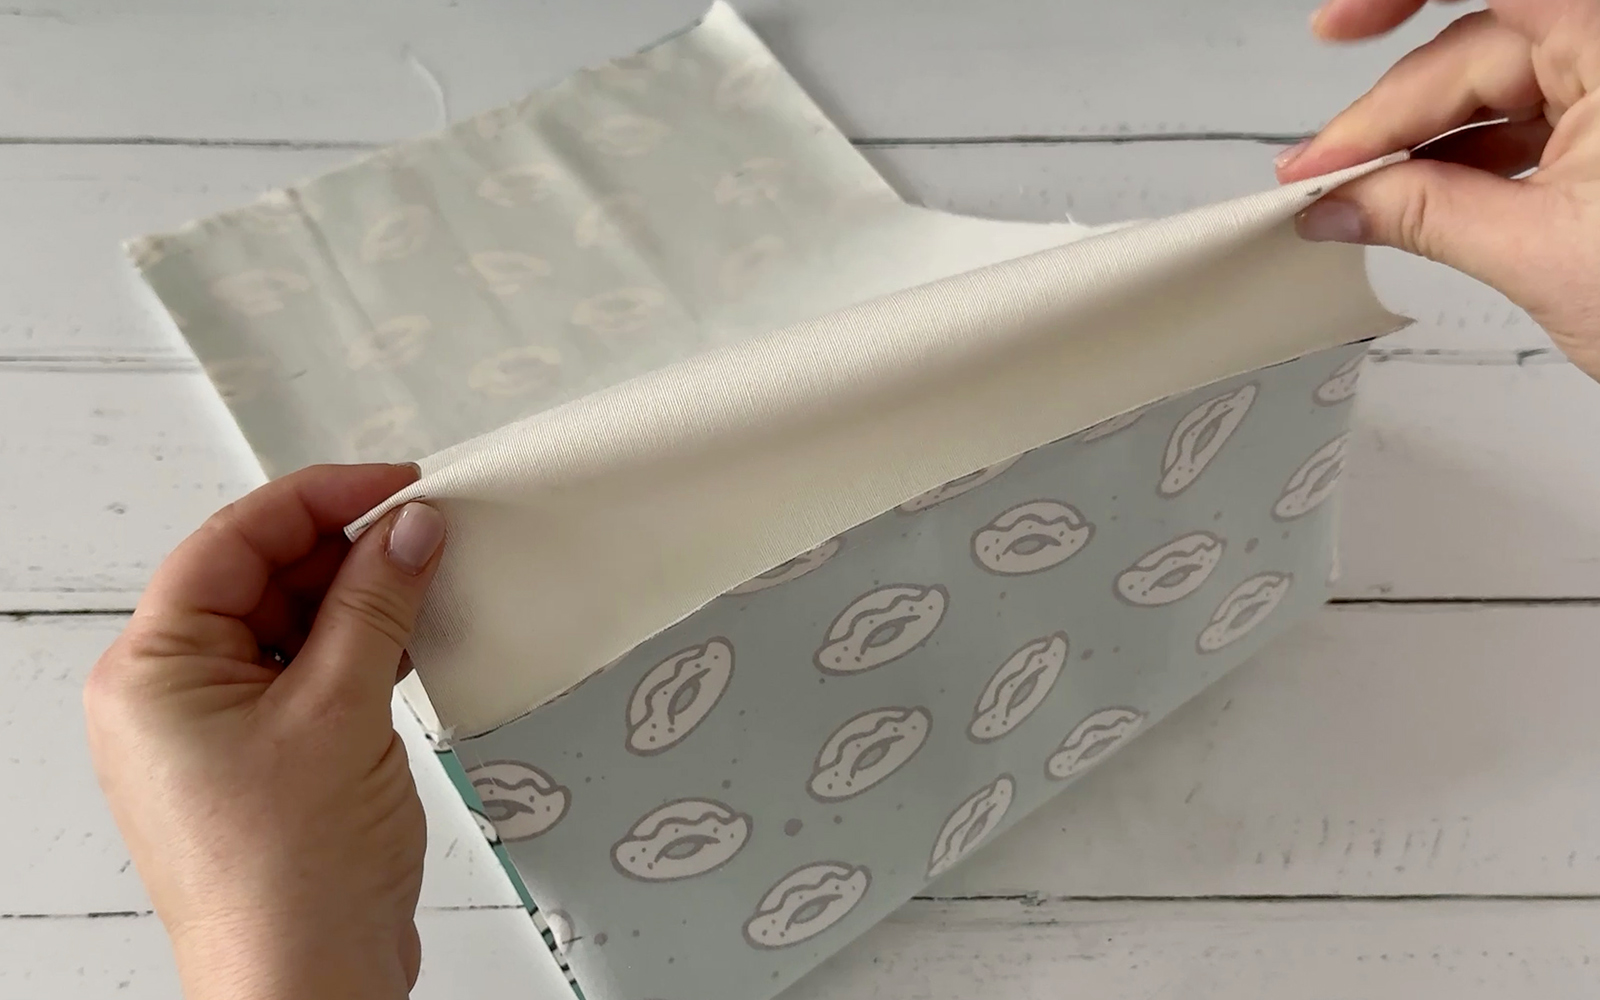
Cut the lining of the cover to the same size as the outside you have printed and trimmed.
Place it on your printed fabric with right sides facing and edges aligned. Secure the layers with fabric clips.
Sew along the two short edges.
Step 7
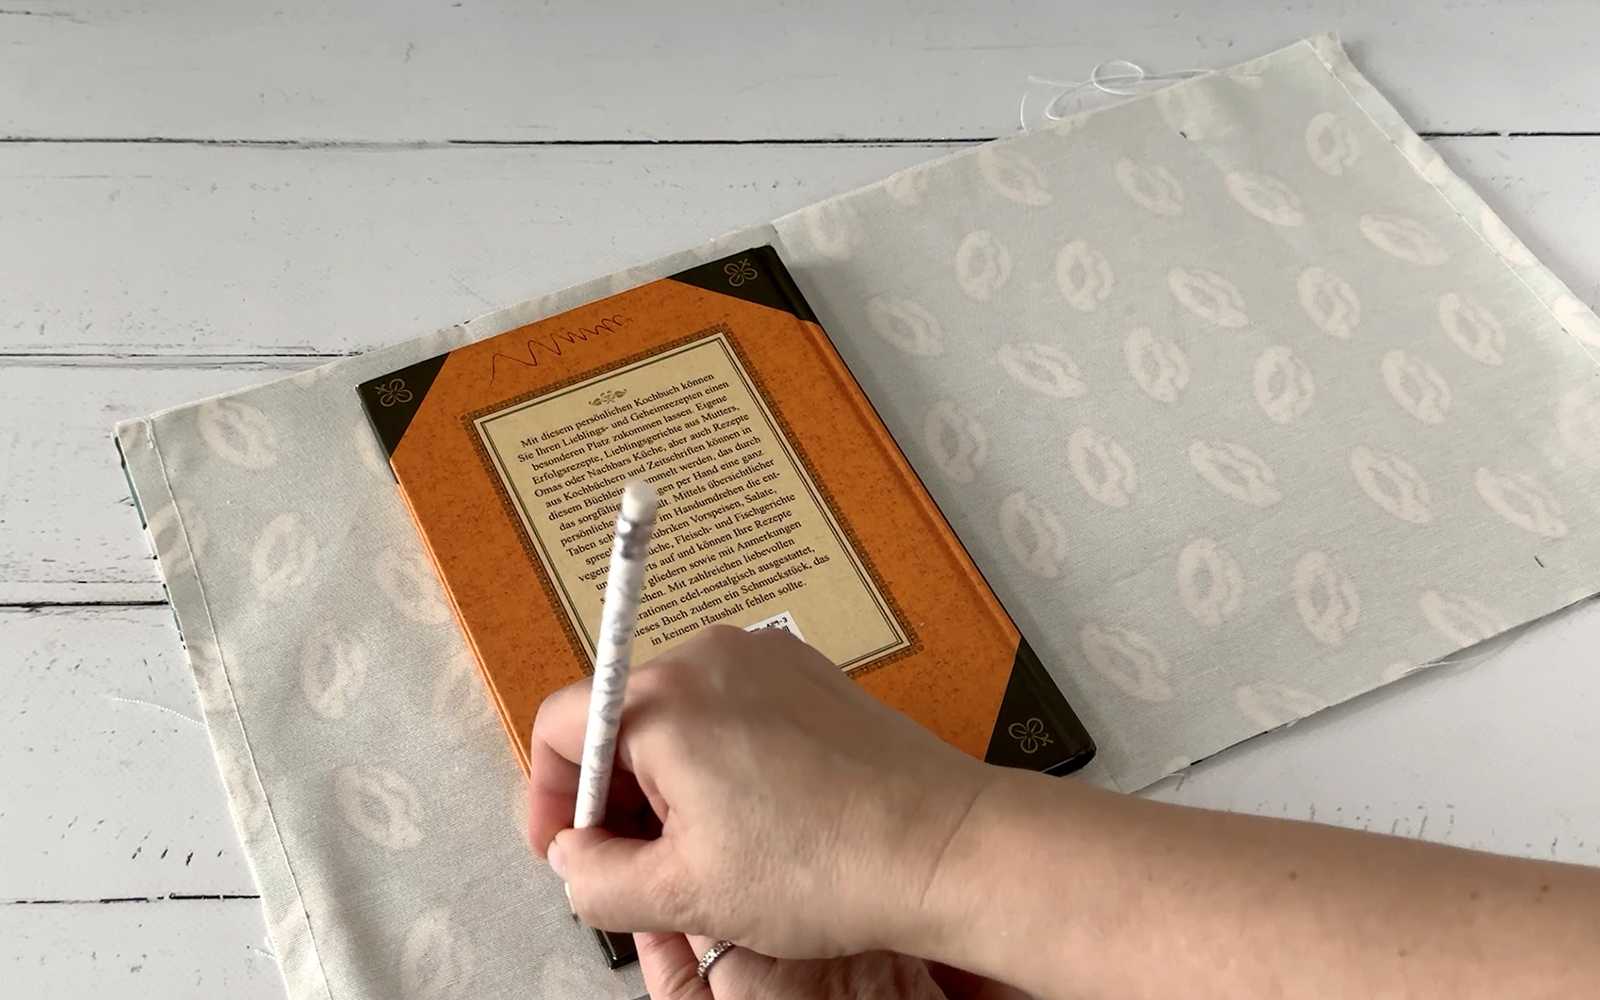
Mark the centres of the long sides of the fabric with a pencil. Place the book with the spine vertically on your layered fabric and carefully lean it to the right until the cover is flat on the fabric.

Step 8
Mark the position of the edge of the book on the fabric. Repeat on the right-hand side. Add approximately 3mm to the outside of each of these marks – this will allow the book to fit comfortably into the cover.
Step 9
Transfer these markings to the upper and lower edges of the two layers of fabric.
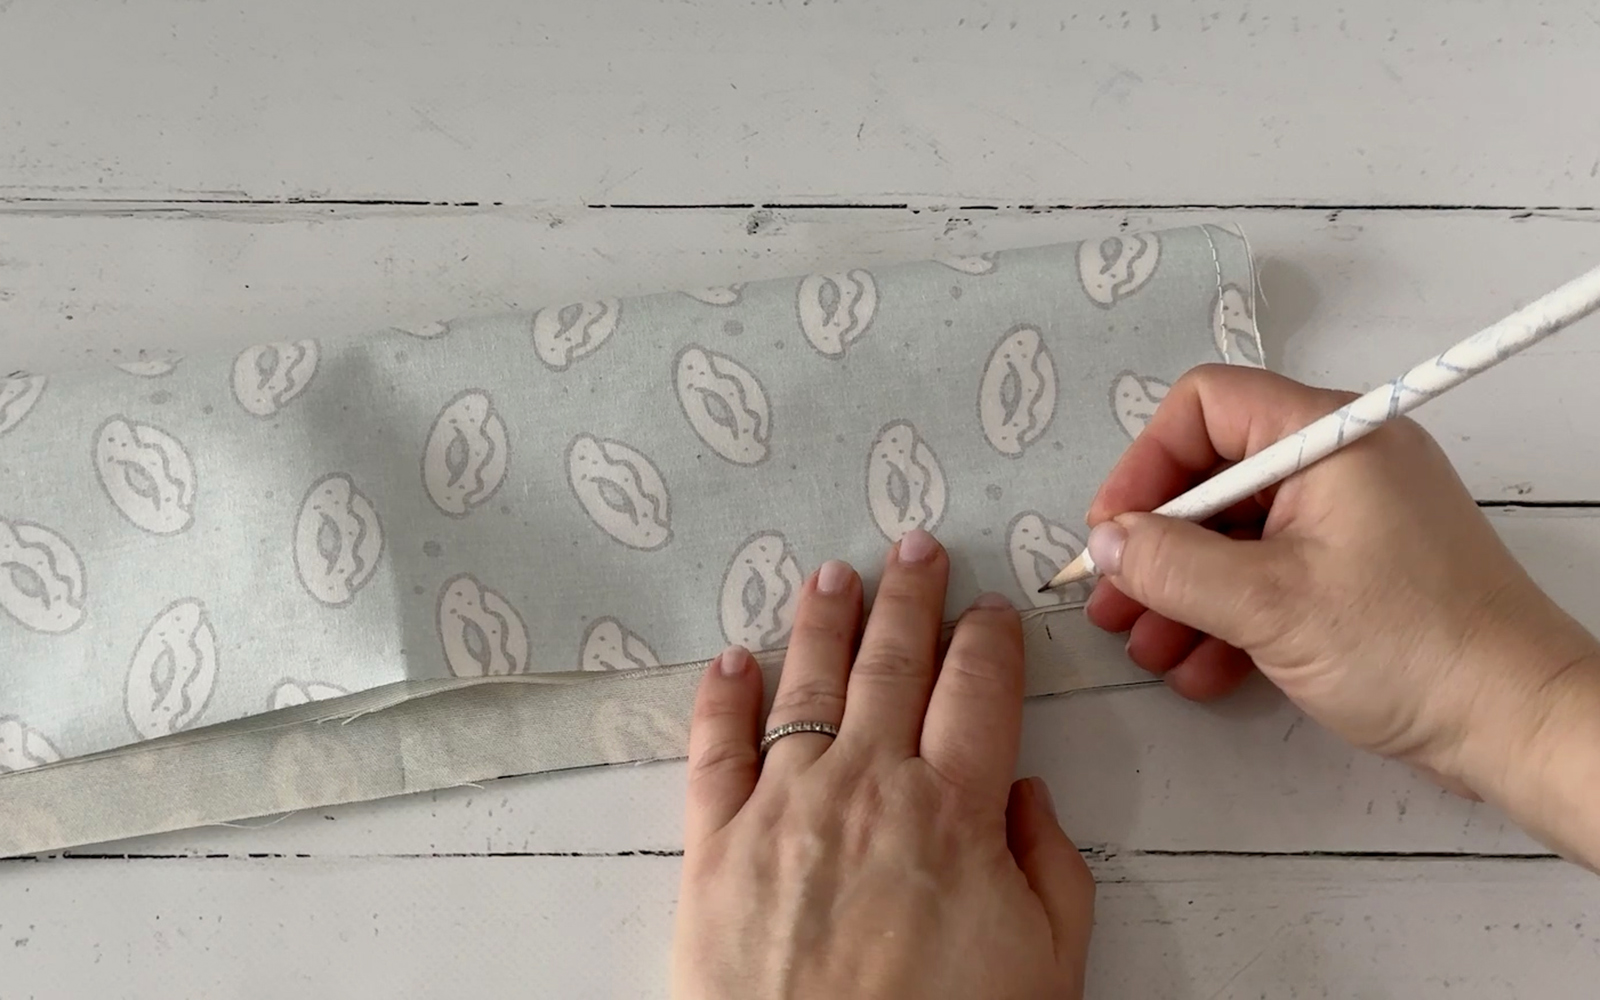
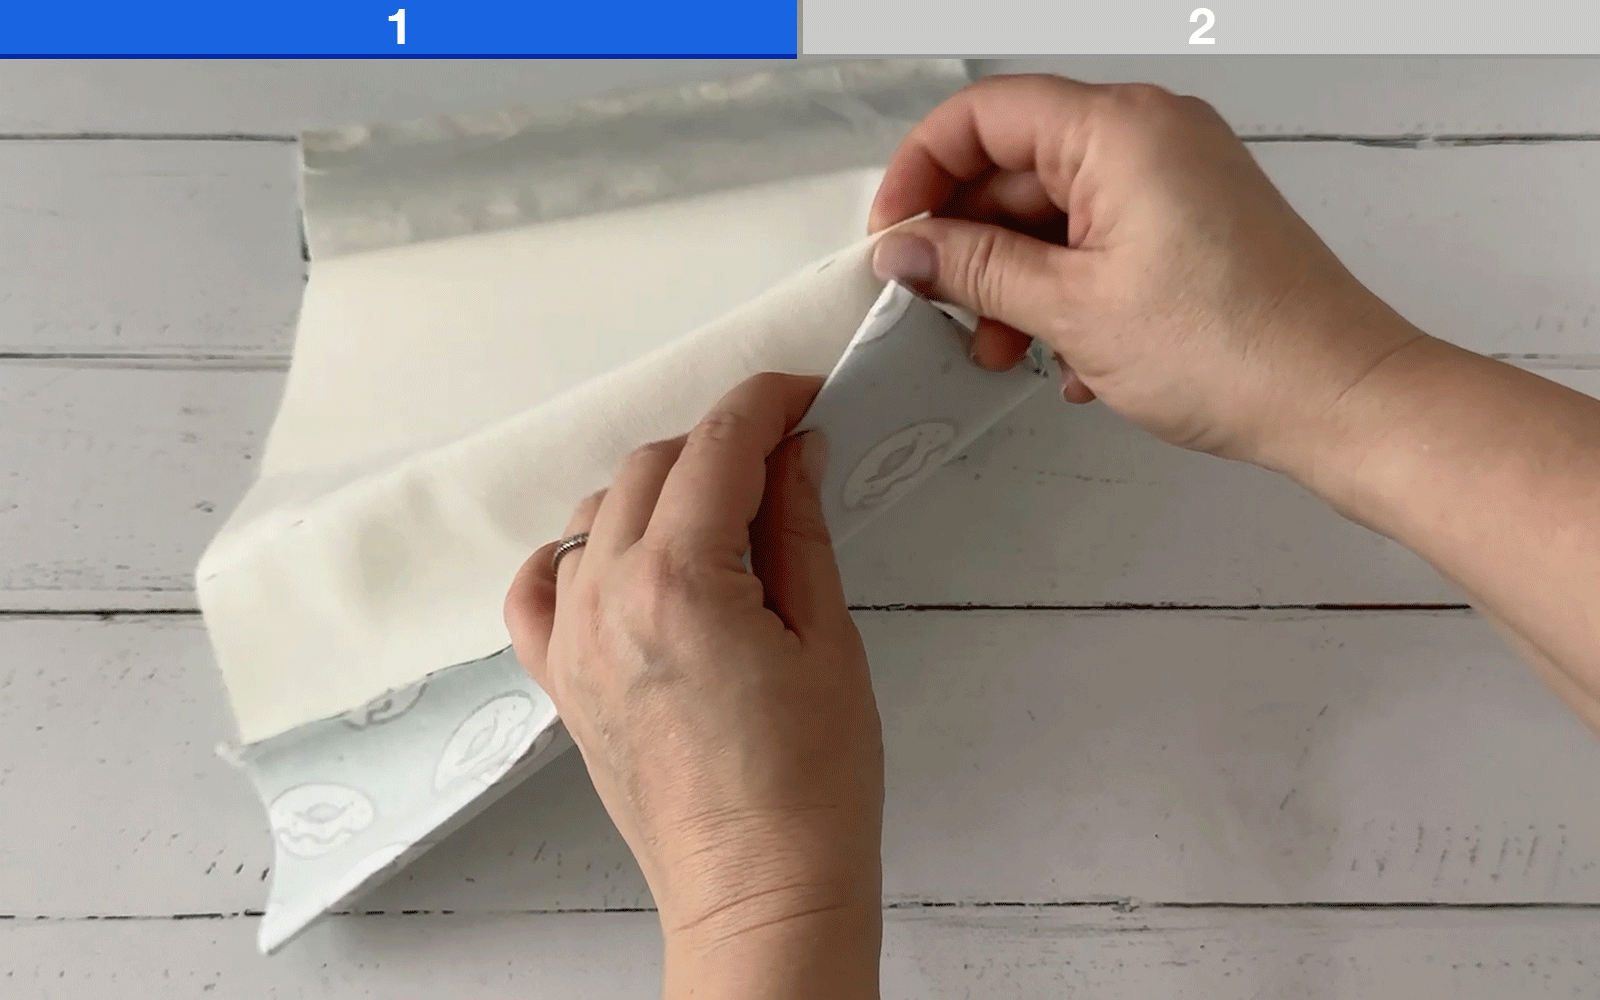
Step 10
Finger press the seams. Starting with one end of the fabric, fold the lining on the marks, right sides facing. Finger press, then do the same with the outer laminated fabric.
Step 11
Place the two folds on top of each other. Push the seamed edge in between the two layers. Place the folds on each other and clip together. The two folds should align exactly, and the sewn edges should lay flat. Repeat at the opposite end.
Step 12
Clip the one end of the satin ribbon bookmark between the layers, in the middle of the top long edge.
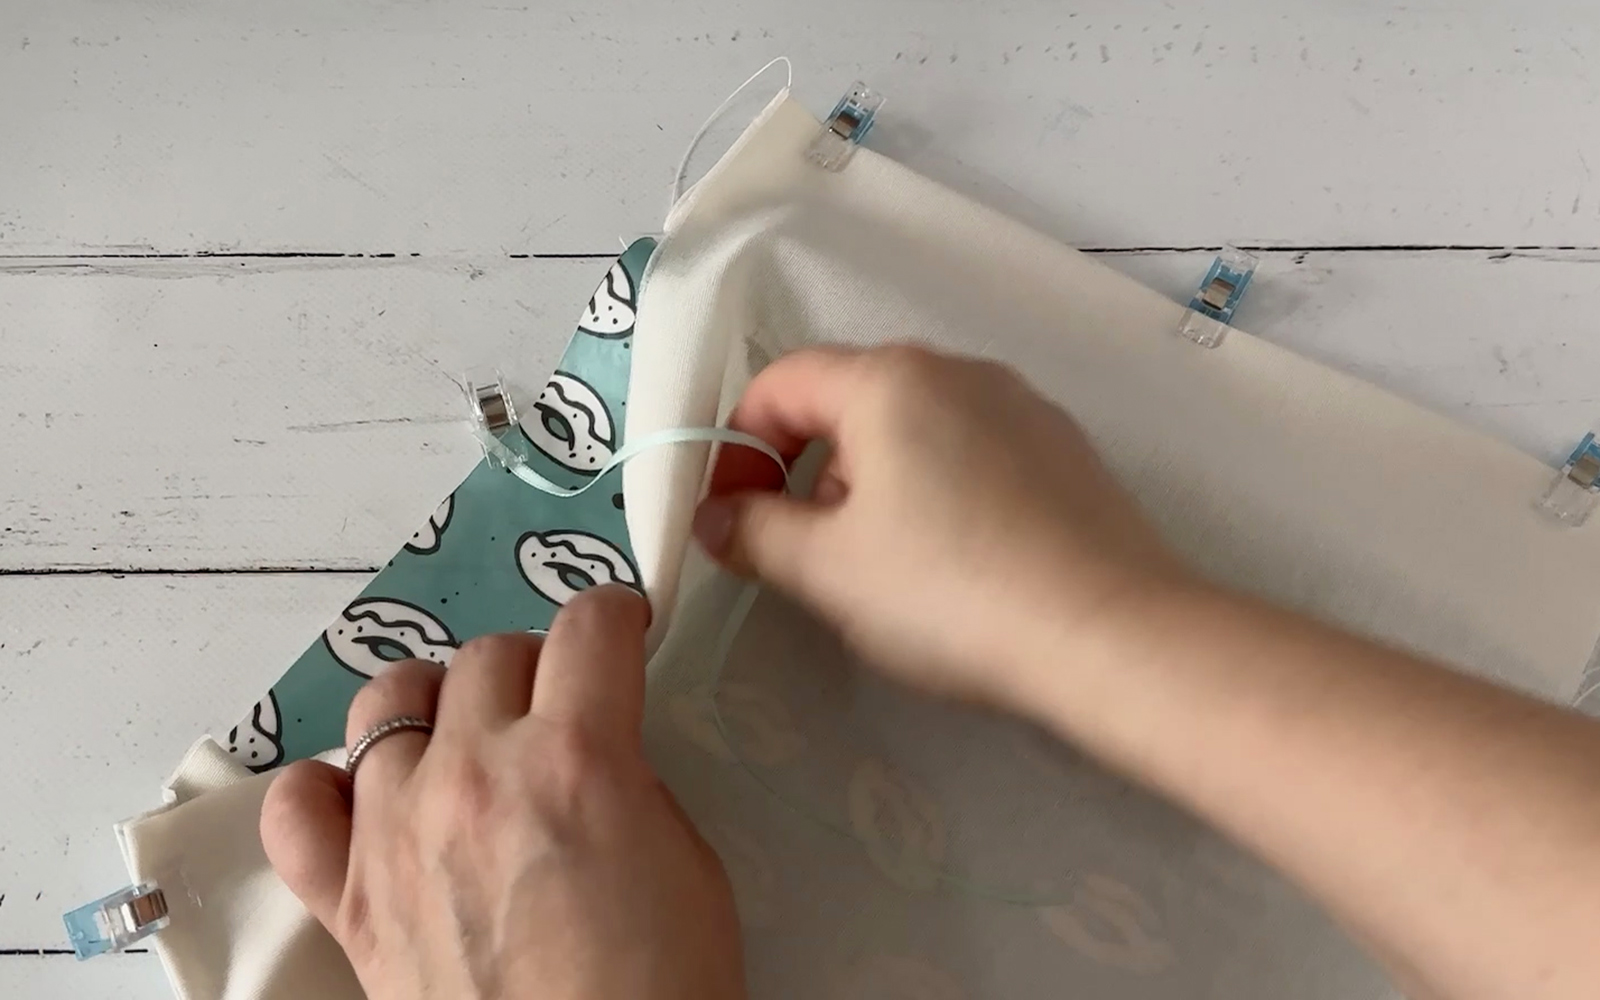
Step 13
Sew along the top edge, through all the layers, from one folded side to the other. Repeat with the bottom edge, but leave a 10cm opening approximately halfway along the seam.

Step 14
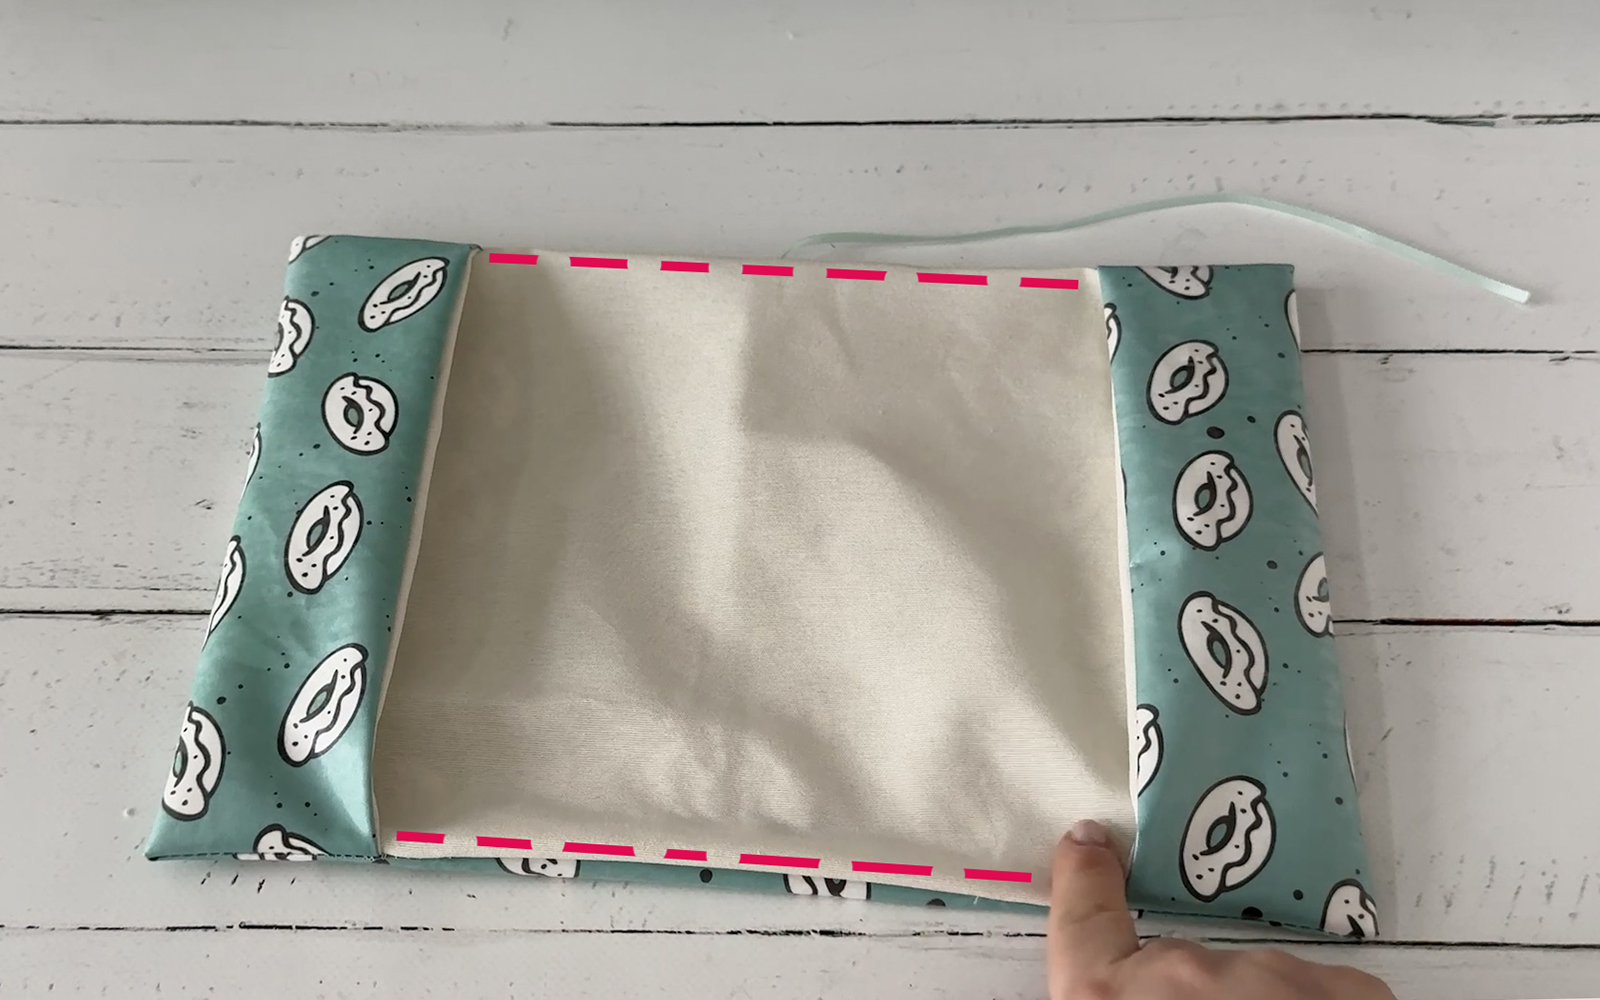
Trim the corners and then turn right side out. Push the corners out with a point turner.

Step 15
Top stitch close to the top and bottom edges (at the opening, tuck the seam allowance in and line up the folds) between the two pockets.
Step 16
Press the edges with your fingers. Insert the book into the cover.
Tip: If you did not laminate the fabric, you can press the cover with an iron.
I hope you have fun printing and creating your own book covers!
I can’t wait to see what you make! Remember to tag in Brother on Instagram and Facebook, and myself too! You can also find Brother on Pinterest and YouTube for even more inspiration.


