
Hexagonal gift box


Delight someone special with a homemade hexagonal roll up gift box.
Pack it full of trinkets, jewellery or mini chocolates and watch their faces light up with joy - you can even make four and have a totally unique 24-day advent countdown calendar!
Size
When closed, the box measures approximately 135mm (5¼”) wide by 115mm (4½”) high by 65mm (2½”) deep at widest or tallest points excluding the handle. Each of the six compartments measure approximately 65mm (2½”) wide by 55mm (2¼”) high by 65mm (2½”) deep at widest or tallest points.
Materials needed
Paper or card (for each hexagonal roll up box)
- Four sheets of 12 x 12” cardstock for the box.
Tip: I recommend a smooth colour-core cardstock between 180gsm/65lb and 210gsm/80lb. Using thicker card may make the project difficult or impossible to assemble effectively. - Two sheets of 12 x 12” double sided patterned paper.
Tip: the outer and inner decorative panels are cut using separate cut files and therefore you could use a different patterned paper for each.
You will also need
- Bookbinding glue or low tack, quick grab glue
- Fine tipped stylus and a metal ruler for scoring fold lines
- Embellishments of your choice
Equipment needed
ScanNCut hardware
- Brother ScanNCut – any CM Model
- Standard mat [CAMATSTD12]
- Standard blade [CABLDP1] and blade holder [CAHLP1]
OR
- Brother ScanNCut – any SDX model
- Standard mat [CADXMATSTD12]
- Standard auto-blade [CADXBLD1] and holder [CADXHLD1]
ScanNCut Software
Download cutting files here
How to
Step 1
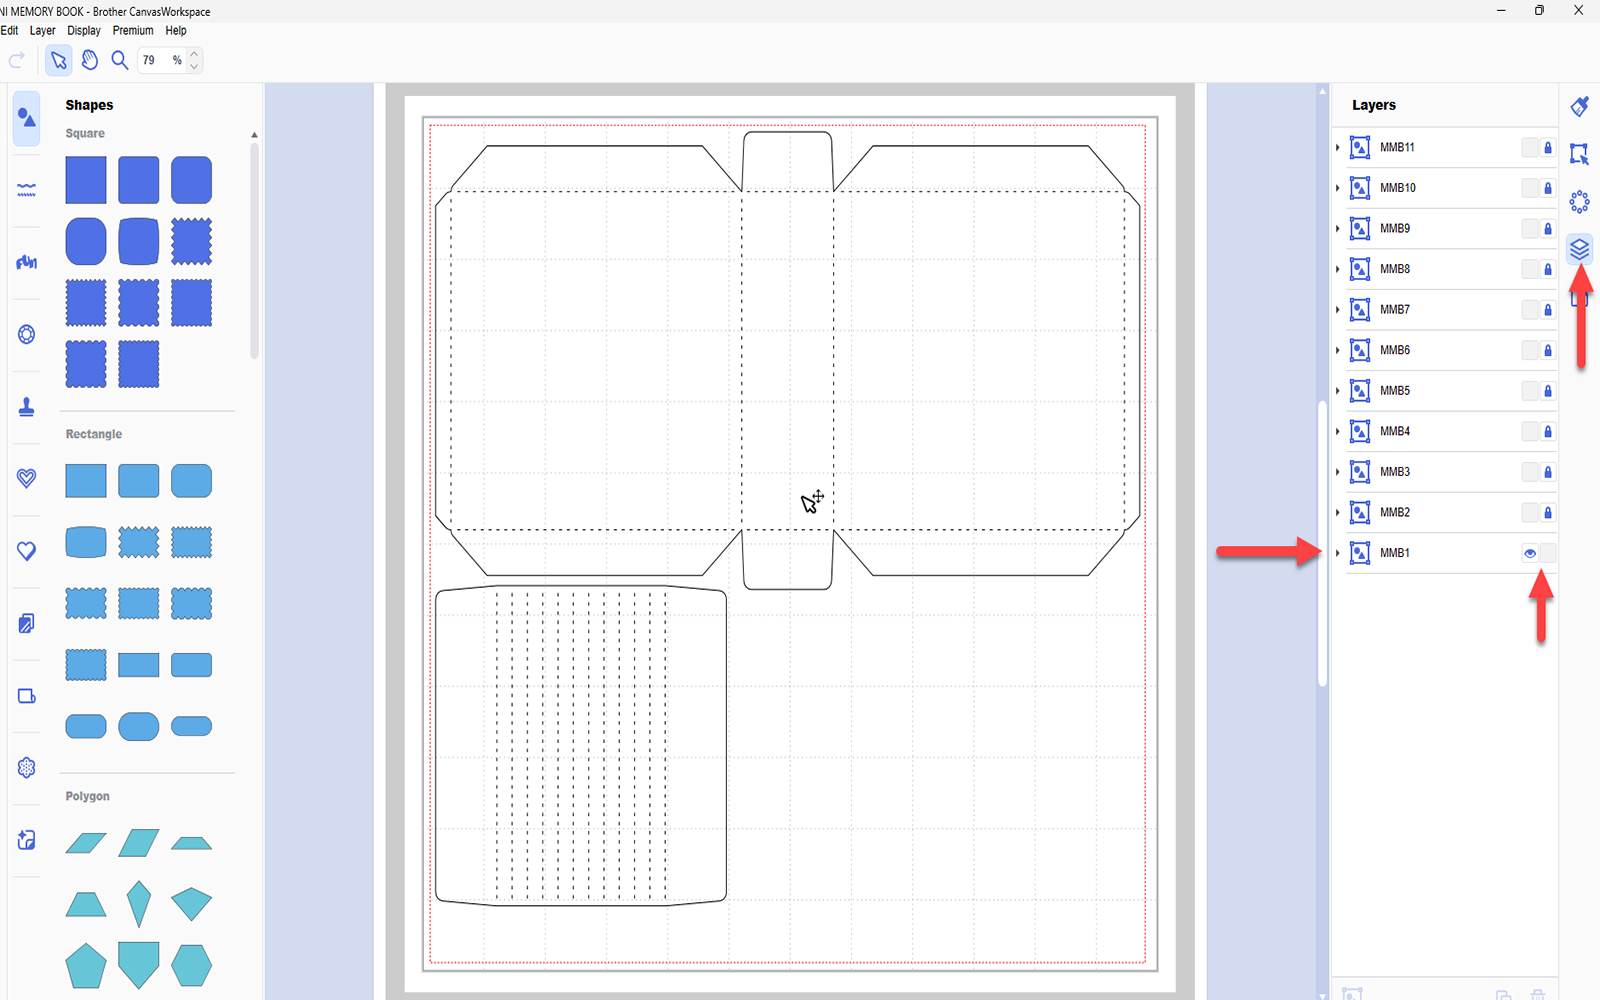
Download the CanvasWorkspace project file. Open it in CanvasWorkspace (the desktop version). Open the layers tab on the right.
Step 2
Hide and lock all layers except the one titled 1. Transfer this to your machine using the File>Export/Transfer FCM File menu option. Cut three times from 12 x 12” cardstock. Cut Size: 267.158mm wide and 291.926 mm high.
Step 3
Hide and lock all layers except the one titled 2. Transfer this to your machine using the File>Export/Transfer FCM File menu option. Cut once from 12 x 12” patterned paper. Cut size is 291.8 mm wide x 269.3 mm high.

Step 4
Hide and lock all layers except the one titled 3. Transfer this to your machine using the File>Export/Transfer FCM File menu option. Cut once from 12 x 12” cardstock. Cut Size is 266.7mm wide and 210.037mm high.

Step 5
Hide and lock all layers except the one titled 4. Transfer this to your machine using the File>Export/Transfer FCM File menu option. Cut once from 12 x 12” patterned paper. Cut Size is 186.975mm wide and 117.402mm high.

Step 6
Assemble as shown in the video.
If you make this, remember to tag in Brother on Instagram and Facebook, and myself on Facebook (and give us all a follow too)! You can also find Brother on Pinterest and YouTube for even more ScanNCut inspiration.


