How to: digitised appliqué

Did you know that you can appliqué on your Brother embroidery machine using a digitised pattern?
This is a very exciting branch of machine embroidery, which allows you to make badges, clothing, freestanding items and even entire quilts.
All digitised appliqué designs follow the same basic steps. The whole process is done without removing the fabric from your embroidery frame.
Did you know that most Brother embroidery machines have built-in appliqué designs? You can find them in the manual overview.
How do you know if a pattern contains appliqué elements?
When you open the design on your Brother embroidery machine, in the colour breakdown on the layout tab, you will see a set of three steps not displaying as colour blocks.
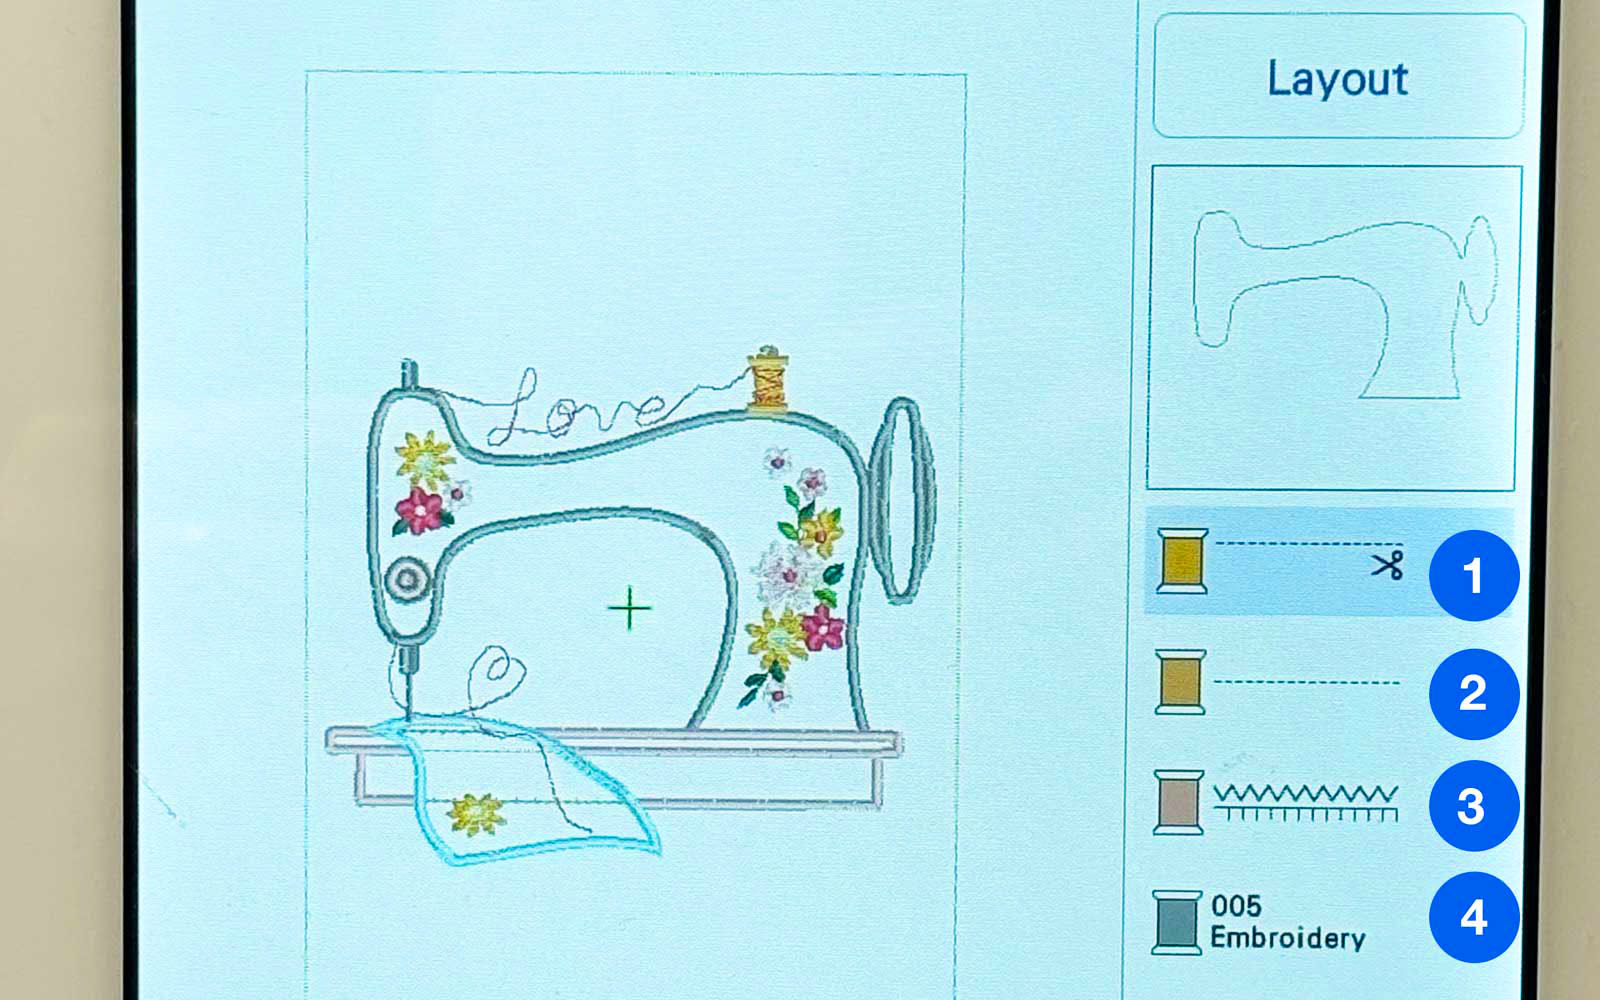
- A straight stitch with a little scissors icon – this is the placement stitch.
- Another straight stitch – the tack down of fabric before cutting.
- Zigzag or blanket stitch – the tack down of fabric after cutting.
- Finishing stitch with embroidery thread – this display as an actual colour and is normally a satin stitch.
In the manual, the steps will be displayed like the image below. You will also find instructions accordingly.
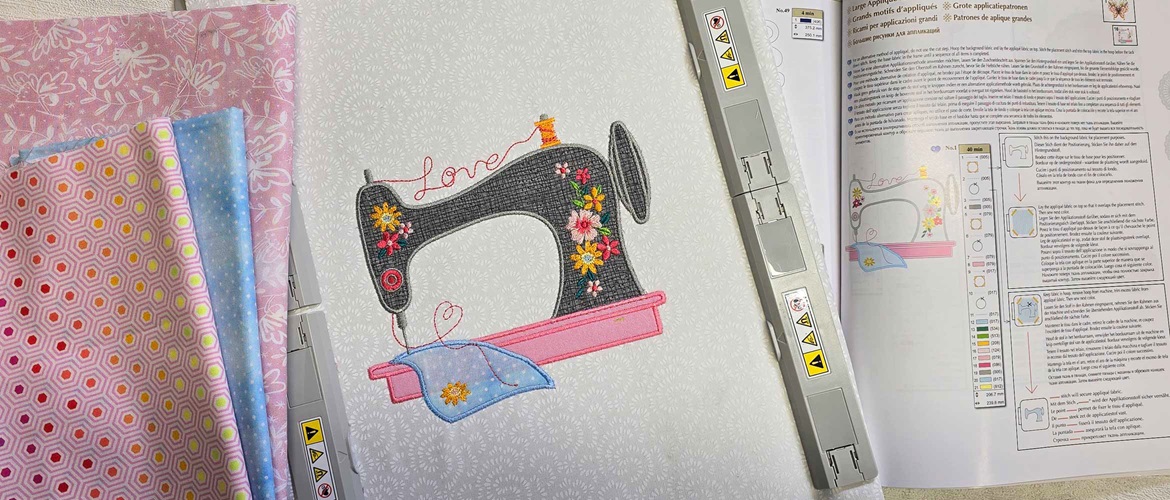
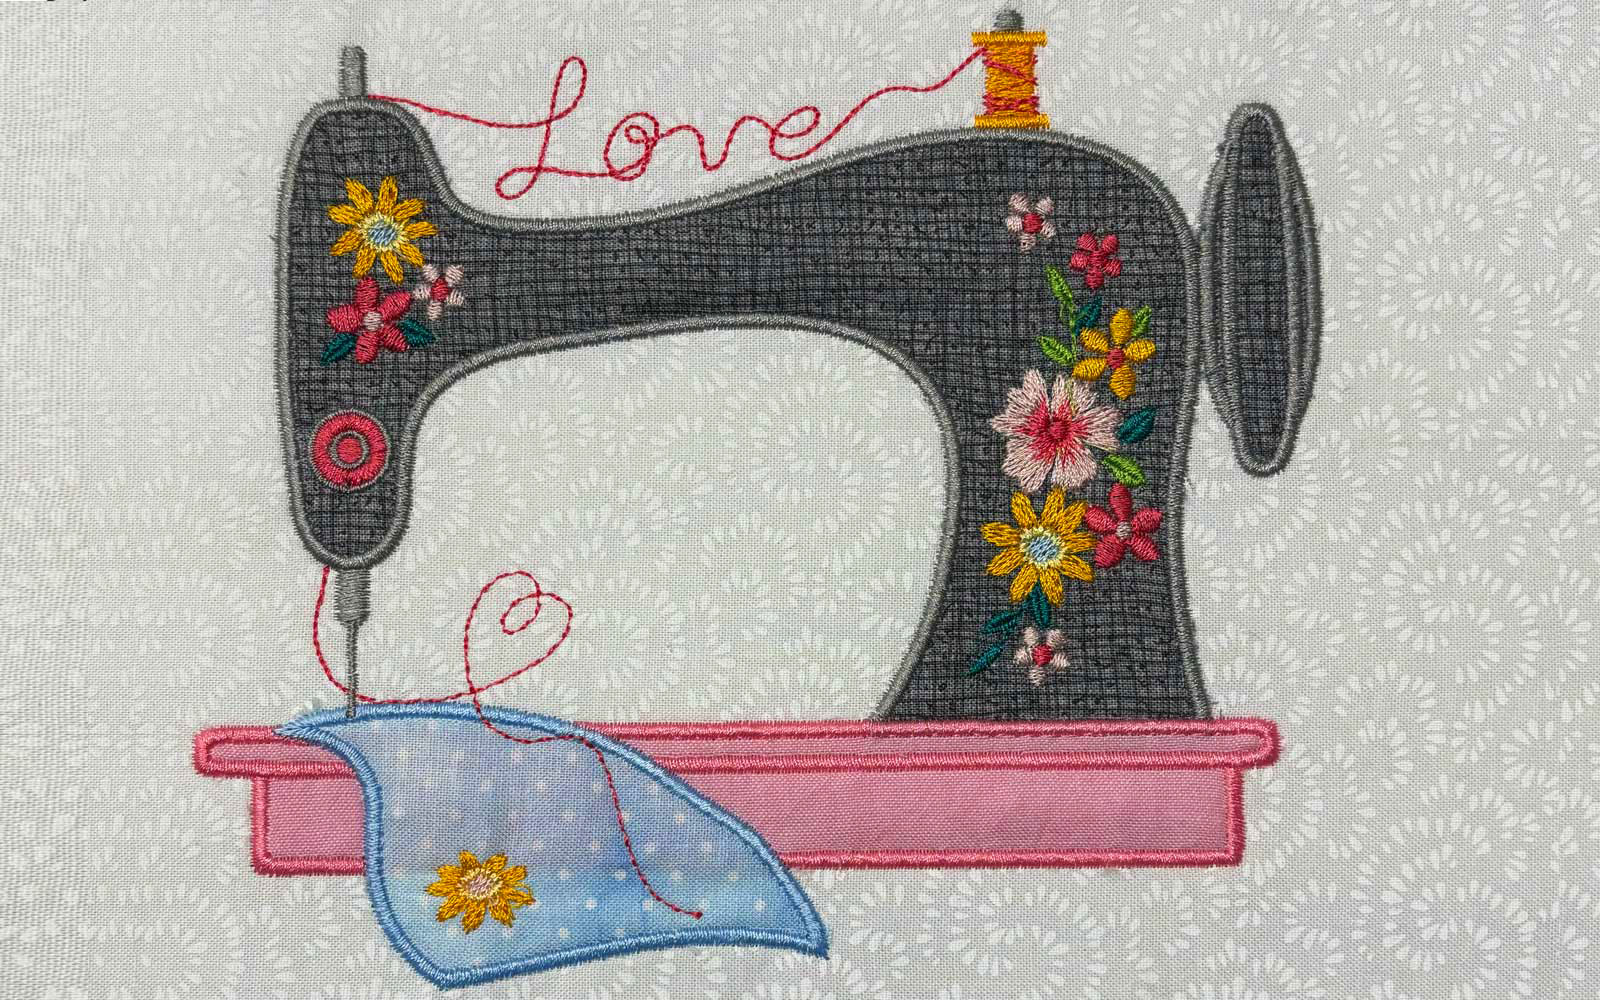
Let’s try an appliqué project together!
Materials needed
- Fabric or item to embroider on
- Fabrics of your choice for the appliqué pieces (according to your chosen design)
- Digitised appliqué design – we have used one of the Luminaire XP3’s built-in patterns to illustrate the steps. You can use a built-in design from your embroidery machine, or transfer one wirelessly from Artspira, our mobile embroidery, cutting and printing design app.
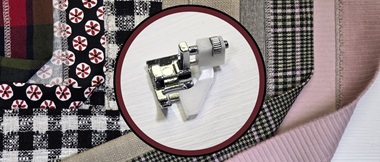
Equipment needed
- Brother embroidery machine
- Brother embroidery frame – size to fit your design
- Sharp curved scissors
- Iron
- Spray starch (optional)
- Washi-type or easy peel tape (optional)
How to
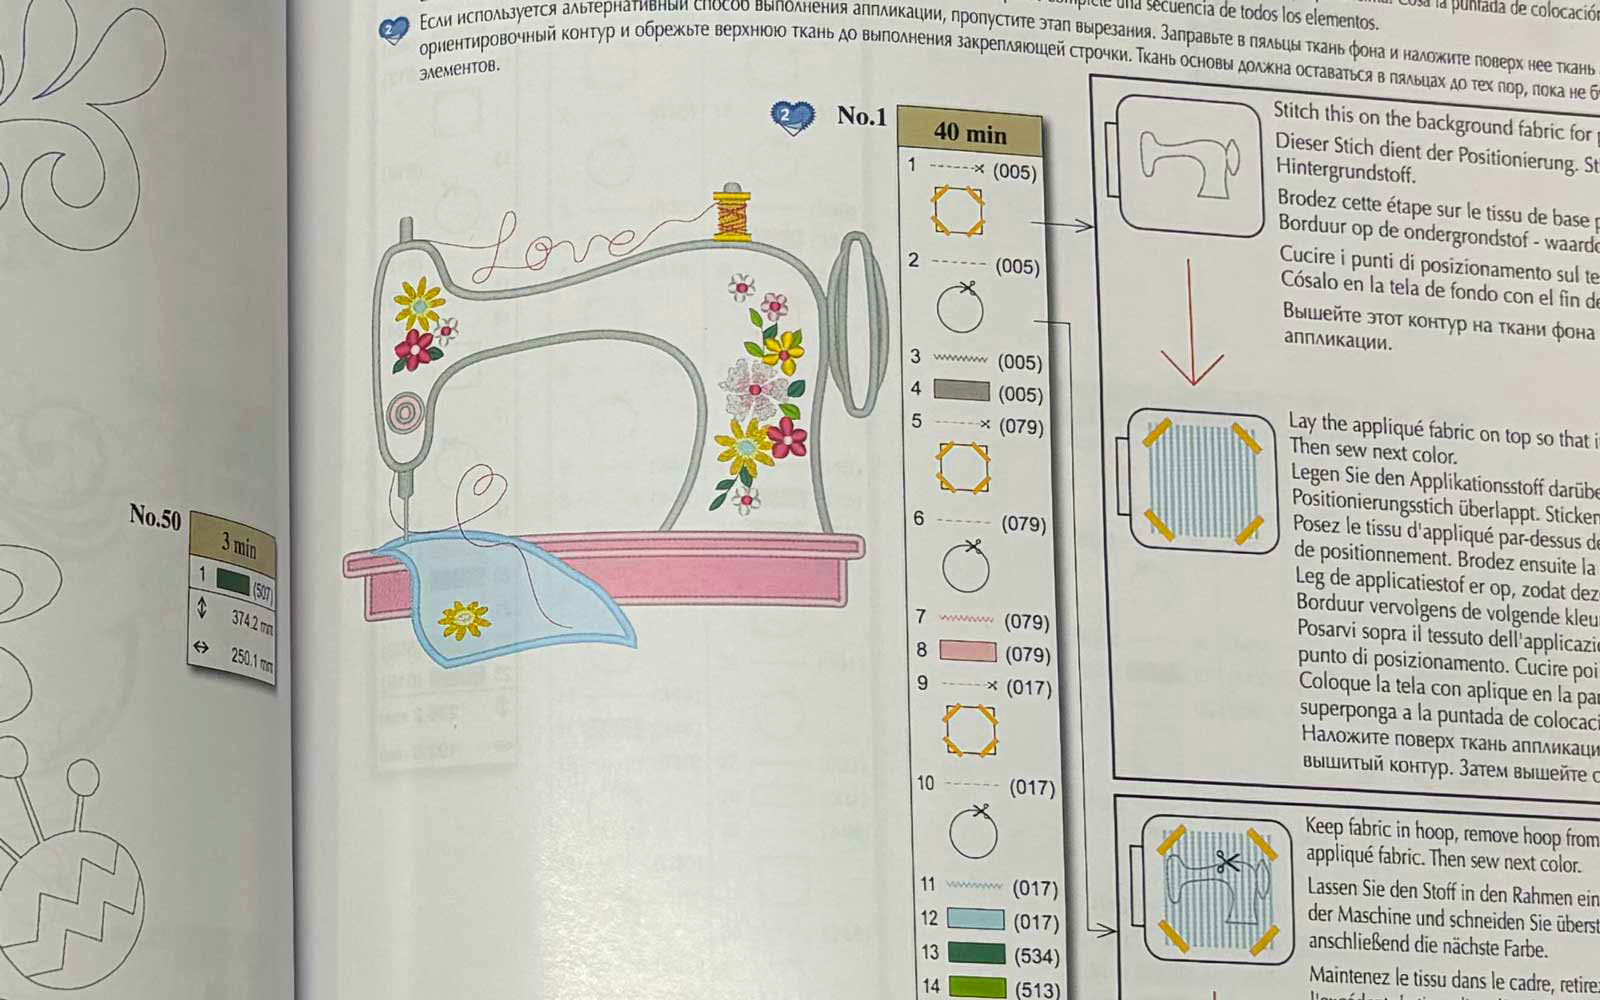
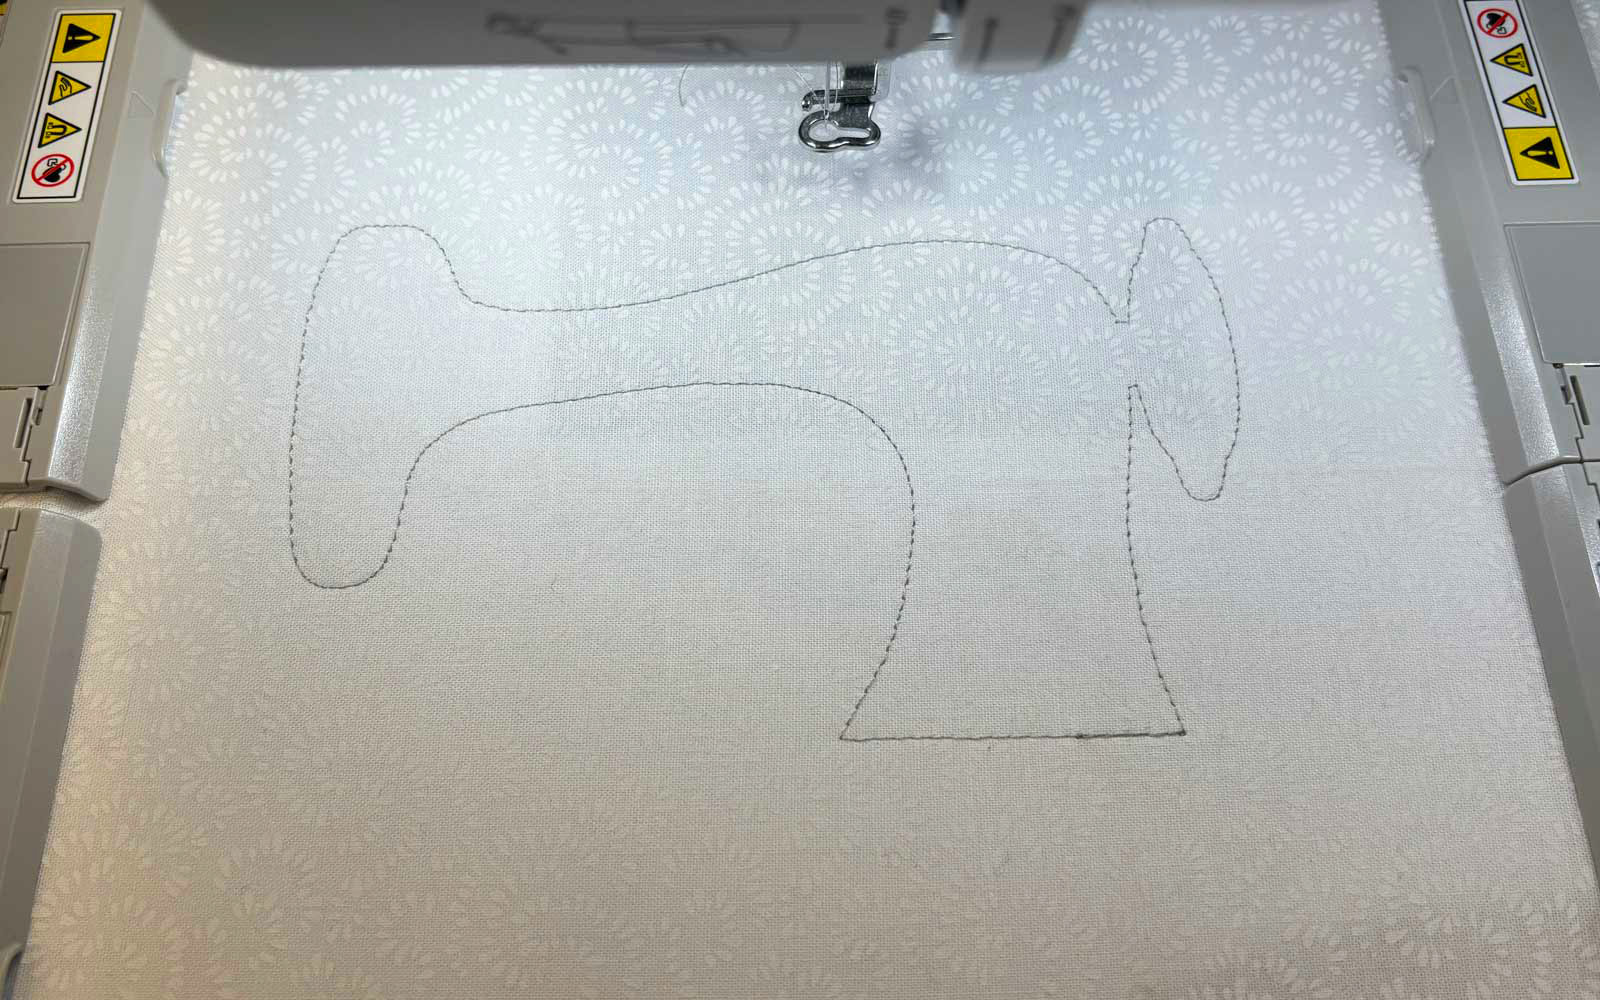
Step 1
Stabilise and hoop the fabric as usual. Sew the first step, which will be the placement line.
Step 2
Cut a piece of fabric large enough to cover the sewn outline. Place it over the sewn placement outline stitch, covering it with at least a centimetre to spare all around. We recommend that you tape it down lightly onto the fabric. Make sure the tape is placed outside of any sewing lines. Sew the second step.
Tip: to get a nice, smooth finish, press the fabric well, using a little bit of spray starch before you appliqué it.

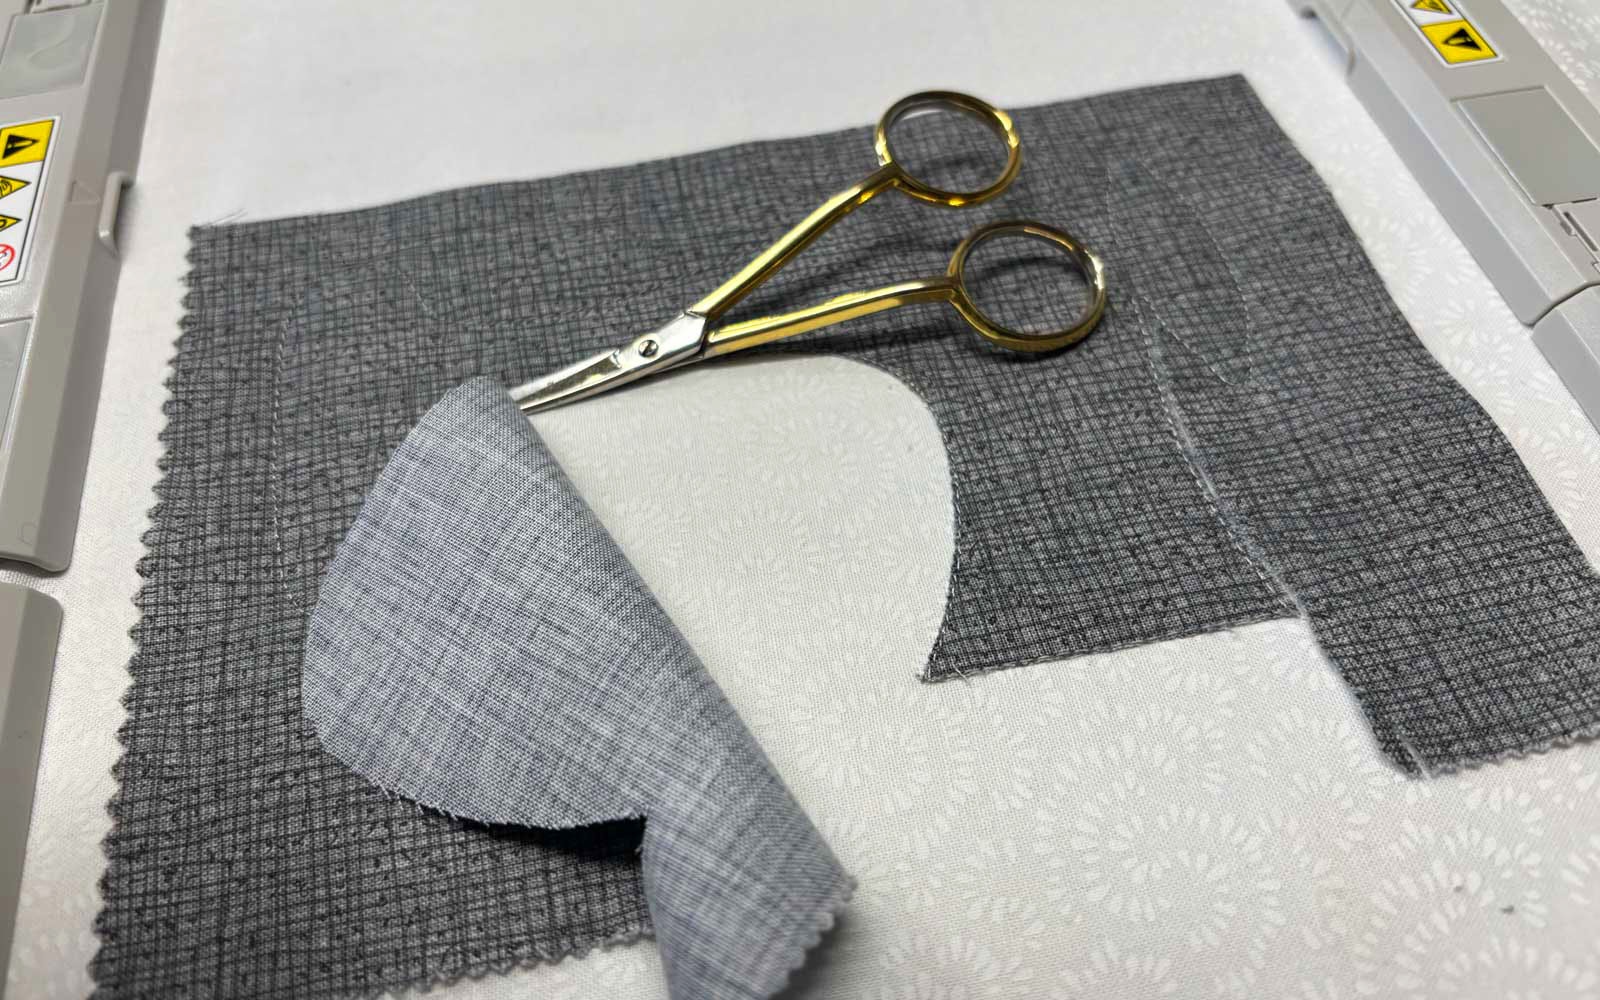
Step 3
Remove the embroidery frame from the machine, but do not remove the fabric from the frame!
Use appliqué scissors to trim the excess fabric as close as possible to the stitching, but without cutting through the stitches.
Tip: pull the fabric tight, away from the stitching, when cutting. The first cut is the best – try to cut as close to the stitching as you can straight away, as it is hard to trim tiny little bits away later.
Step 4
Return the embroidery frame to the machine and sew the next step – the finishing stitches.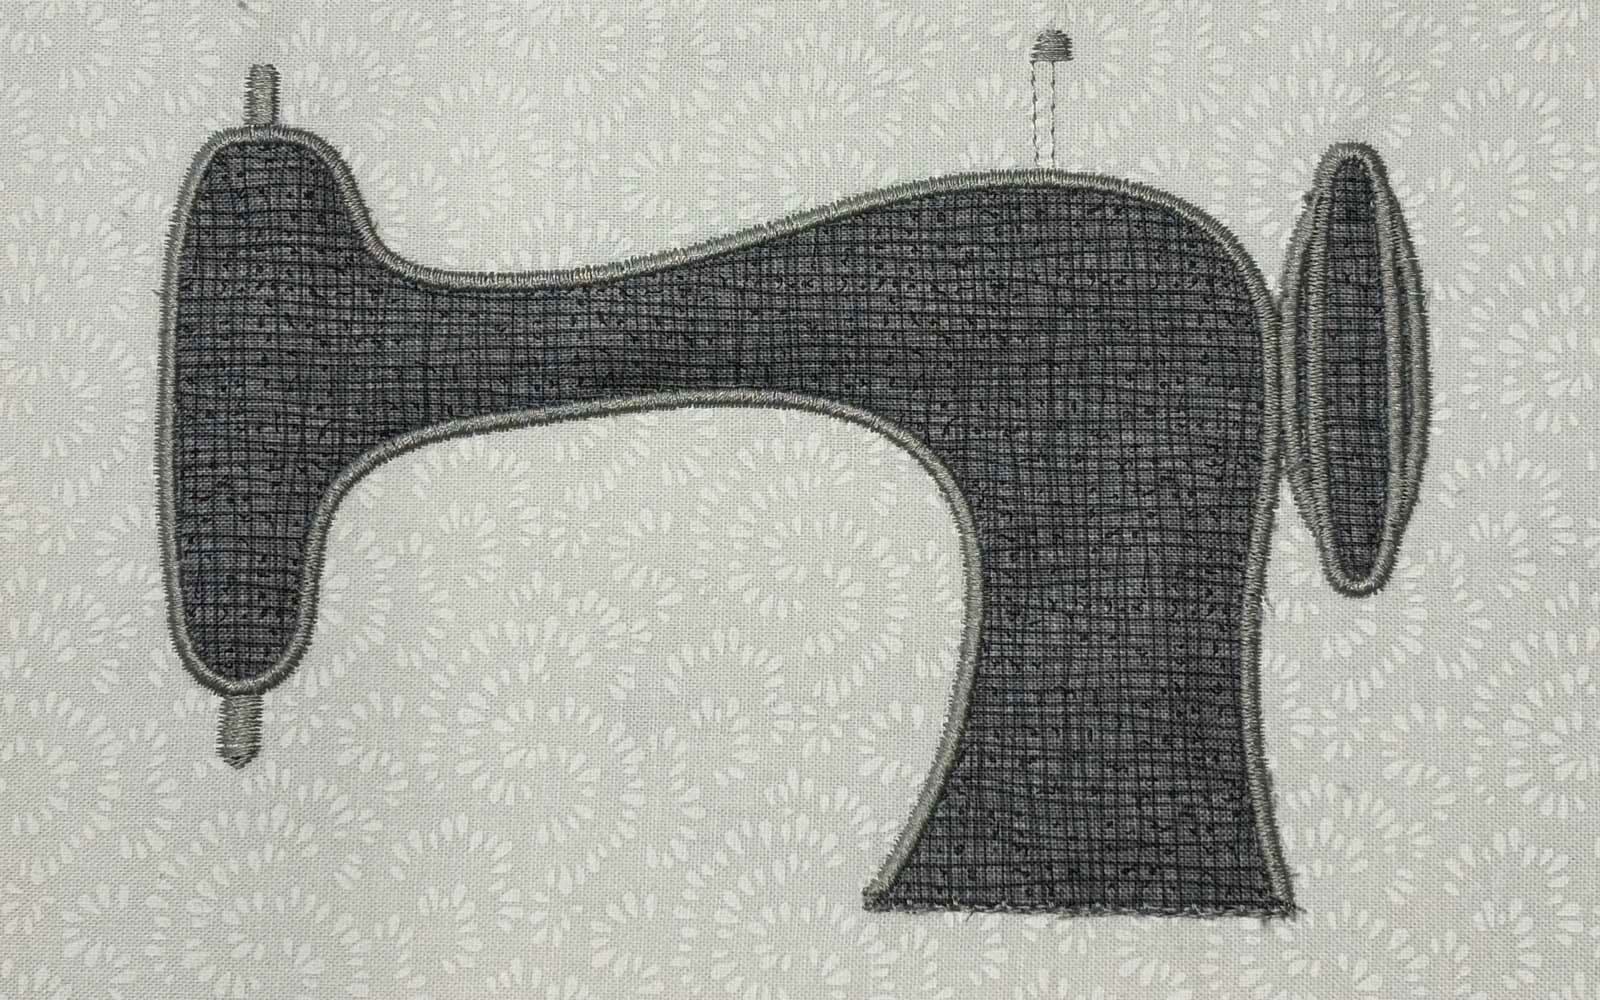
Now that you understand the basics of digitised appliqué designs, why not try some of our fun projects? We’ve got quite a few on the blog, including:
- Naughty cat appliqué
- Advent calendar
- Autumn leaves
- Sweet summer ice lollies
- Spring chicks, bunnies and carrots
- Honey & Babe love gnomes
- Cute cats
- and also our In-the-hoop gingerbread man ornaments, which work the same as appliqué.
You can find all of our blog appliqué projects by clicking on the Appliqué tag at the bottom of this article. Did you know that all of our blog posts have tags at the bottom, so you can easily find related projects?