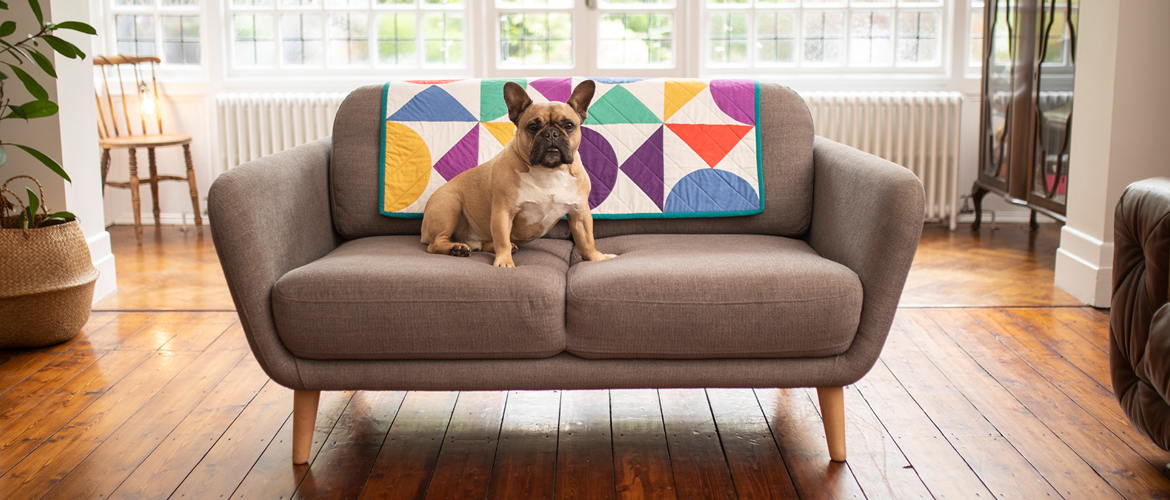
Geometric quilt


Simple geometric shapes in strong colours are pleasing in their simplicity.
This quilt is an easy make for intermediate quilters and enthusiastic beginners.
Overview
Finished quilt size: 41 x 41” (approximately 104 x 104cm)
Finished block size: 10” (approximately 25.5 x 25.5cm)
The quilt is made up of sixteen blocks. Each block is made up of two sections, a triangle and a half circle, each measuring 10 ½ x 5 ½“ including seam allowances.

Materials needed
- Batting: 1.2 x 1.2m
- Template material: four pieces of 30 x 15cm each (or light card)
- Quilting cotton fabric 44”/110cm wide (we used Thatched by Moda):
For patchwork
- Mid pink: 20cm
- Plum: 40cm
- Mustard: 40cm
- Royal: 40cm
- Jade: 20cm
- Lipstick: 20cm
- Deep plum: 40cm
- White background (48626 150): 1.3m - Backing fabric: 1.2m
- Piecing thread: general sewing thread in a neutral colour – light grey or beige is ideal
- Quilting thread: you can use any thread to quilt – we used general sewing thread in a mid-range neutral colour. For a more pronounced effect you can consider heavier weight thread or a contrasting colour.
Equipment needed
- Rotary cutter
- Quilting ruler
- Cutting mat
- Dressmaking scissors
- Pins
- Template material
- Thin permanent marker or pencil
- Water-soluble pen
- Walking foot with quilting guide
- Quarter inch foot with guide
- Hand sewing needle
- Stylus or awl
Download your pattern pieces here
Quilt layout

Design notes and tips
- All seam allowances are ¼” (7mm) unless stated otherwise
- We supply templates for the half circle block as well as the triangles, intended for tracing and scissor cutting. You can choose to cut the triangles with a rotary cutter for speed. See instructions in step 3.
- Accurate cutting and sewing is essential! Press your fabrics before starting, trace and cut carefully and pin, pin, PIN while you sew. Check that you are sewing an accurate quarter inch seam – use your quarter inch foot
- Using a stylus or an awl will help you to get the curves neat.
How to
Step 1
Download the patterns and print out at ‘actual size’ on your printer. Measure the test block on each page to check that the scale is correct.
Trace templates onto a template material with a thin permanent marker or pencil. On pieces C and D, trace the notches as well. Cut out on the lines.
Tip: instead of template material, you can glue the printouts to light card and cut out on the lines.

Step 2
Place templates onto your patchworking fabric and trace around all pieces, making sure to mark the notches.

Step 3
Scissor cut pieces following the list below:Mid pink: 2 x D, 1 x A
Plum: 3 x D, 3 x A
Mustard: 1 x D, 4 x A
Royal: 4 x D, 2 x A
Jade: 1 x D, 2 x A
Lipstick: 2 x D, 1 x A
Deep plum: 3 x D, 3 x A
White (background): 16 x C, 32 x B
Tip: if you prefer to rotary cut the triangle pieces, cut as follows:
For background, cut 16 squares of 5 7/8”, then cut diagonally across to form two triangles.
For coloured squares (making 4 at a time, so you will have some wastage on some fabrics):
Cut a square of 11¼”, then cut diagonally twice to form four triangles.

Step 4
With right sides facing, match centre point notches on pieces C and D and pin.Bring the two narrow ends all the way down to the bottom edge of the half circle. Keep the background fabric with right side facing down. Pin.
Ease and pin curves to fit. It is easiest to have the circle part laying flat on the table and then fitting the concave edge on the half circle.
With straight stitch and quarter inch foot sew the seam all along the curve. Press towards concave (background) side.
Repeat with all half circle pieces. You should have 16 in total.

Step 5
Construct the triangle pieces by sewing one small triangle on each short side of the large triangles. Press after each seam.You should have a ¼” of white fabric above the tip of the triangle when sewn together (as shown on the image below). You should have 16 triangles.

Step 6
Match each half circle piece up with the appropriate triangle piece.Sew together and press seam allowance towards the triangle.
Check your block size – each block should be 10½”square. If not, trim all around to get it to size and make it straight.

Step 7
Lay your blocks out, using below image as a guide. Sew the blocks together in strips and then sew the strips together to form a square.Press all seams well.

Step 8
Press your backing and quilt top well. Lay the backing on a table with right side facing down. Centre batting on to the backing, and then centre the quilt top on the batting. Secure the layers with rows of quilter’s safety pins.
Step 9
We sewed straight line quilting, spaced approximately 2½” apart. Attach your walking foot. Set your machine on straight stitch and stitch length at 3.
Firstly, mark two diagonal lines from left top to right bottom, and from right top to left bottom with your water-soluble marker. These two lines will cross on the centre point of the quilt.
Starting from the centre, sew on these lines into each of the corners. Remember to leave long tails when you start in the centre. Pull the top threads through to the back, tie and bury in the sandwich.
Now use your quilting guide to quilt the remainder of the lines in the same manner. It will help you get a smooth surface and straight, evenly spaced lines.

Step 10
Trim the quilt a ¼” from the edge of the top – you will have a ¼” piece all around with only batting and backing.For the binding, cut five strips, 3” wide and width of the fabric.
Trim selvages, sew together and attach the binding, placing raw edges on the trimmed batting and backing edge.
Sew ½” from the edge – your seam will incorporate only a ¼” of the top. This is to prevent your binding from covering the points of the triangles.
If you need more help on how to bind your quilt, refer to our article about How to attach binding to a Quilt.
Tip: remember, if you would like to hang your quilt on the wall, you need to add a hanging sleeve before you sew the binding up.


