How to: use the Brother Concealed Zipper Foot

Concealed zippers finish off garments and décor items with a professional, seamless look that is not spoilt by a visible zipper.
A concealed zipper foot can be used to insert zippers into garments such as trousers, dresses, tops and skirts. It is also a great finish for cushion covers. The foot has a little tongue which rolls the zipper open as you sew. The grooves at the bottom of the zipper foot keep the foot gliding along the zipper tape.Their shape, and the nature of the concealed zipper, make them seem difficult to use. However concealed zippers are much easier to insert than they look, especially when using a concealed zipper foot.
Read on and let us show you how!
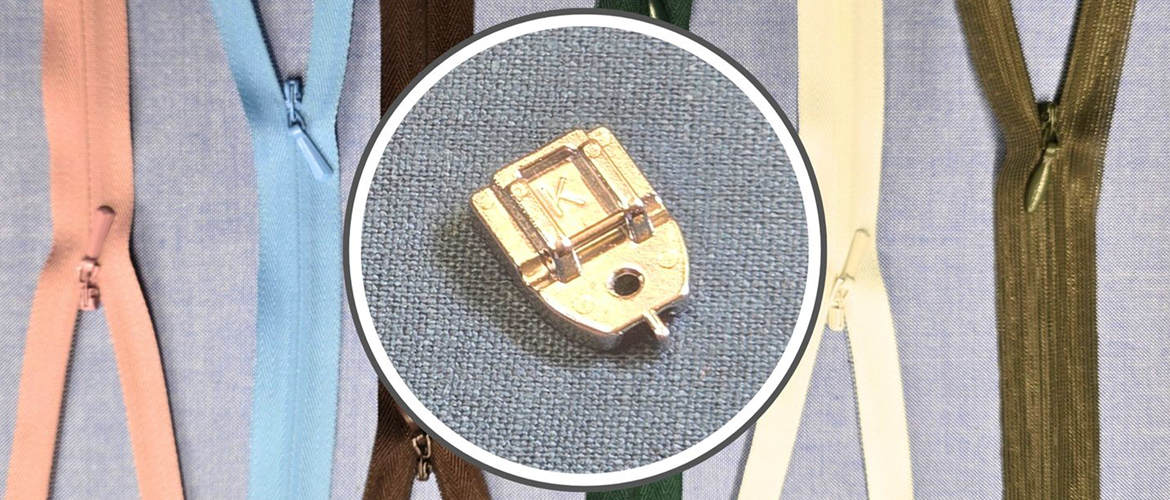
Accessory snapshot

How to use the Brother Concealed Zipper Foot
Note: we have used a contrasting colour zipper and sewing thread for better visibility. Use a matching zipper and thread for your project. Concealed zippers are often available in limited colours. Match the colour as best you can and remember, when you have inserted it correctly, all that would be visible is the puller. Shades in the same colour intensity blend in best, even if the colour is different.
Step 1
Attach the concealed zipper foot to your machine and select the straight stitch with the needle in the centre position.

Step 2
Finish the edges of the seam where the zipper is going to be inserted with zigzag stitch or overlocking stitch. Press.

Step 3
Transfer the mark where the zipper should end according to your pattern onto both pieces of fabric that will adjoin the zipper (eg. both back pieces of a dress). Make sure that the zipper is at least an inch longer than the space it should fit into.Mark the stitching line as well (this will be determined by the seam allowance – check your pattern instructions if it is not marked on the pattern piece.)
Tip: if the zipper is too long, find the place you want the stopper to be and sew a bar over the teeth. Set your machine on zigzag, stitch width of 4 or 5 and stitch length of 0. Sew over the teeth until a bar is formed, approximately ten stitches. Trim the excess zipper away.

Step 4
Open the zipper and lay it on one of the fabric pieces, right sides of the zipper and fabric facing together, and the zipper tape in line with the stitching line. Pin the zipper tape in place.At the top of the zipper, roll the teeth open and hold in position with your finger. Lower the foot with the little tongue of the foot into the groove of the zipper. Sew from the top to exactly next to the mark you made in Step 2. Reinforce at the start and end.

Step 5
Repeat on the other side of the seam and zipper. Close the zipper to see that the zipper is not visible when closed. If any of the zipper is visible, sew again in the groove.
Step 6
With the zipper closed, turn the wrong side of the fabric facing up. Fold the seam and zipper on both sides of the seam with edges matching. Clip in place.Fold the unsewn bottom end of the zipper up and away from the stitching as far as possible without distorting the seam and place another clip. Pin the rest of the seam.

Step 7
With an open toe foot, sew the seam from the bottom. Continue to sew until your needle is as close as possible to the ends of the stitching that is keeping the zipper in place (see image below for marked stitching line).Do not sew into the zipper. Reinforce the end of the seam.
Tip: this is the most important part to get right otherwise your zipper end will not lie flat and make a ‘bubble’ instead of a smooth finish.

Step 8
Press the seam open. To secure the ends of the zipper, sew the edges of the zipper tape to the seam allowances.
And that is it! On the right side, you should not be able to detect the zipper – it should look like the rest of the seam. Neat!


