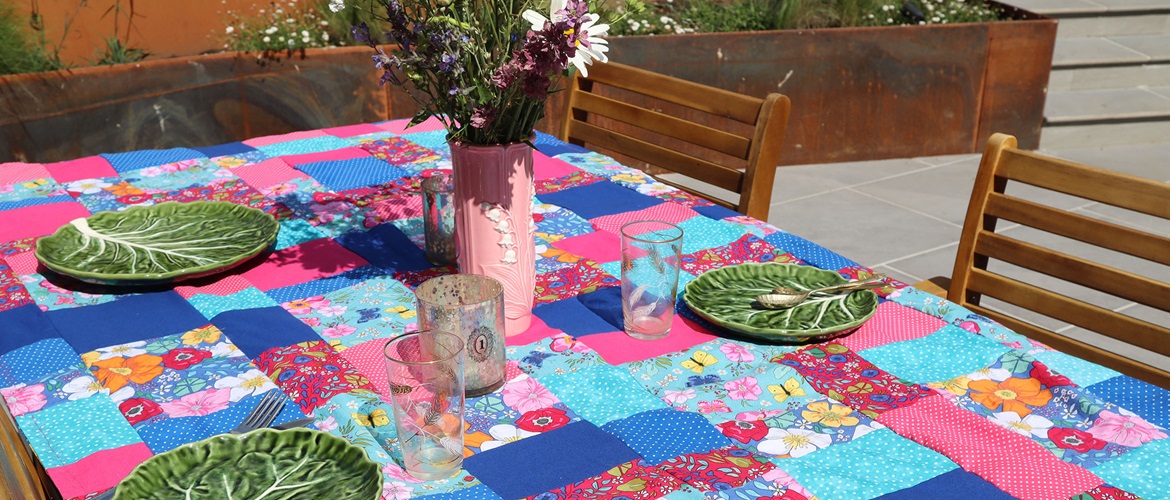
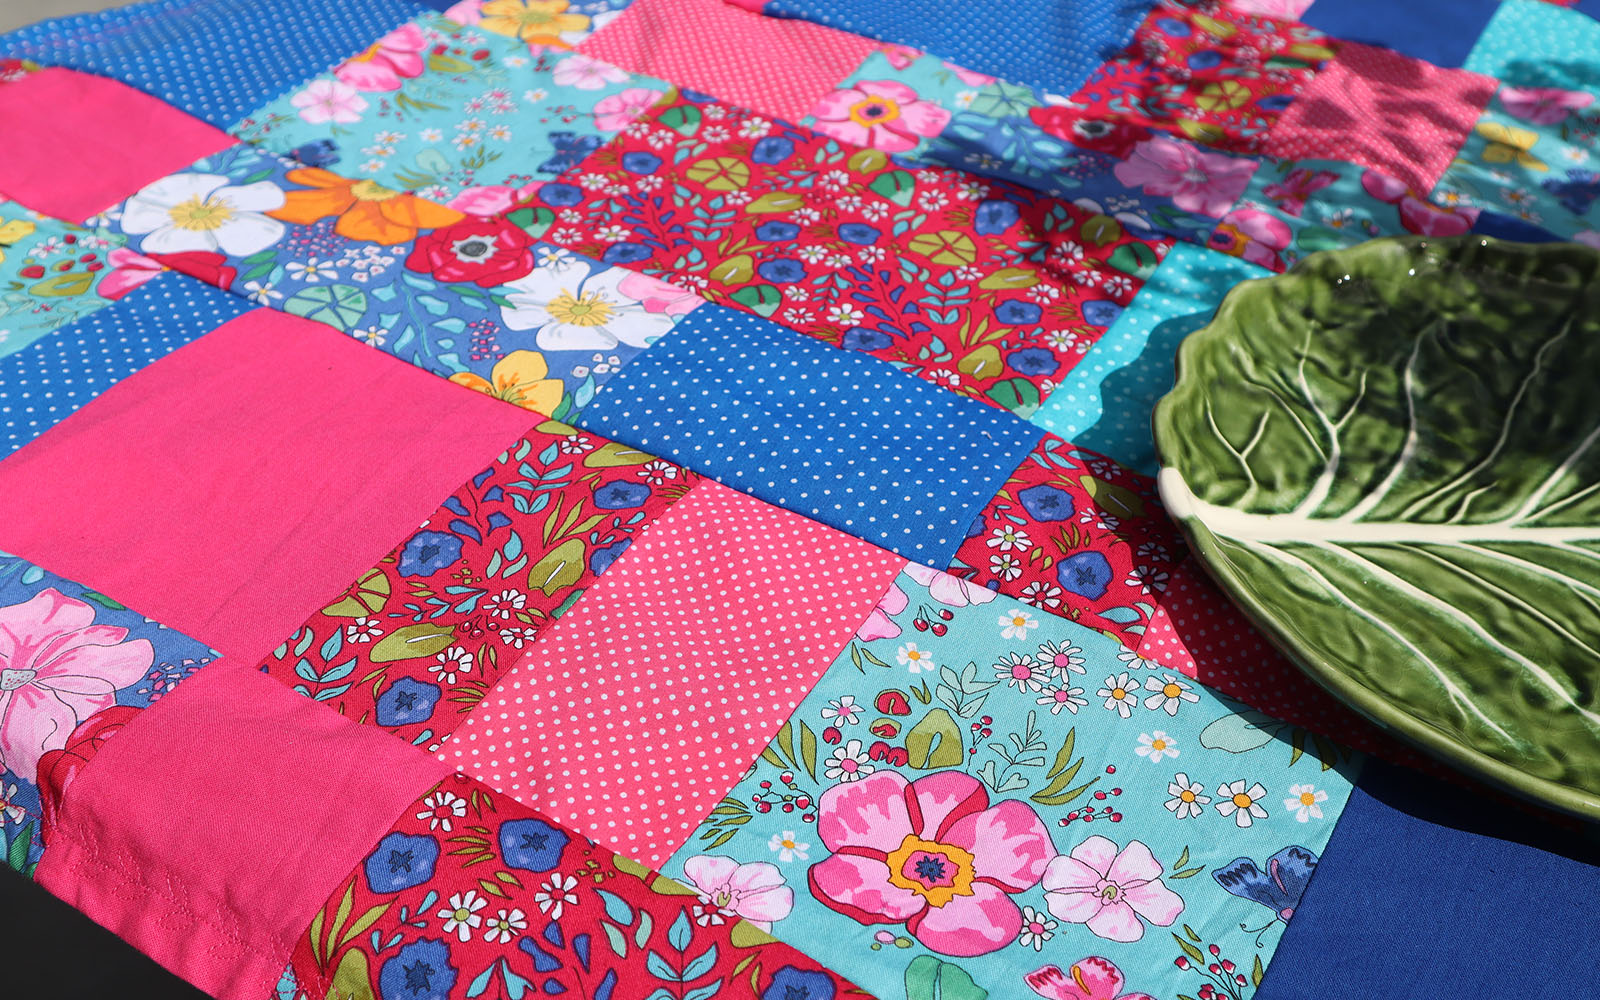
Patchwork tablecloth

A burst of colour on your outdoor table is just what you need for al fresco dining on warm summer evenings.
In this project The Crafty Lass shows us how to sew this randomly patchworked, double-sided design. It’s a perfect way to use use up leftover fabrics.
Materials needed
- Fabric: a variety of fabrics of 4” and 6” wide. The quantity depends on the table you are making for. I combined my own ‘The Crafty Lass’ cotton floral fabrics from the ‘Wild Dreams’ range produced by Craft Cotton Co with plain and polka dot cottons.
- Coordinating sewing thread: grey or beige is a good choice for sewing different colours.
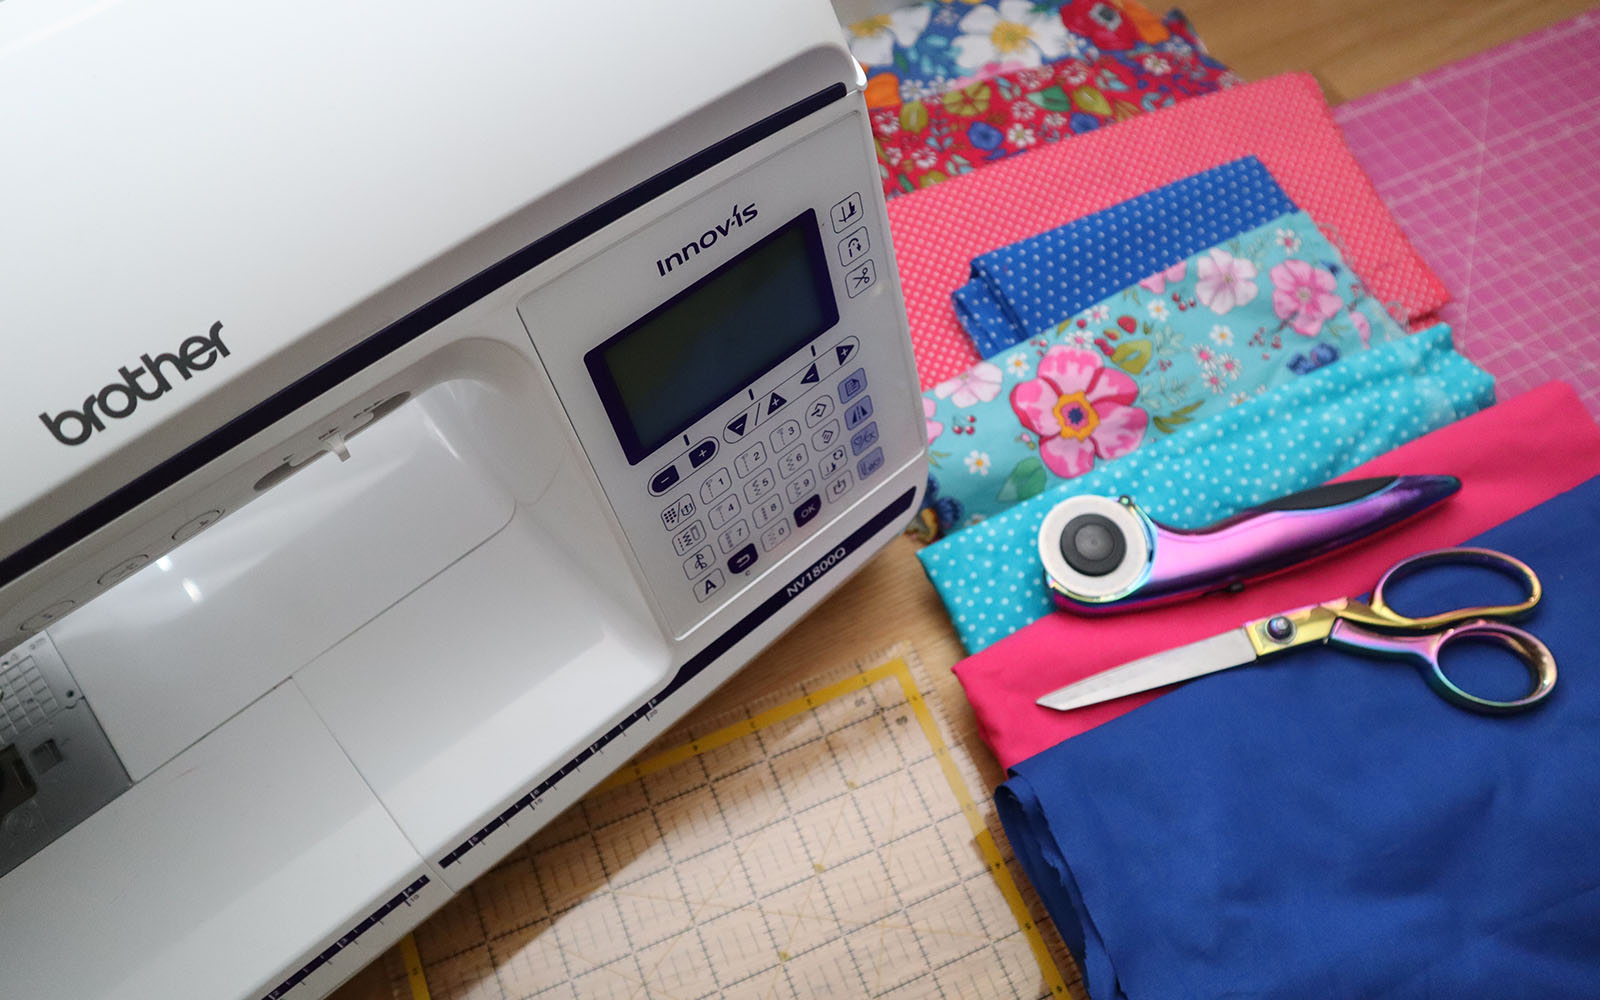
Equipment needed
- Sewing machine (I used the Brother NV1800Q)
- Rotary cutter
- Quilting ruler
- Cutting mat
- Scissors
- Iron
- Pins
- Point turner
Notes and tips
- Seam allowances are 1cm throughout.
- Sew all seams with a straight stitch at 2.5 setting.
- You can up- or downsize the project by adjusting the number and length of the strips. Remember to factor in seam allowances when planning!
- You could use this same method to make a quilt top.
How to
Step 1
Press your leftover fabrics and sort them into two groups: those large enough to cut 4” (10cm) strips and those large enough for 6” (15cm) strips.
Make sure you have a good variety of fabrics in each pile. Aim for a combination of large and small prints as well as some plain fabrics. Once you have made your selection, press the fabrics.
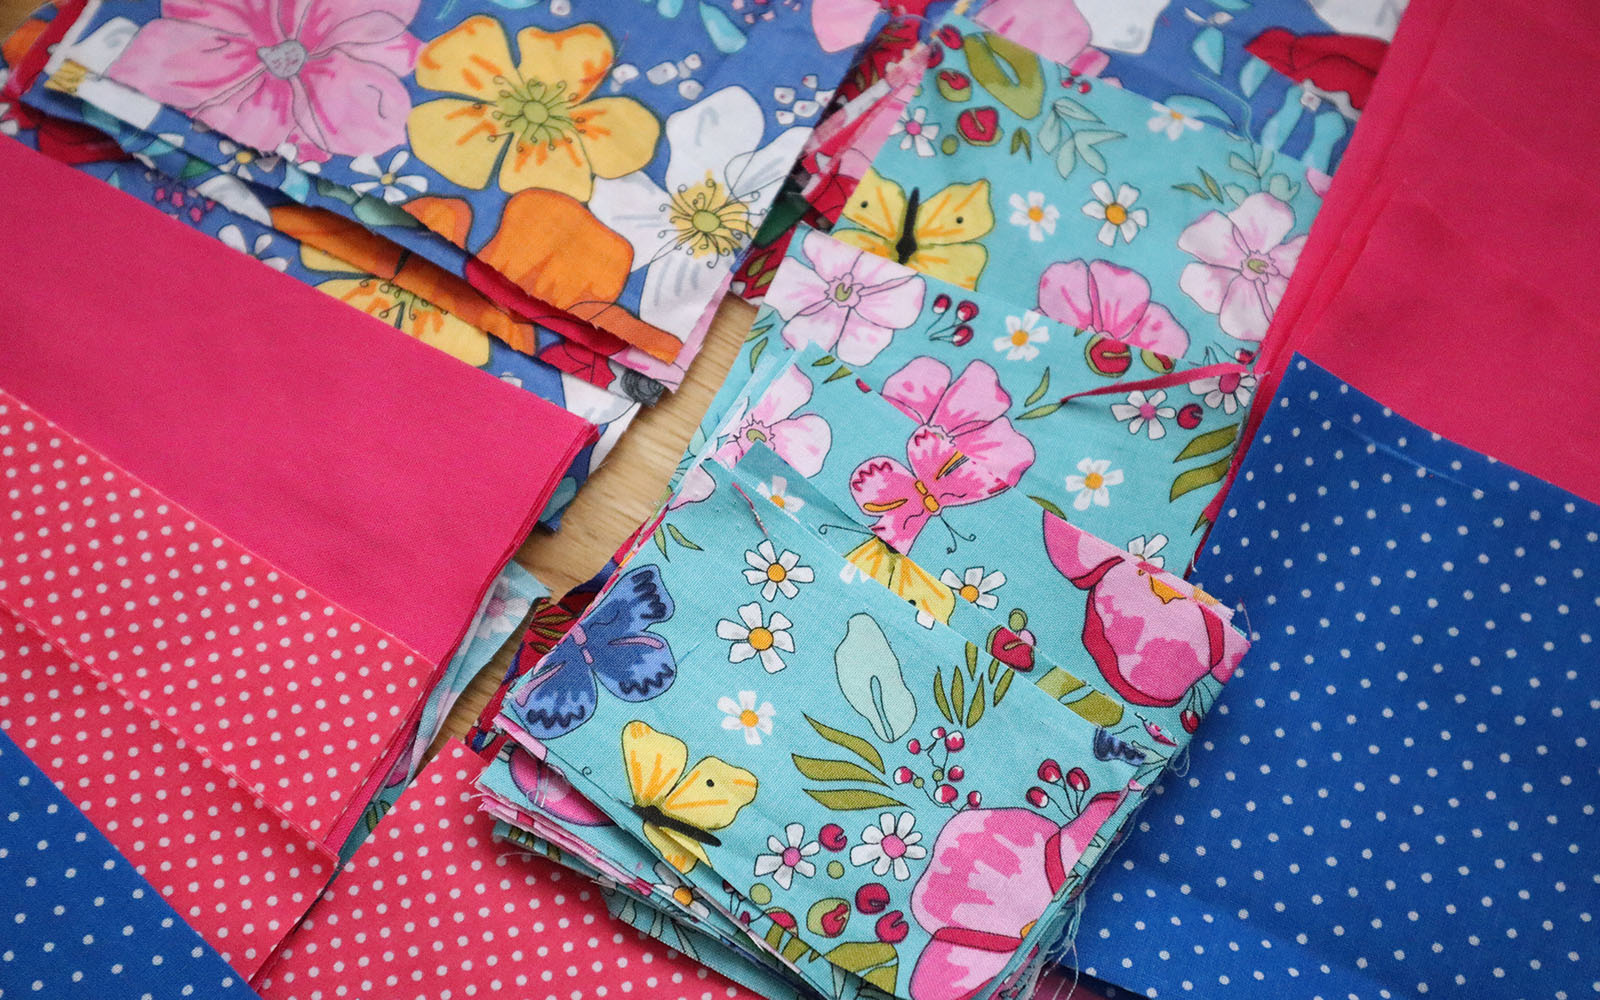
Step 2
Using your rotary cutter and quilting ruler, cut as many 4” and 6” strips as you can from each pile of fabrics. Then cut a variety of rectangles in different sizes from the strips.
I have cut a mix of lengths, using the sizes of the leftover pieces as a guide while making sure there was a mix of short and long pieces ranging from 3” to 8” long across all prints.
Tip: keep the 6” width rectangles and 4” width rectangles separate.
Step 3
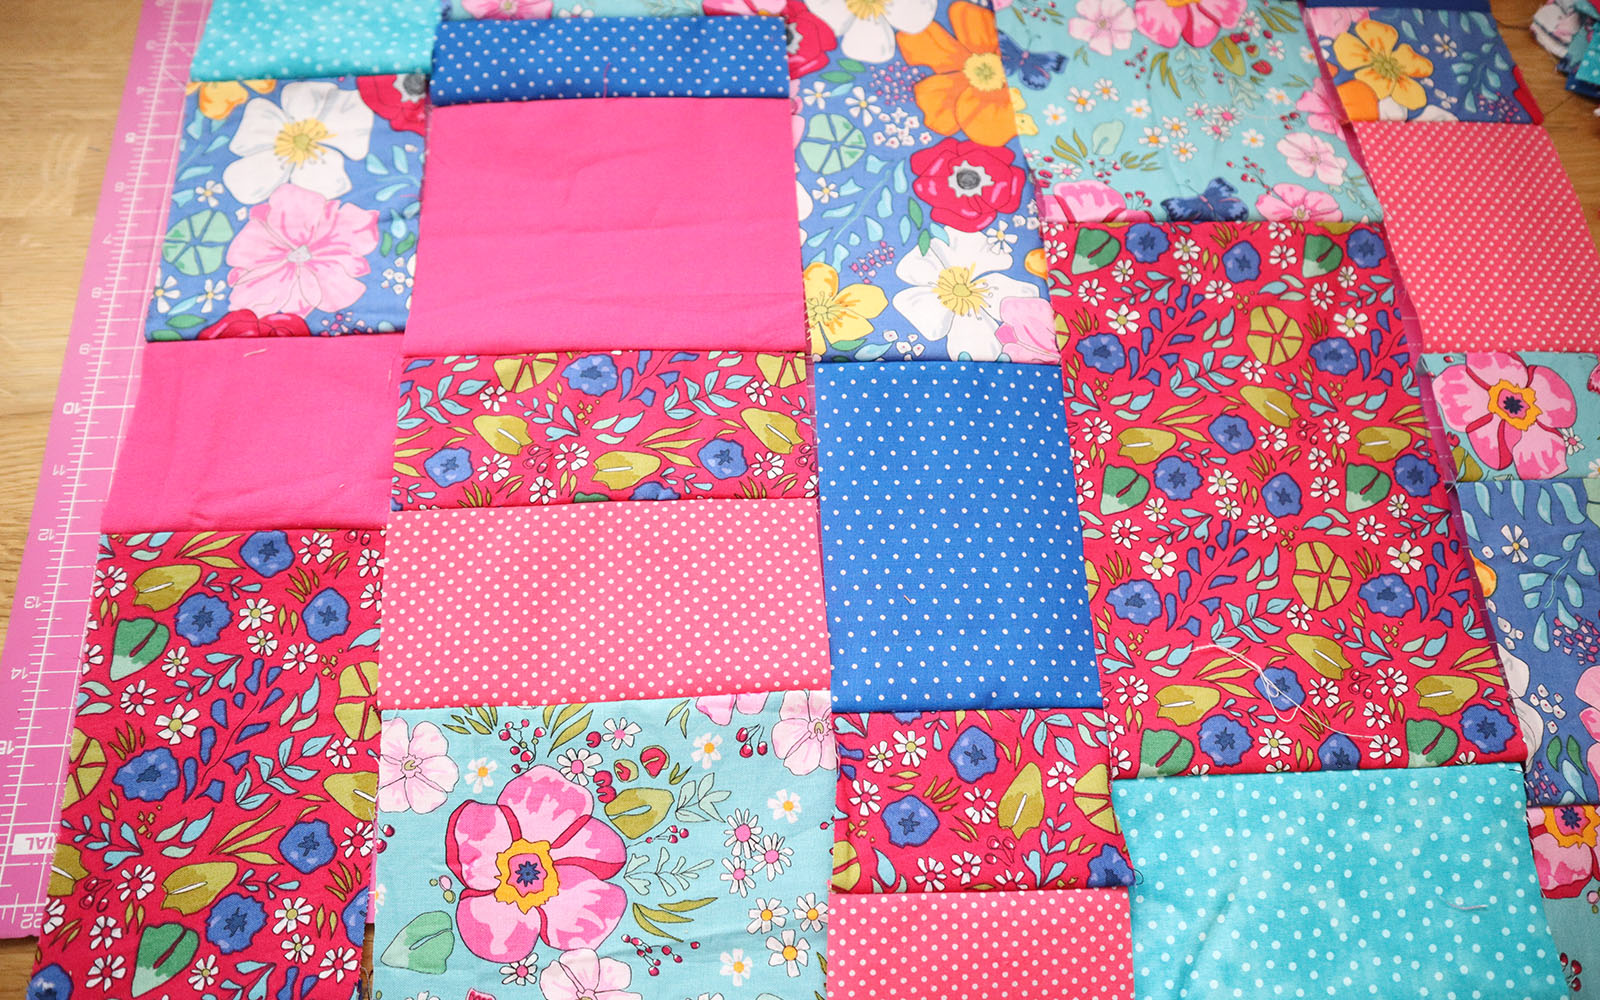
Lay your rectangles out in rows, roughly the length that you need them to be. You can now see how they may look next to each other and swap them around to get a pleasing arrangement.I have chosen to alternate the 4” rows and 6” rows to create a random effect. You can add more rectangles to get the size and variety of prints you require.
Tip: when laying the rectangles and strips out, don’t forget to factor in seam allowances.

Step 4
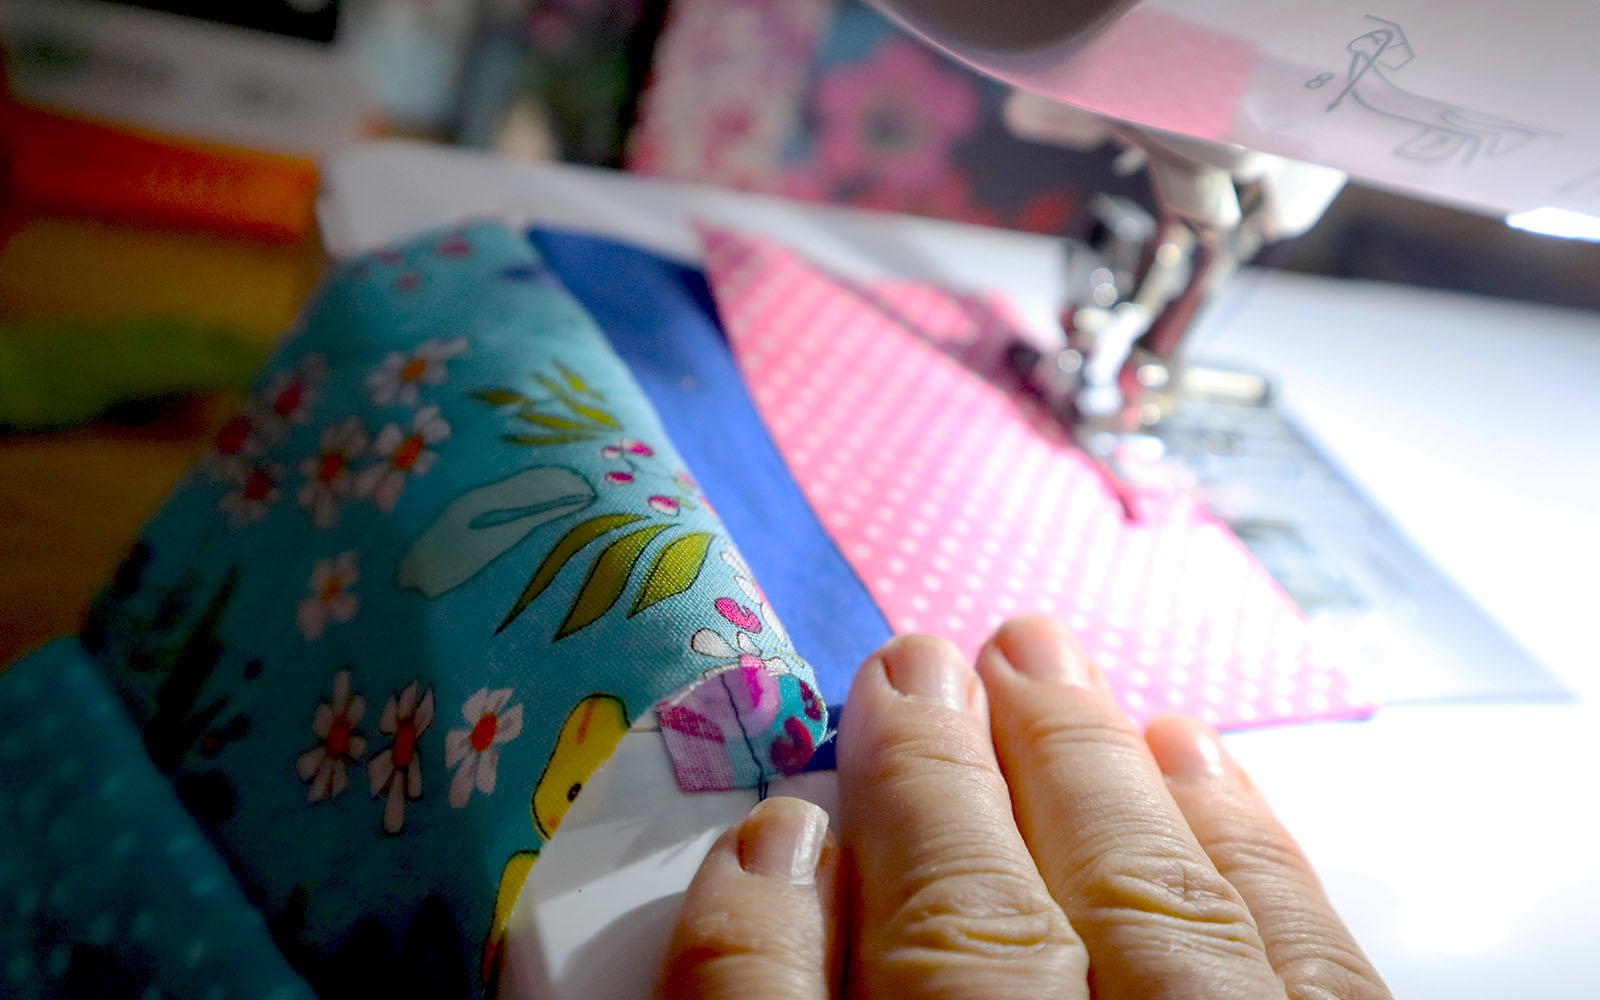
Once you are happy with the order and layout of your rectangles, start sewing the rectangles in each row together. Press seams and check the length – add more rectangles to get the desired length if needed.Make enough strips to get the width you need, taking seam allowances into account.
Step 5
Lay the sewn and pressed rows out next to each other and check again if you like the distribution of the prints. Swap the strips around if you have too many of the same prints bordering each other. The aim is to get a random effect in prints and colours, and to not have seams align.
Step 6
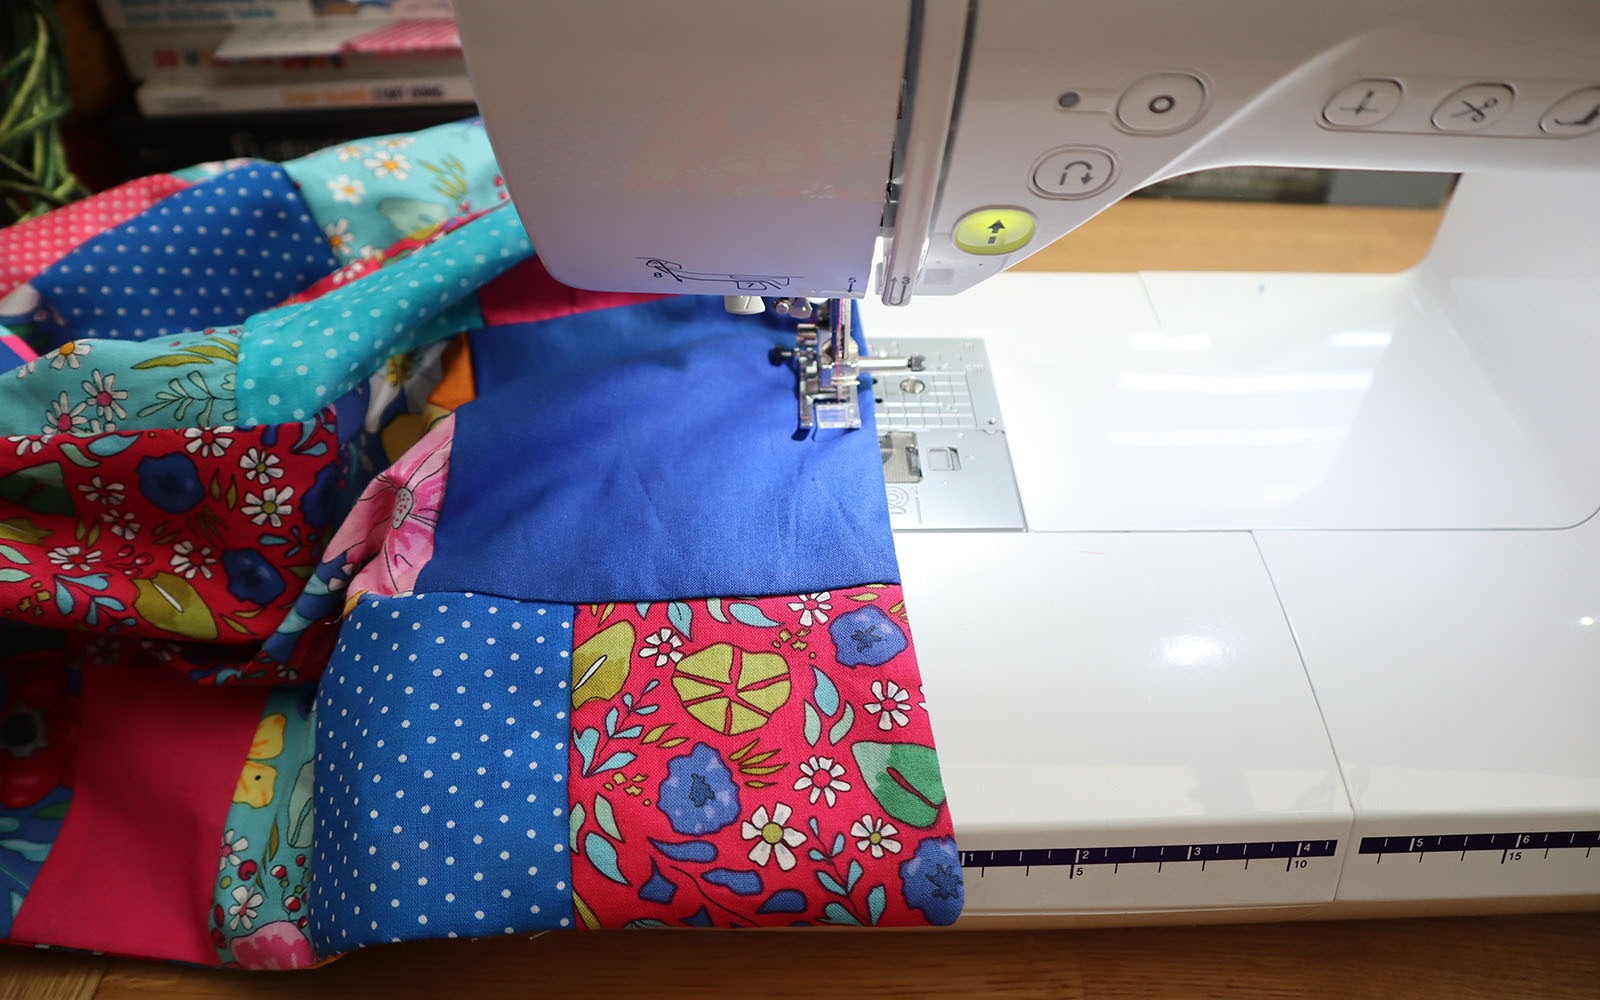
Sew the rows together, pressing the seams as you go.

Step 7
As we are using differently cut rectangles and have moved the strips to get a random effect, the strips end up being slightly staggered at both ends of the tablecloth.
Trim the ends by laying the end of the cloth along your cutting mat. Align your quilter’s ruler with the shortest piece and cut across the protruding ends.

Step 8
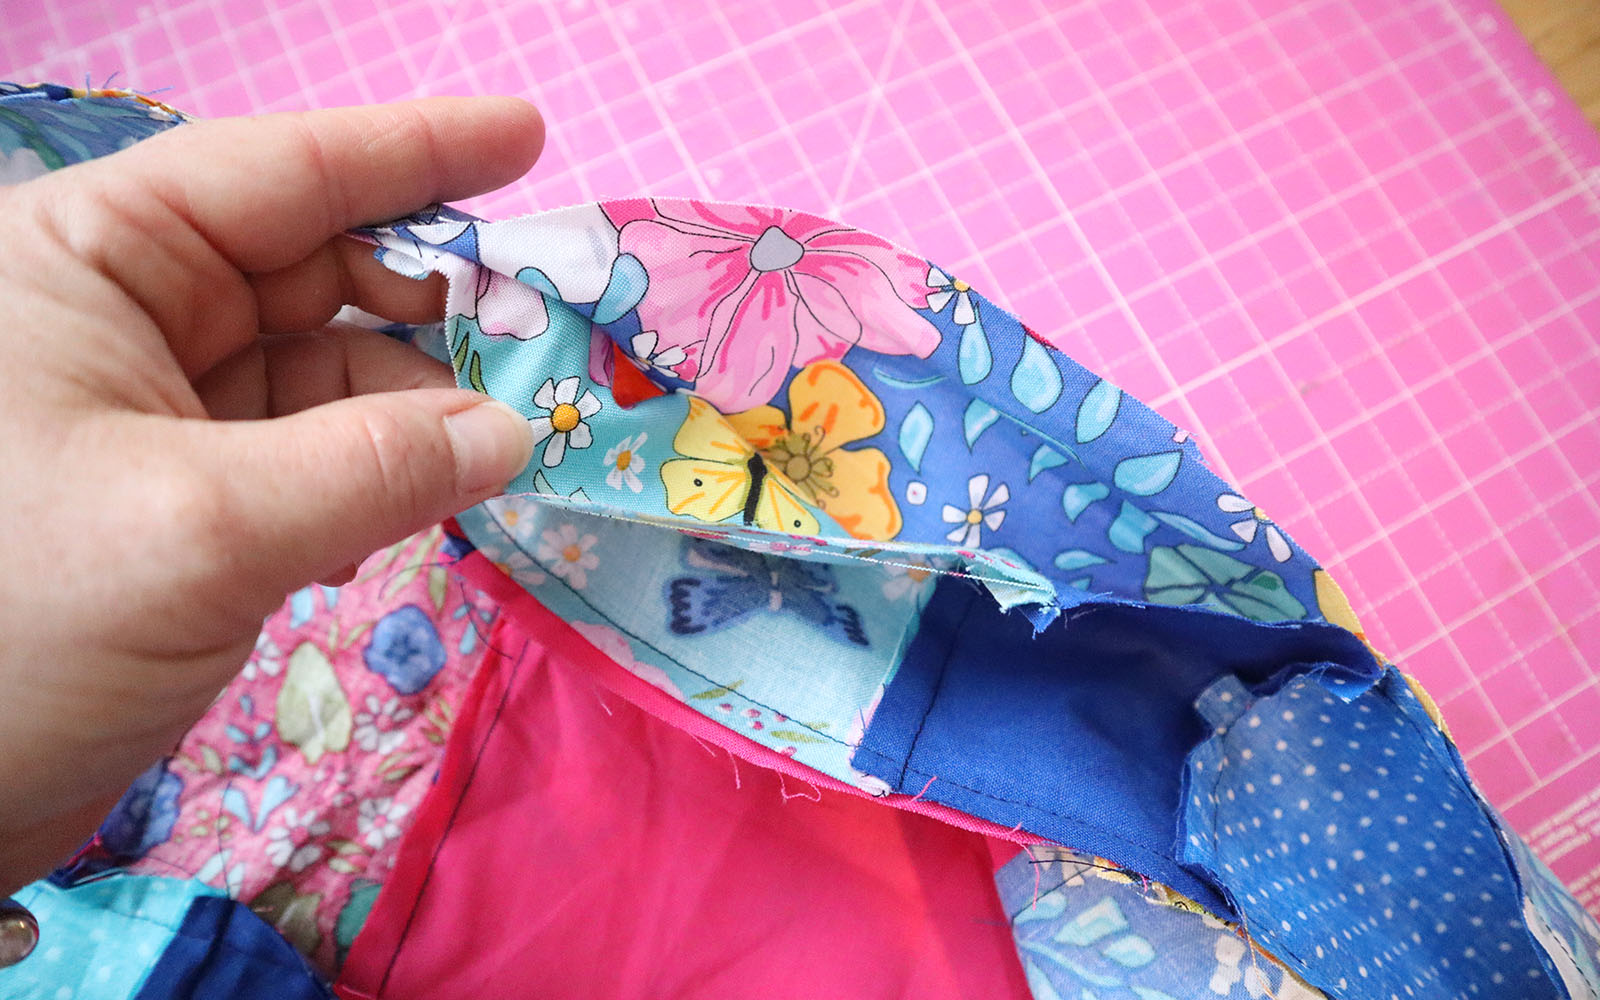
Cut the backing to the size of your patchwork piece and lay them with right sides facing and all edges matching.
Pin all sides and sew around the edges to secure your tablecloth front and backing together, leaving a gap of approximately 20cm for turning out.
Snip the corners and turn the tablecloth out the right way through the gap. Gently push the corners out.
Tuck the seam allowances of the opening to the inside and hand sew the opening closed. Roll out the seams and press them. Pin all around to form a neat edge.
Step 9
Using any decorative stitch, sew around the edge of the tablecloth to finish.
Et voila, you are done… Your decorative tablecloth is now finished!
I hope you enjoyed making this tablecloth. I’d love to see what you create, so why not tag myself and Brother into your makes, that way we can share and inspire the rest of the Brother sewing community.
In addition come say hi, tag and follow me on Instagram, Pinterest, Facebook and Twitter.


