What is Foundation Paper Piecing?


Foundation paper piecing is patchwork technique which gives you very accurate results. It’s especially useful for getting neat piecing results when working with unusual or difficult shapes.
Foundation piecing is completely different from ‘English paper piecing.’ Both techniques use paper guides to build quilt blocks, however foundation piecing is done on a sewing machine and the paper guide can’t be used again afterwards.
English paper piecing (often referred to as EPP) is done by hand. The fabric is wrapped over the paper template, secured with glue or basting stitches and then sewn together with tiny hand stitches.
How do you construct foundation paper piecing?
Foundation paper piecing uses printed paper or fabric as both a pattern and stabiliser. In this technique you piece your quilt blocks with the paper facing up, and the fabric below. Your blocks form on the ‘wrong side.’ This can be a bit confusing for beginners but once you pick it up, you’ll see how straightforward it is.
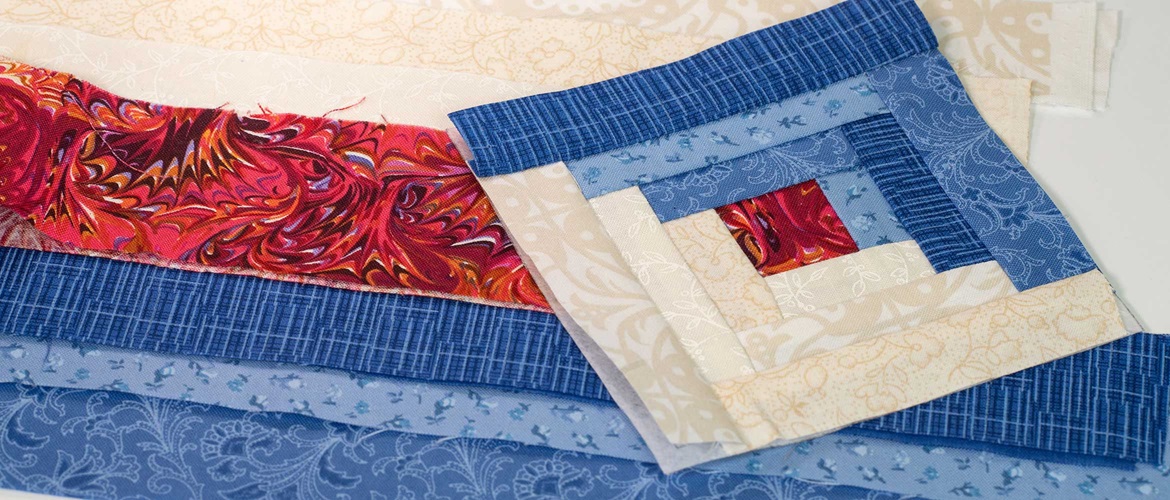
In this guide we’ve included a quick project, so you can see how the process works in real life. We include two variations of a log cabin block, and a picture of how you could place them once you’ve completed your blocks.

Let’s make a log cabin block!
Materials and equipment
- Downloadable patterns*
- Paper**
- Fabric***
- Sharp scissors
- Flat head pins
- Glue stick
- Finger presser (optional)
- Iron and ironing surface - set this up next to your sewing station
- Sewing machine
- Sewing thread
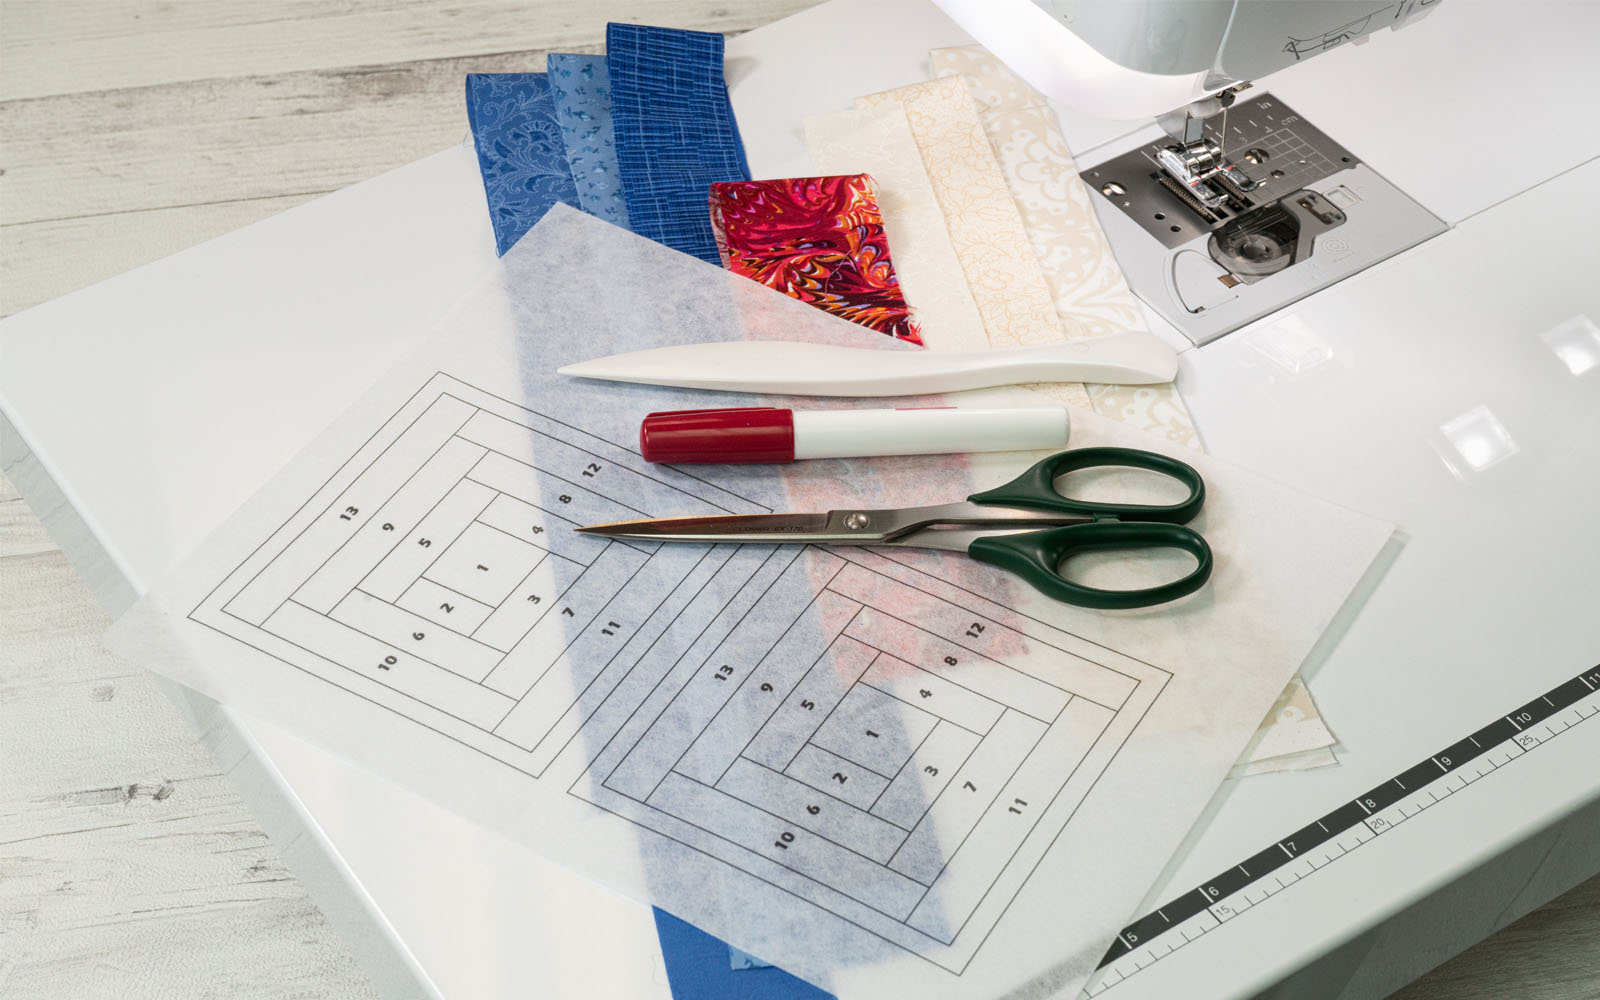
*Pattern
This is a simple ‘log cabin’ block. However, there are loads of block patterns available online. Some are free and some you will need to pay for. Search for ‘paper piecing’ or ‘foundation piecing’ patterns and you will find loads of blocks.
No matter what block pattern you use, the method is always the same. Download the file and print it in the size that you would like.
**Paper (and alternatives)
To print this pattern (and any foundation piecing pattern) you can use normal printer paper, or one of the many special papers for sale, including:
• Thin ones that will still go through your printer but are easier to remove.
• Non-woven fabric sheets, which do not need any removal.
• Water-soluble sheets, which will dissolve in water when you wash your finished piece.
No matter which one you choose, the method of construction is still the same.
***Fabric
Fabrics that will form a crisp fold are easiest to work with, but pretty much any fabric can be used, as long as it can fold over on itself without getting too bulky to go in your sewing machine. Prepare your fabrics by cutting them into strips about ¾ inch bigger than the widest part of the pieces they will go onto. Paper piecing is great for using up scraps.
Before you start
To help you with fabric placement, sort your fabric into the groups your design demands – like lights, darks etc.
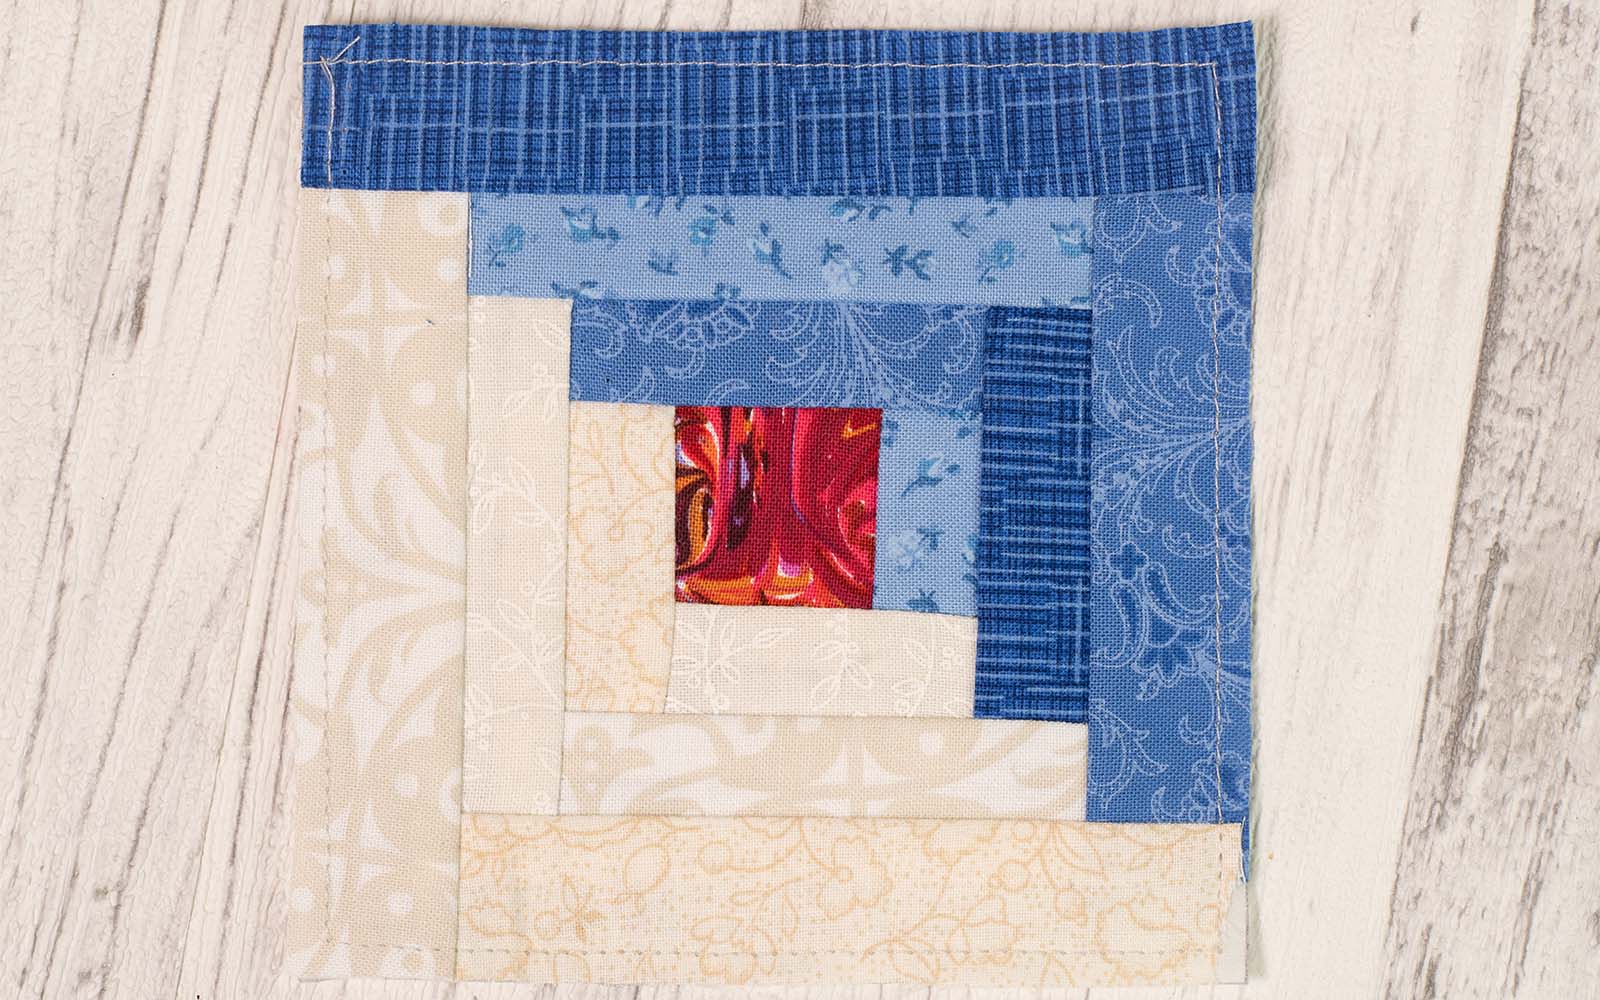
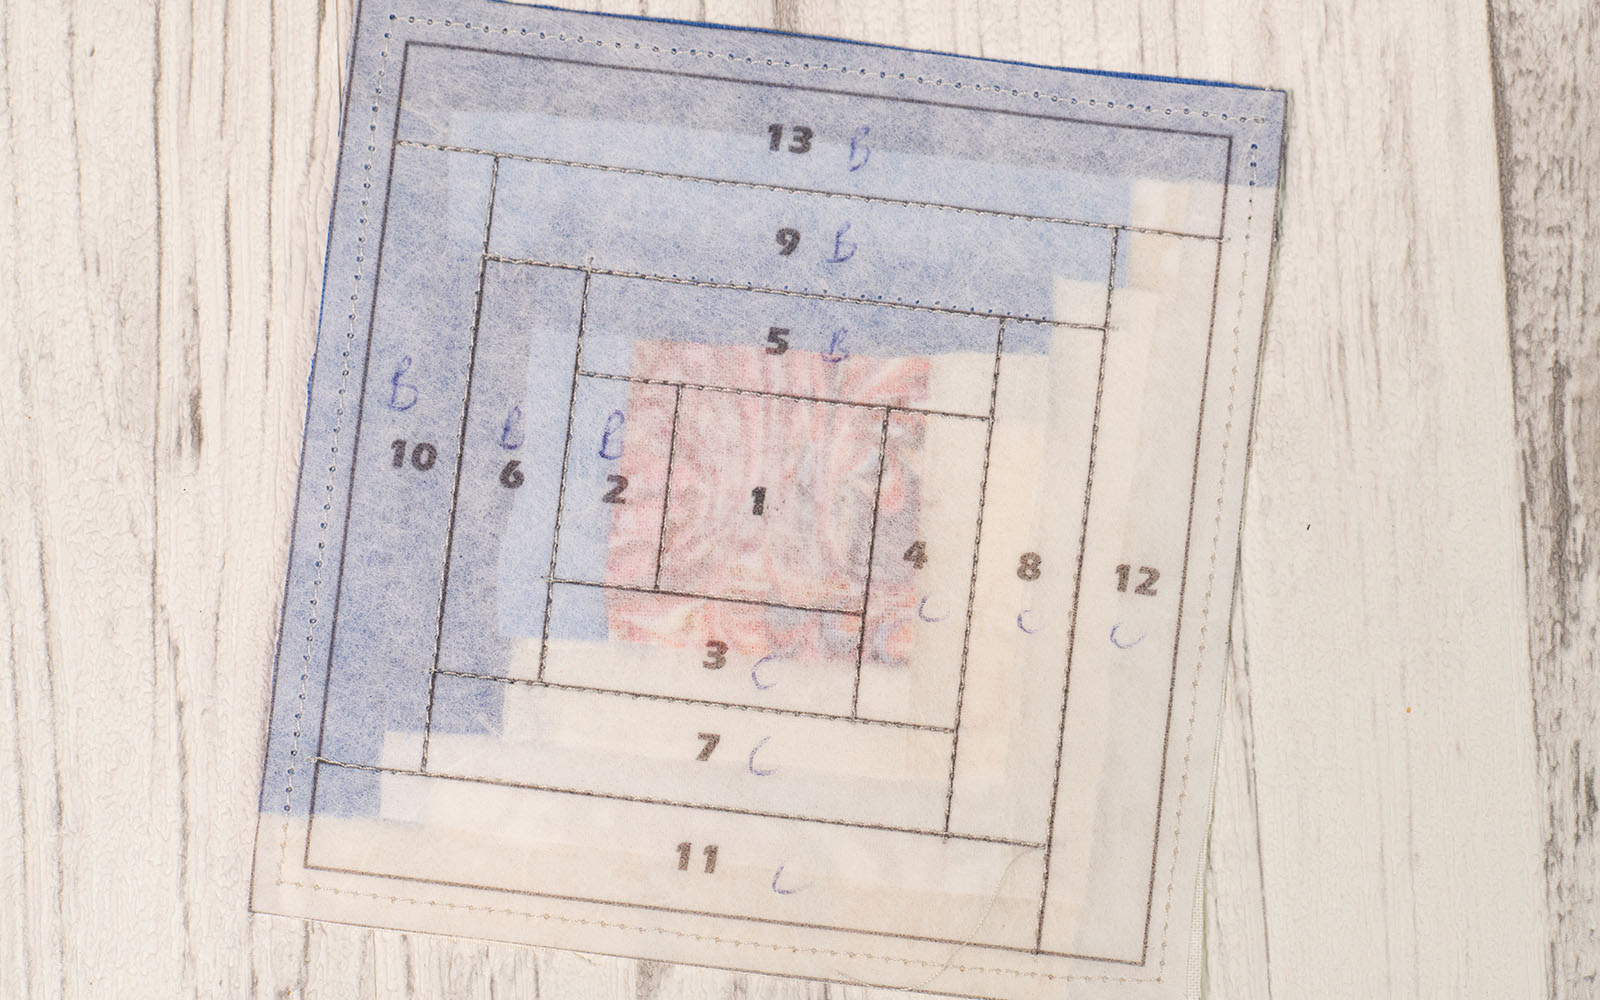
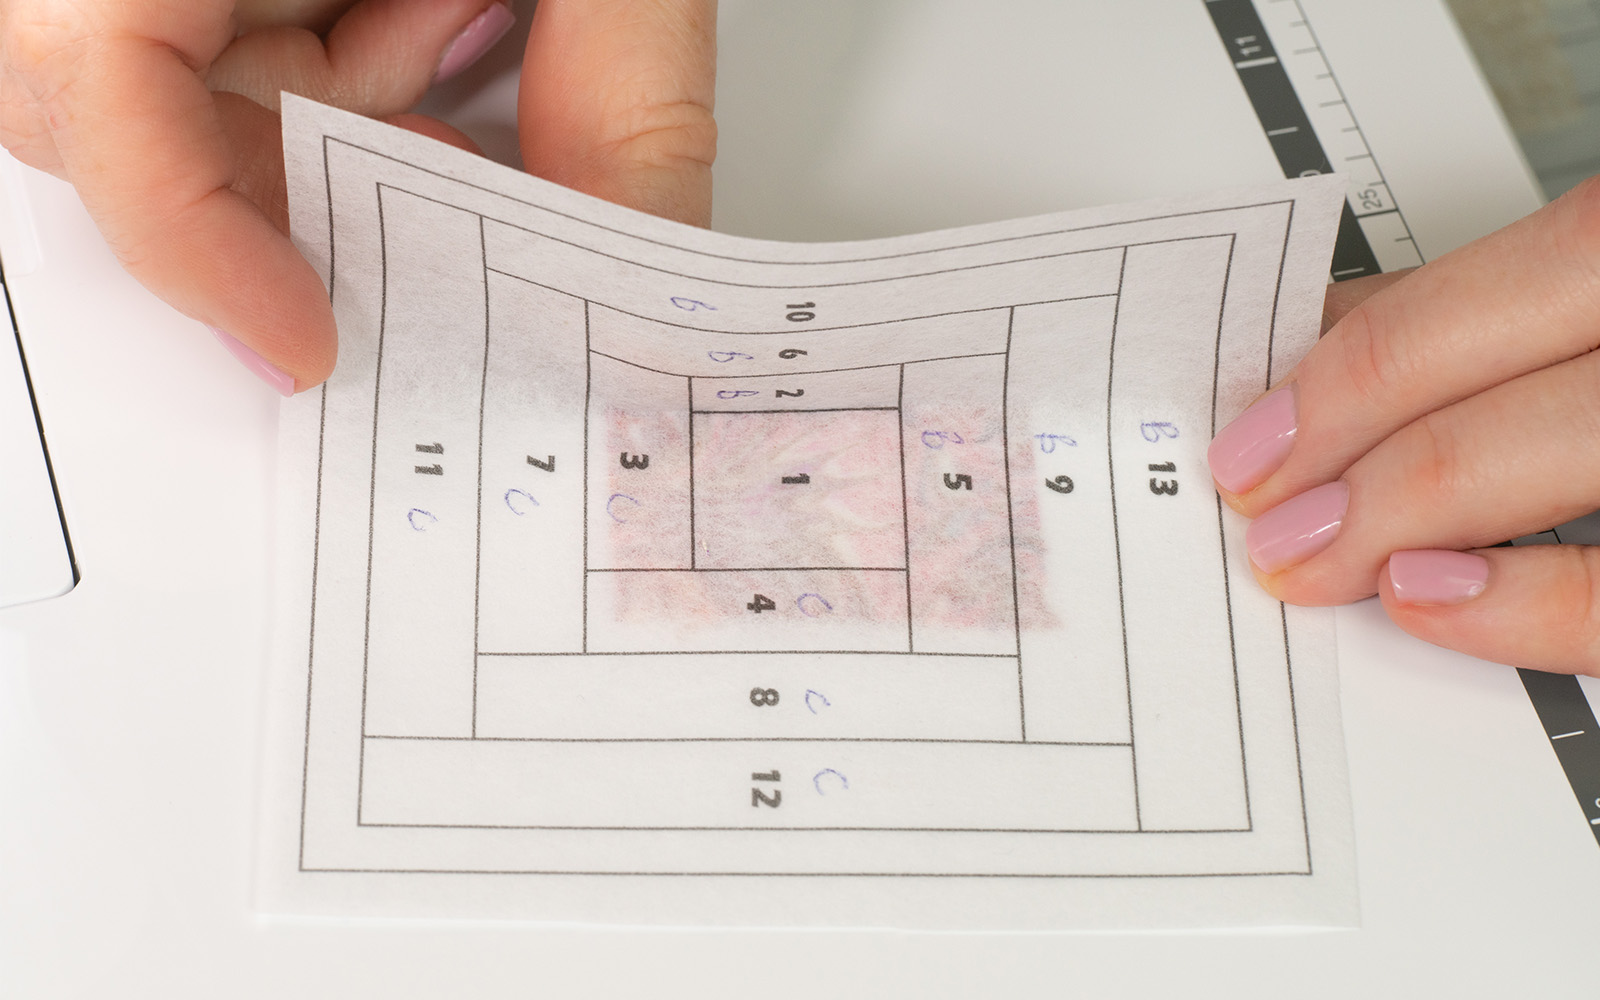
Our log cabin design needs a centre (A), blues (B) and whites (C). On the pattern, write next to each section number the group you need to take the fabric from – A, B or C.
Tip: you don’t have to use the same colours as us, but to get the same effect you need to make sure that you have enough contrast between group B and C.
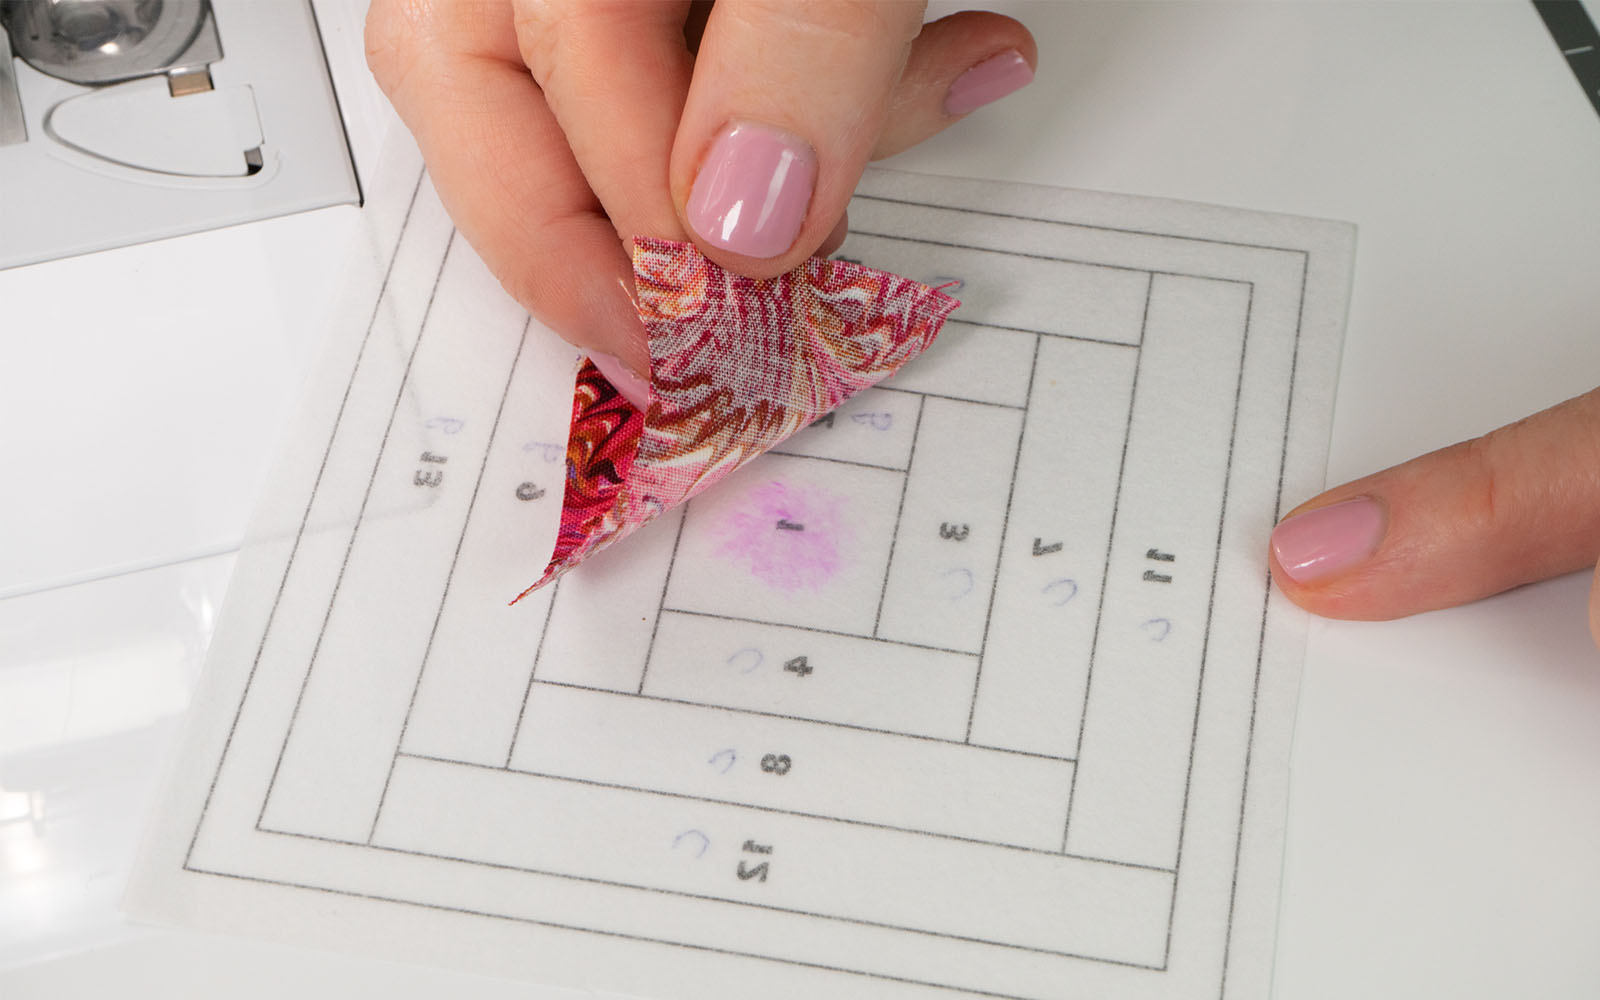
Step 1
On the wrong side of the pattern (the side that isn’t printed), on the square marked 1, apply a dab of glue. Place the centre fabric over the area, wrong side down. The fabric should extend at least a ¼ inch over all four lines. Pat down to keep in place.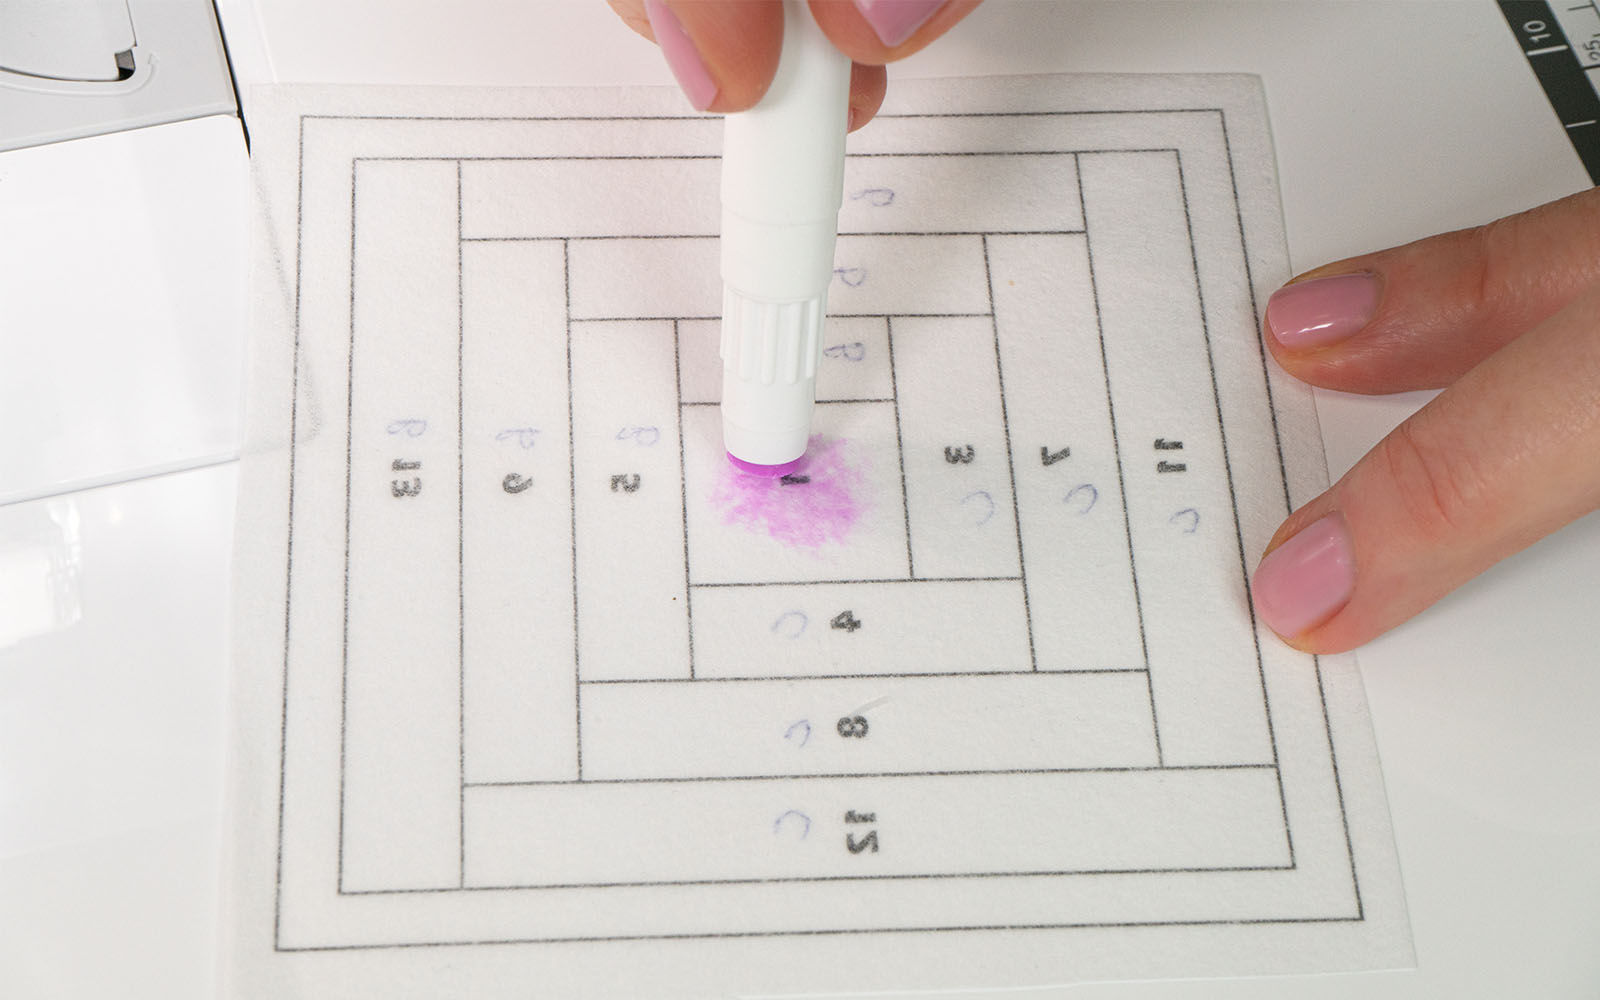
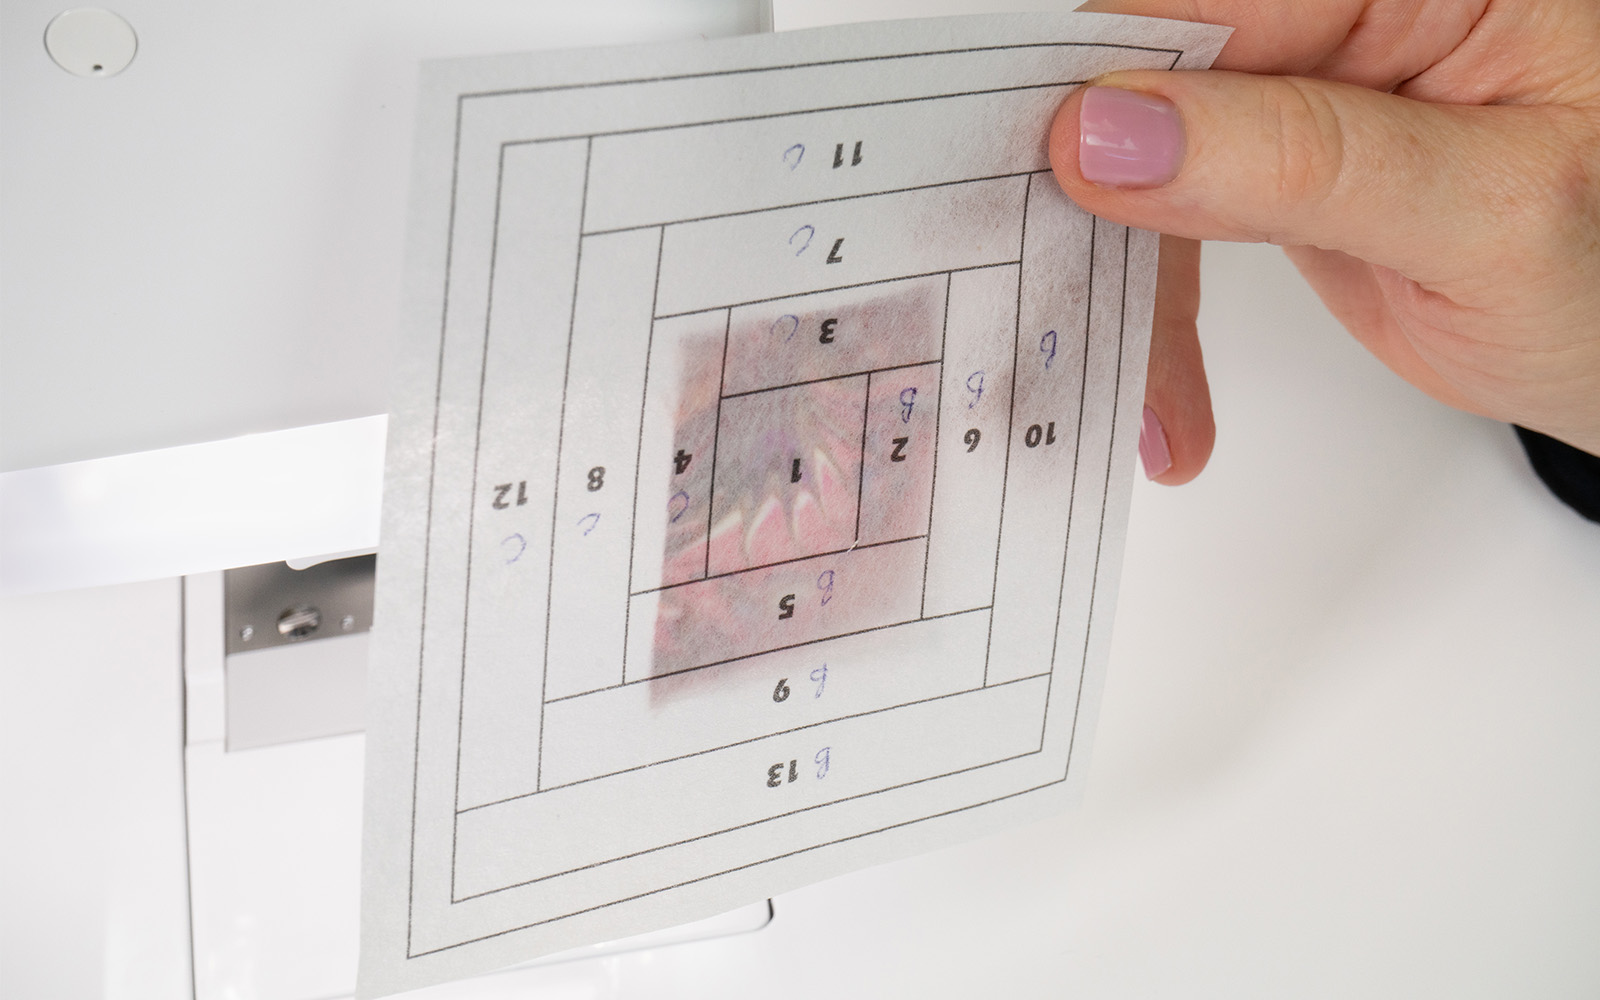
Step 2
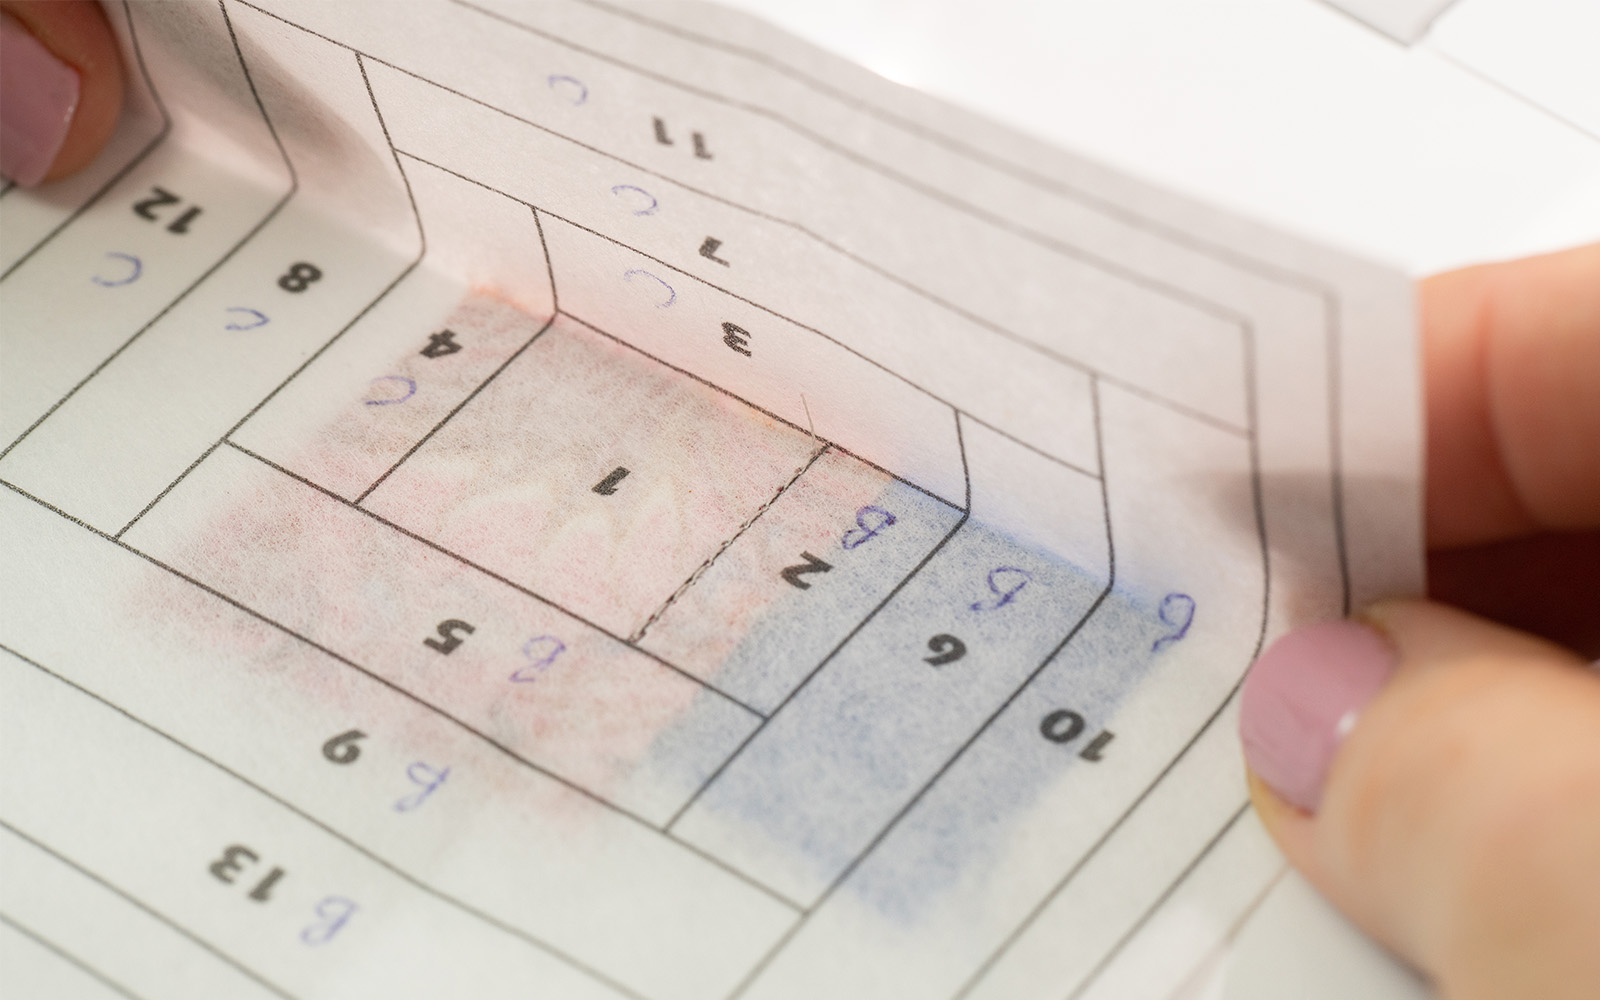
Hold the pattern up against the light to check it is in the right place.
Step 3
Lay the paper with printed side up, and fold on the line between section 1 and section 2.
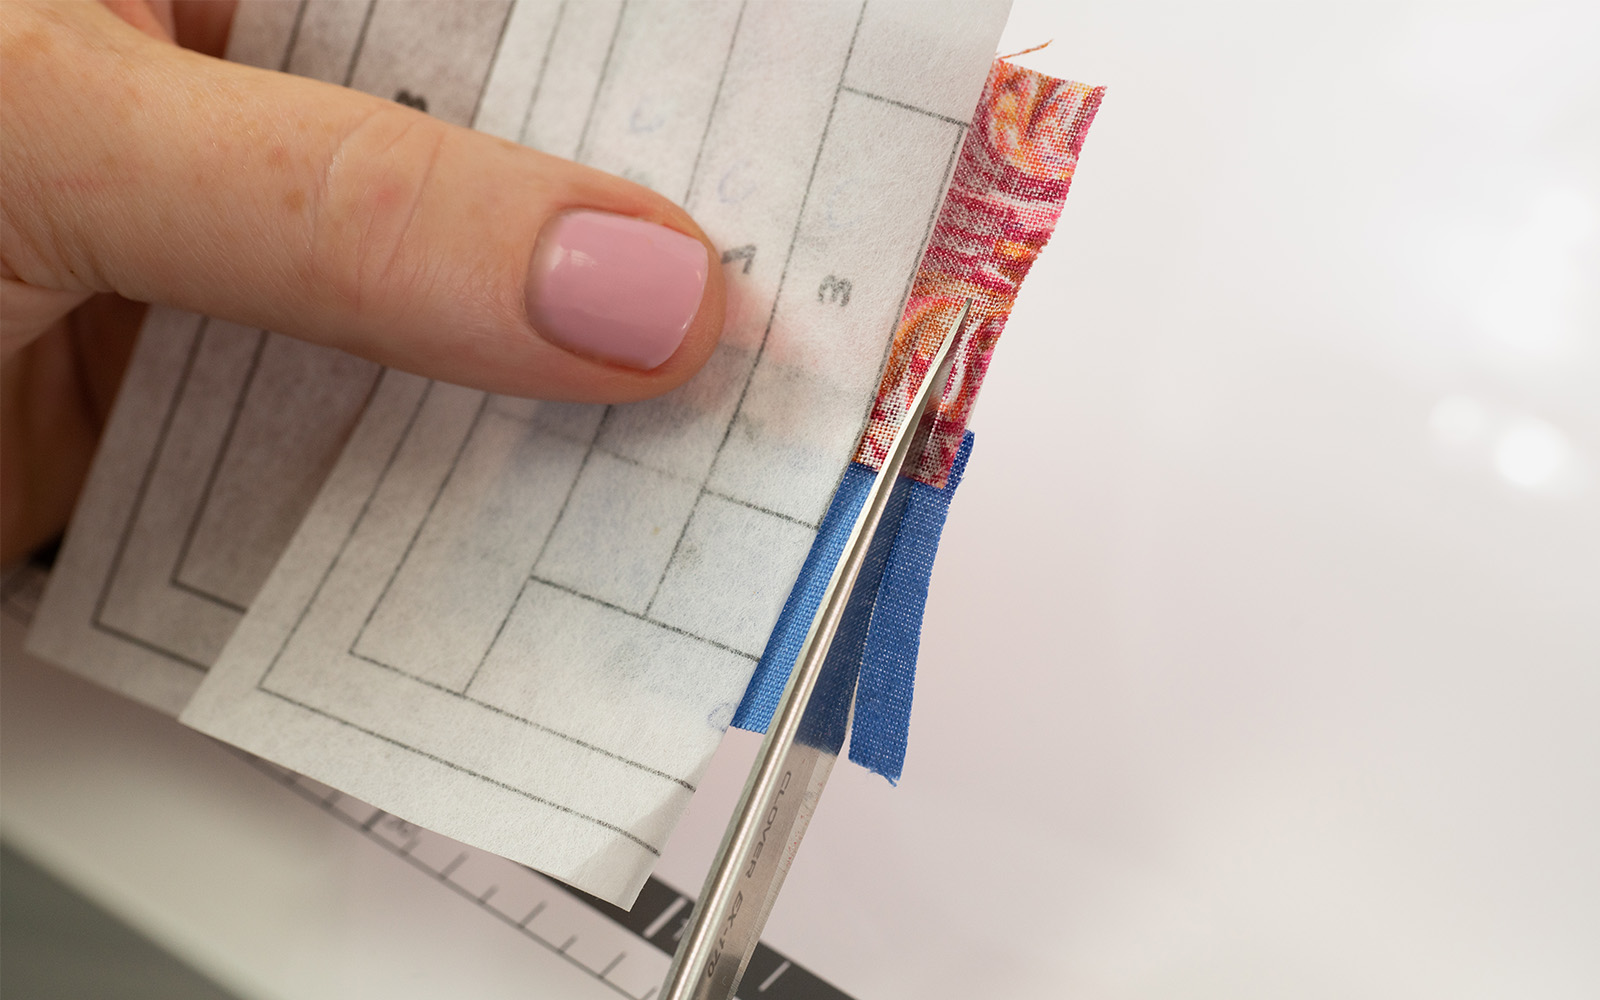
Step 4
Trim the fabric to extend ¼ inch from the folded line. You can cut this with scissors or a ruler and rotary cutter. Don’t cut through the paper.

Step 5
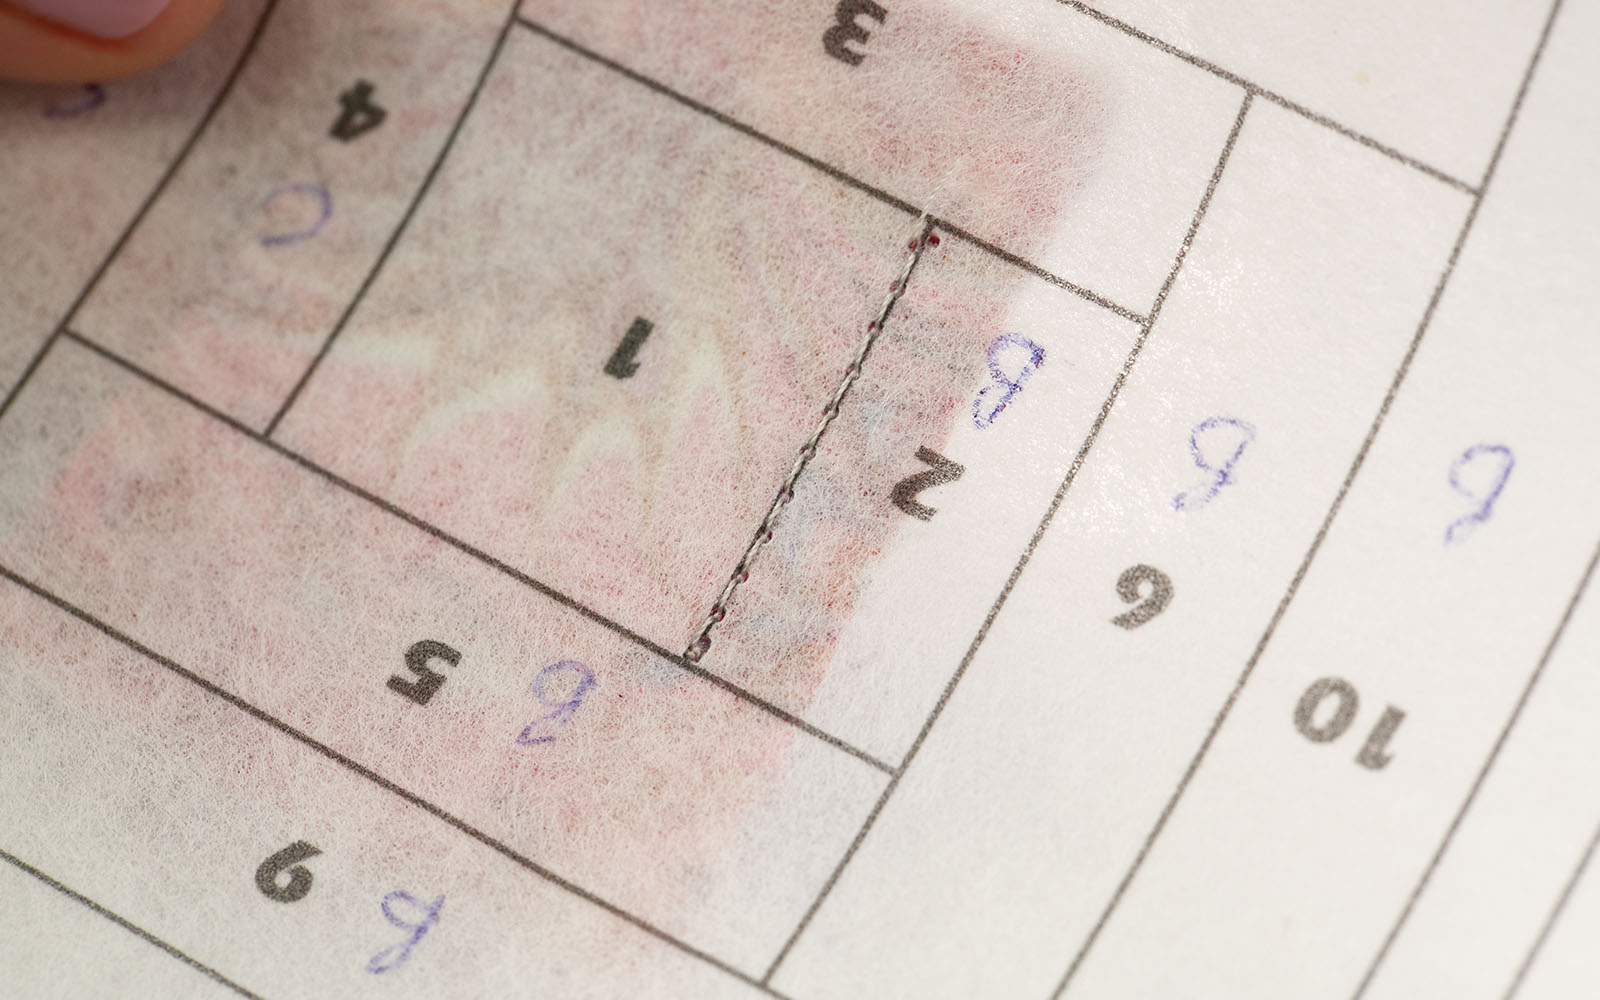
Place the fabric you want to use for section 2 on top of the first – right sides facing and edges matching on the edge you just trimmed. You can pin this in place from the printed side.
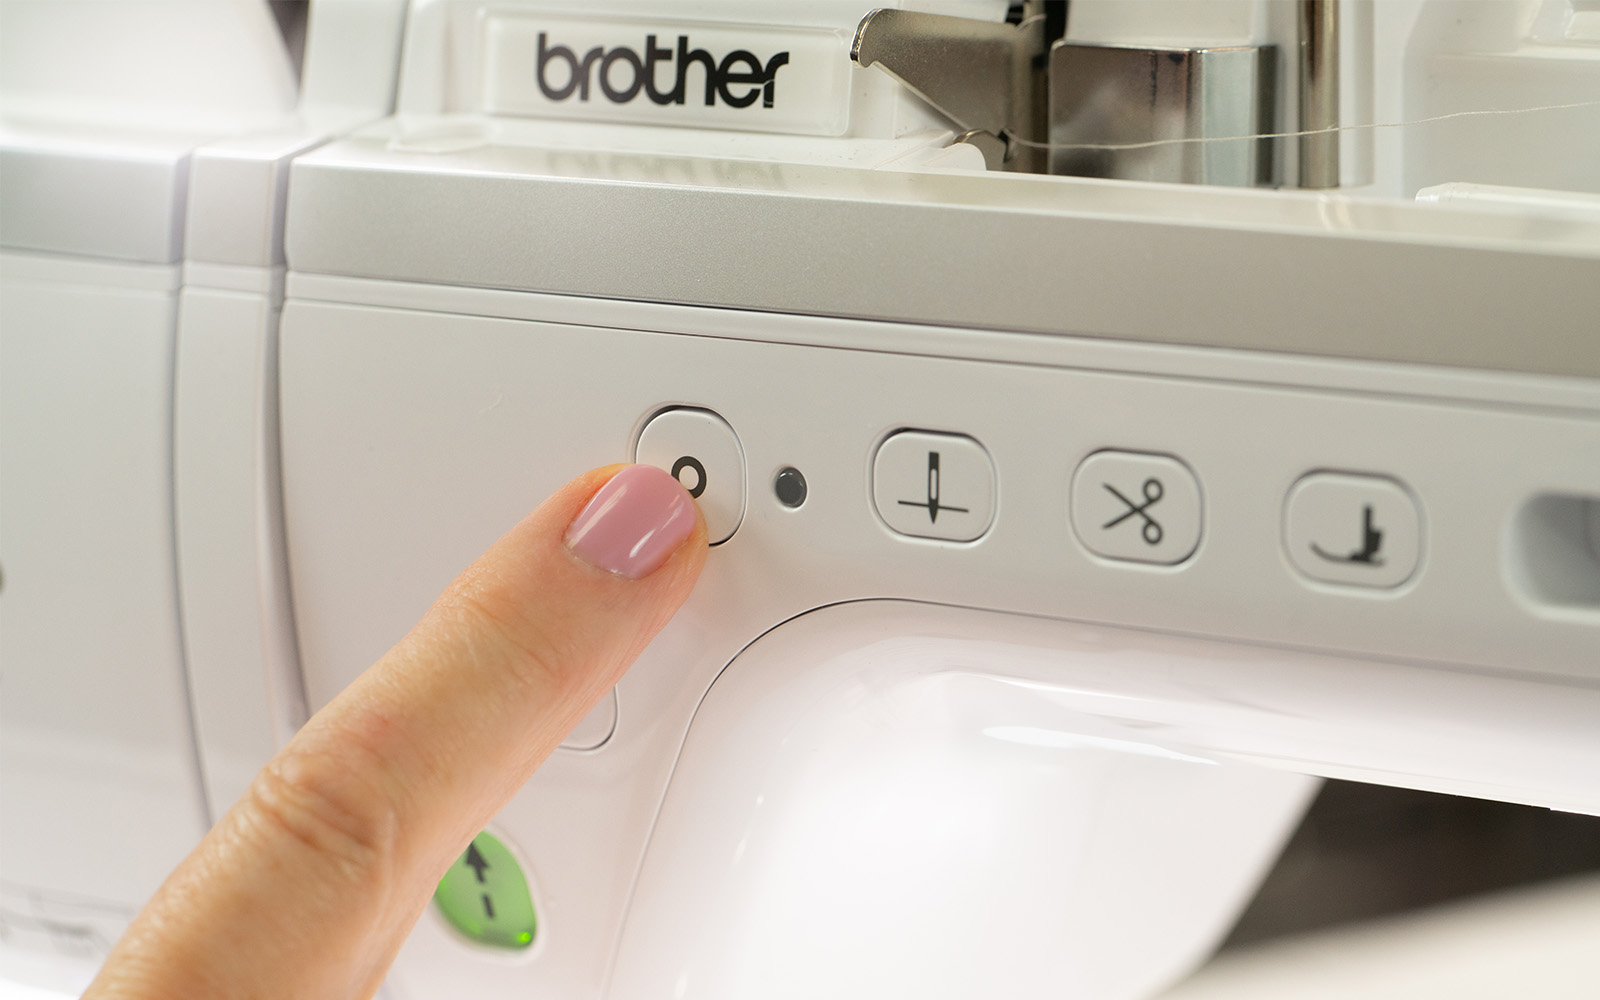
Turn the printed side up and sew on the line between section 1 and section 2. Stop and start with a few tie-off stitches.
Step 6
Press second fabric over so it covers section 2.

Step 7
Fold on the line between the completed area (section 1 and 2) and trim the fabric to ¼ inch from the fold.
Step 8
Place the fabric for section 3, right sides facing and edges aligning.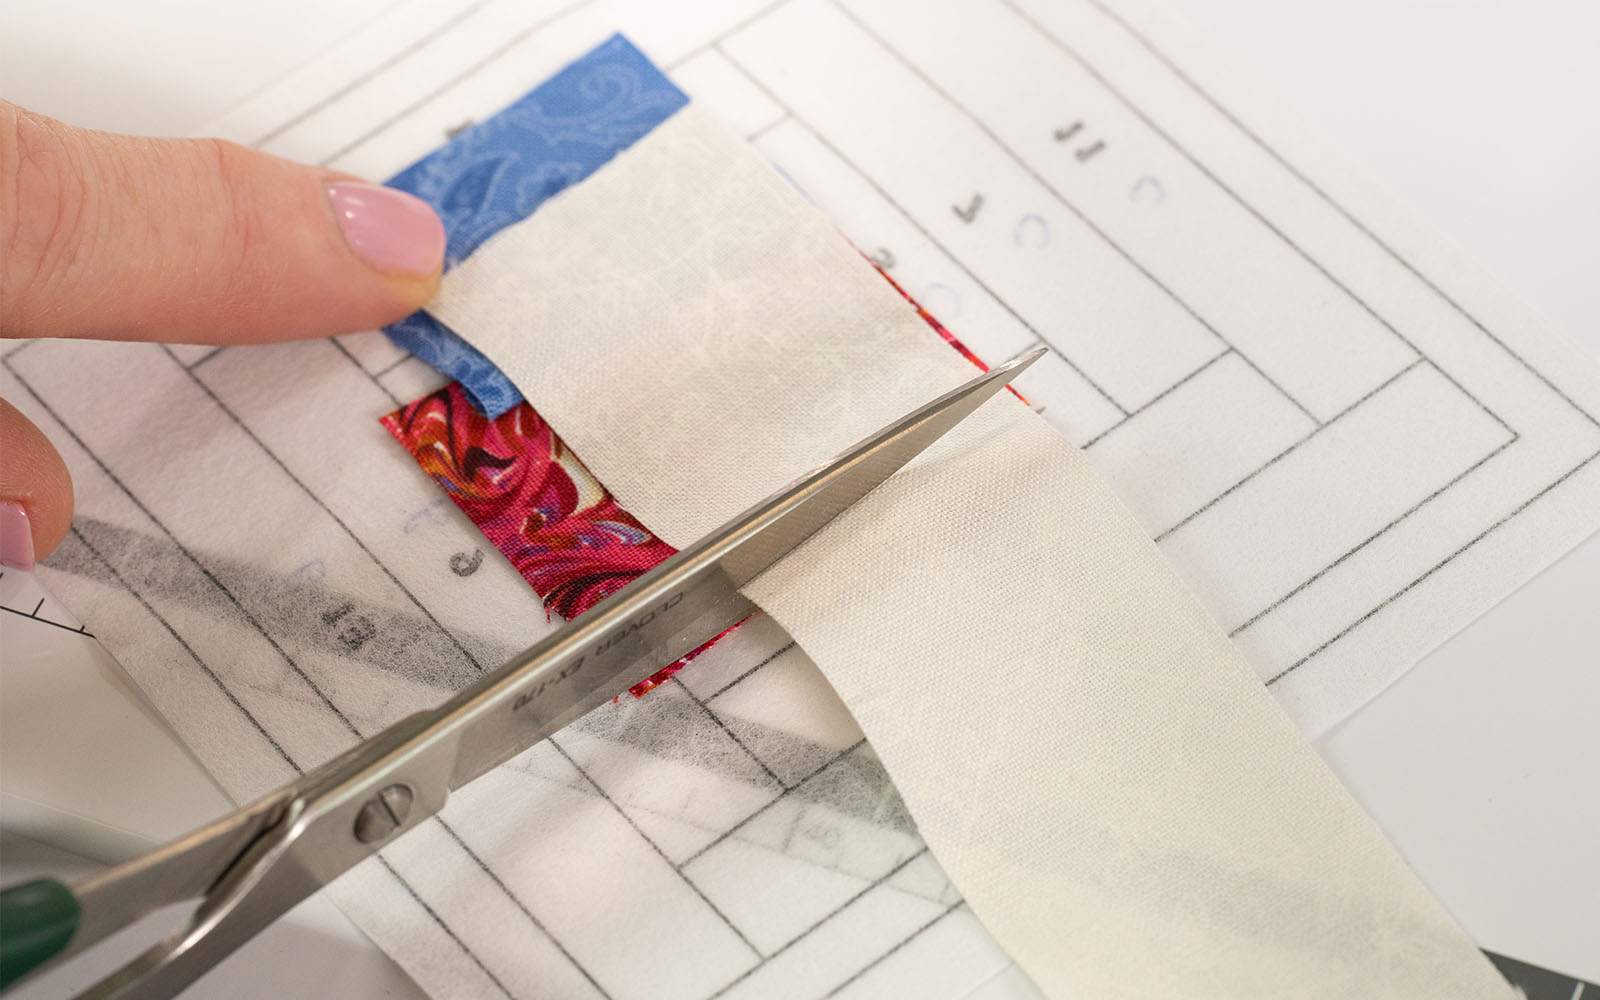
Step 9
Sew on the line between section 1 and 3.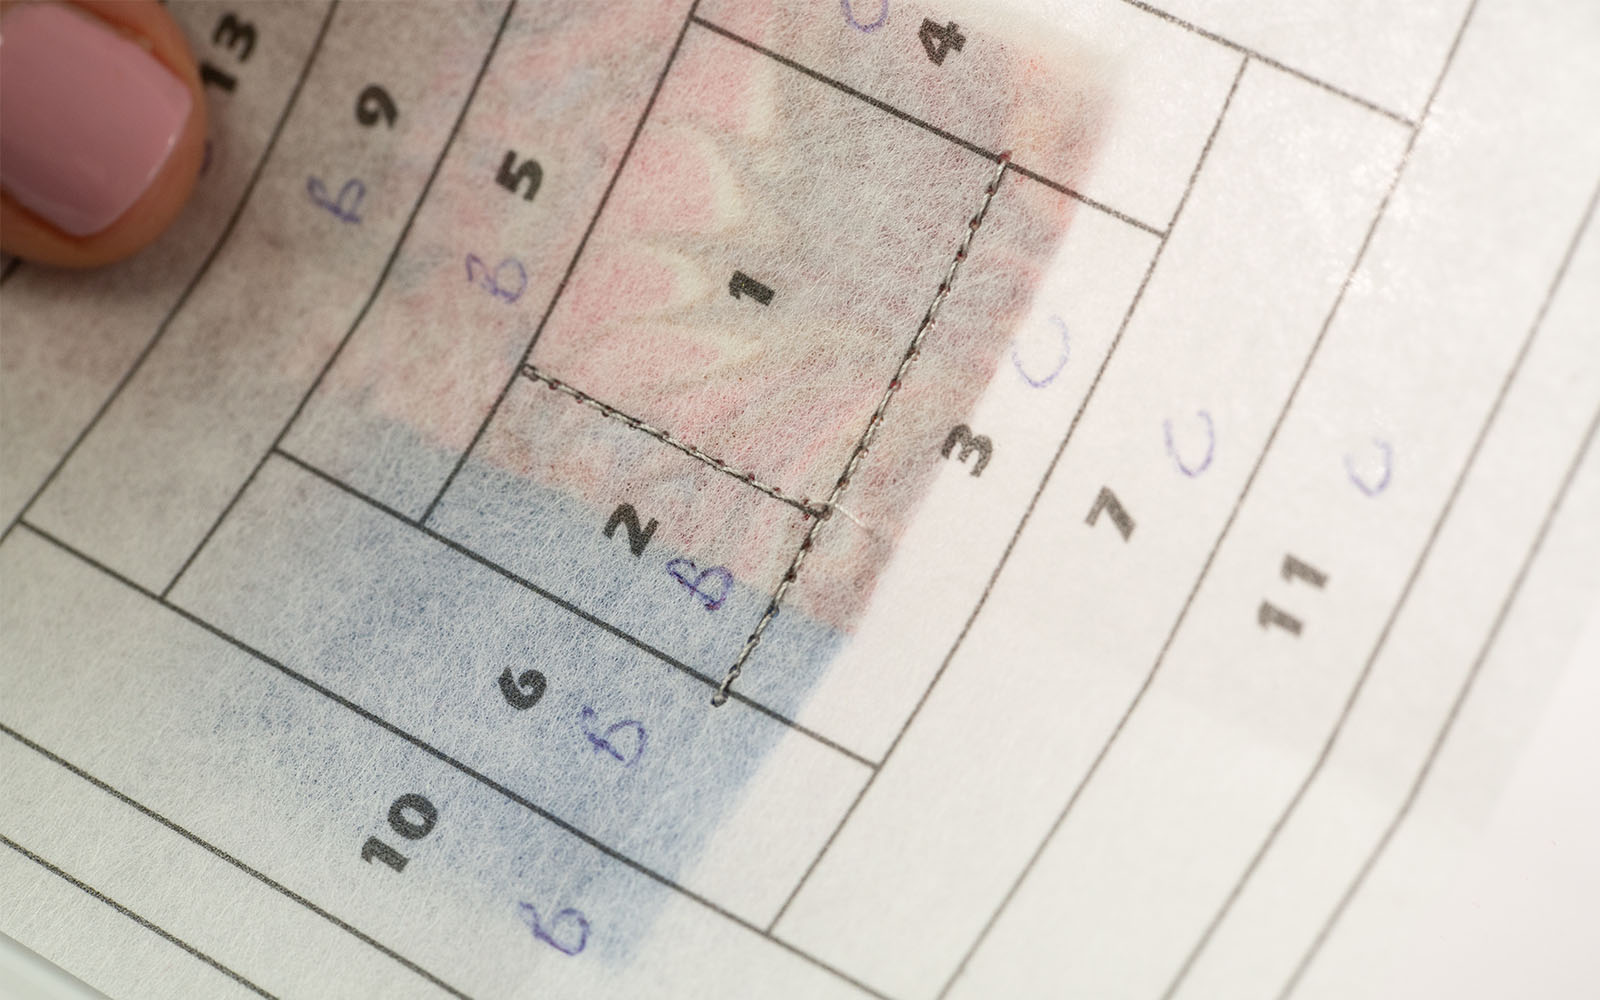
Step 10
Fold the white fabric over to cover section 3. Press or finger press.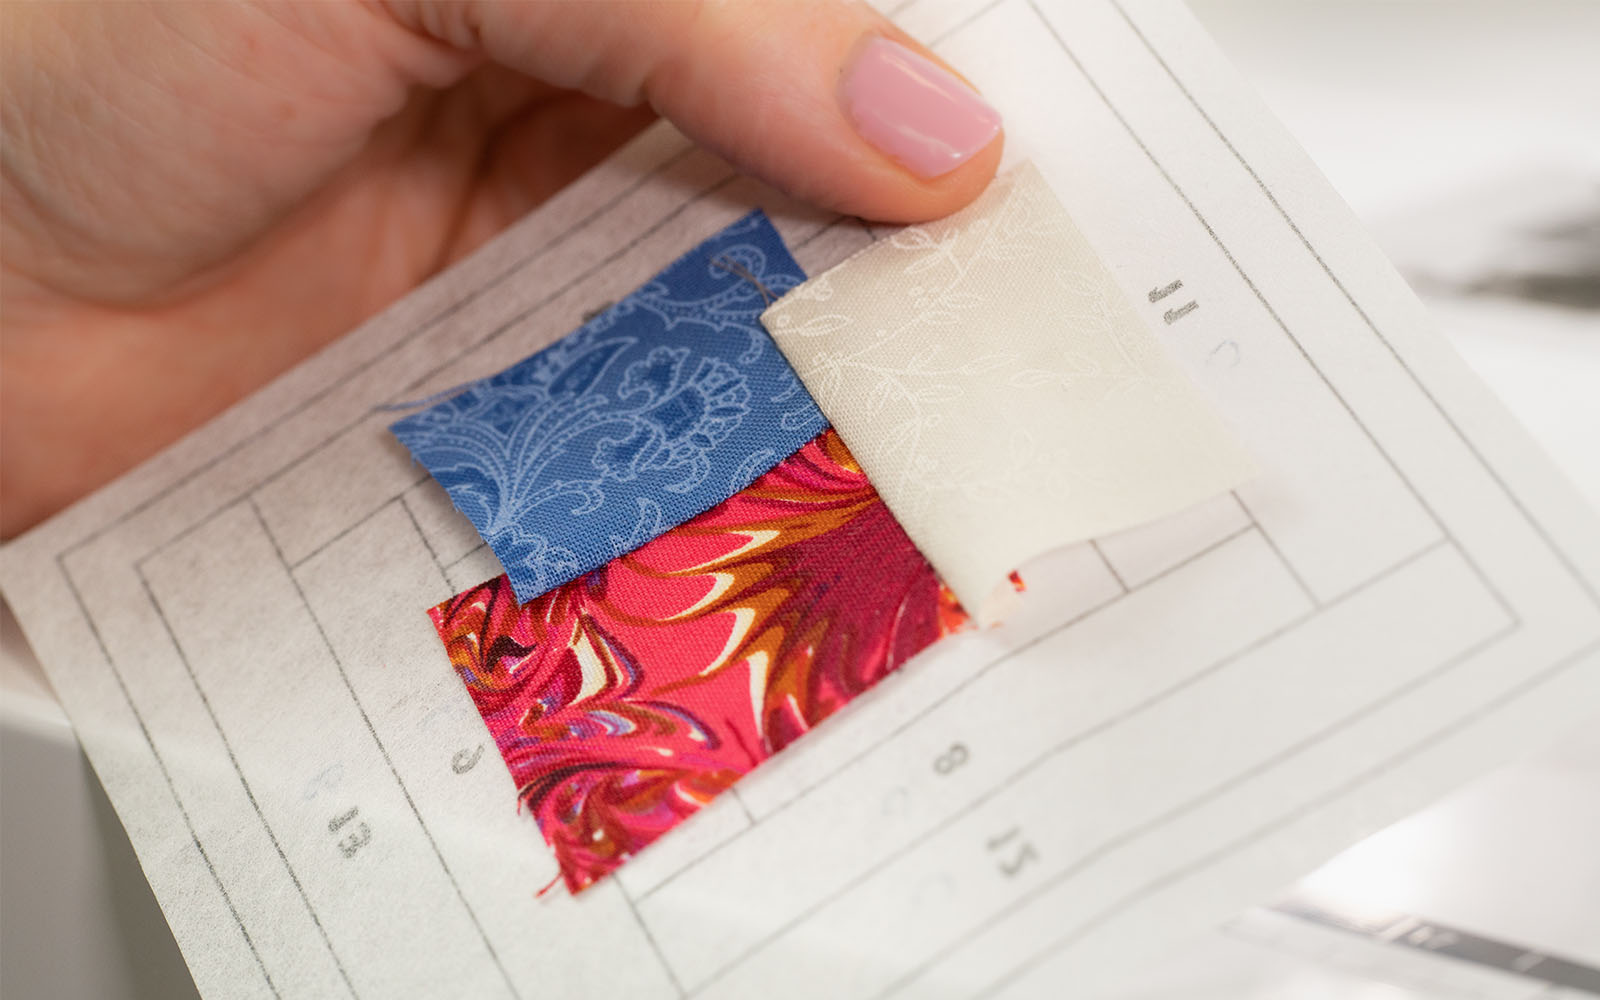
Step 11
Continue in this way until all the sections are covered with fabric.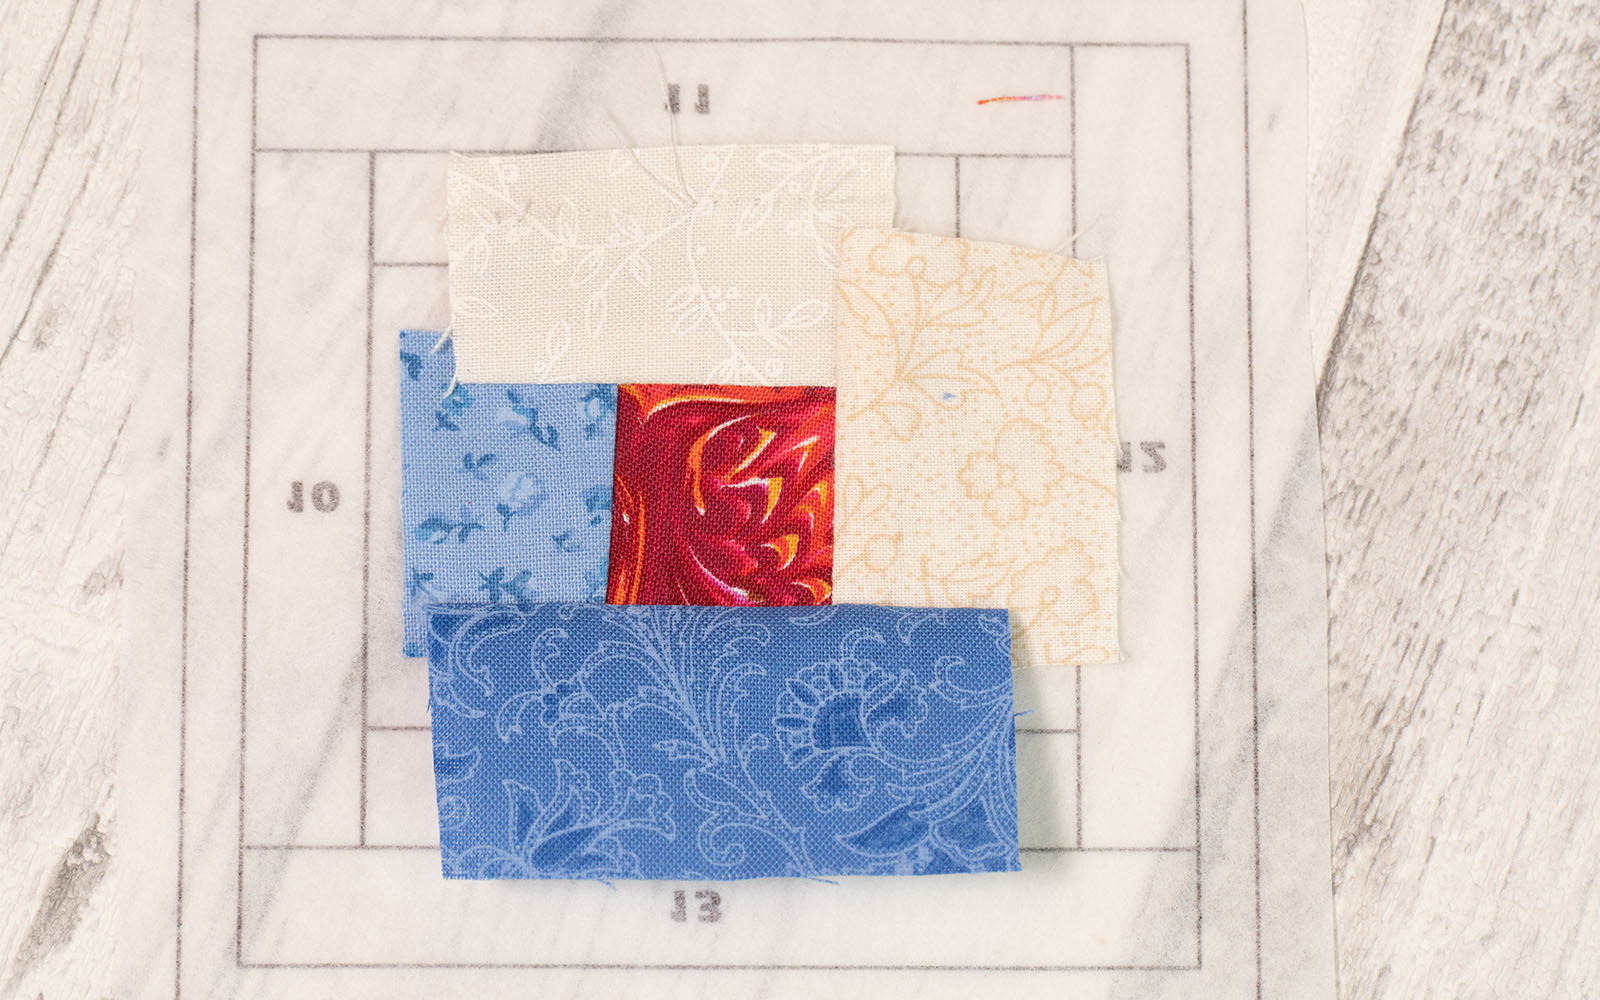


Step 12
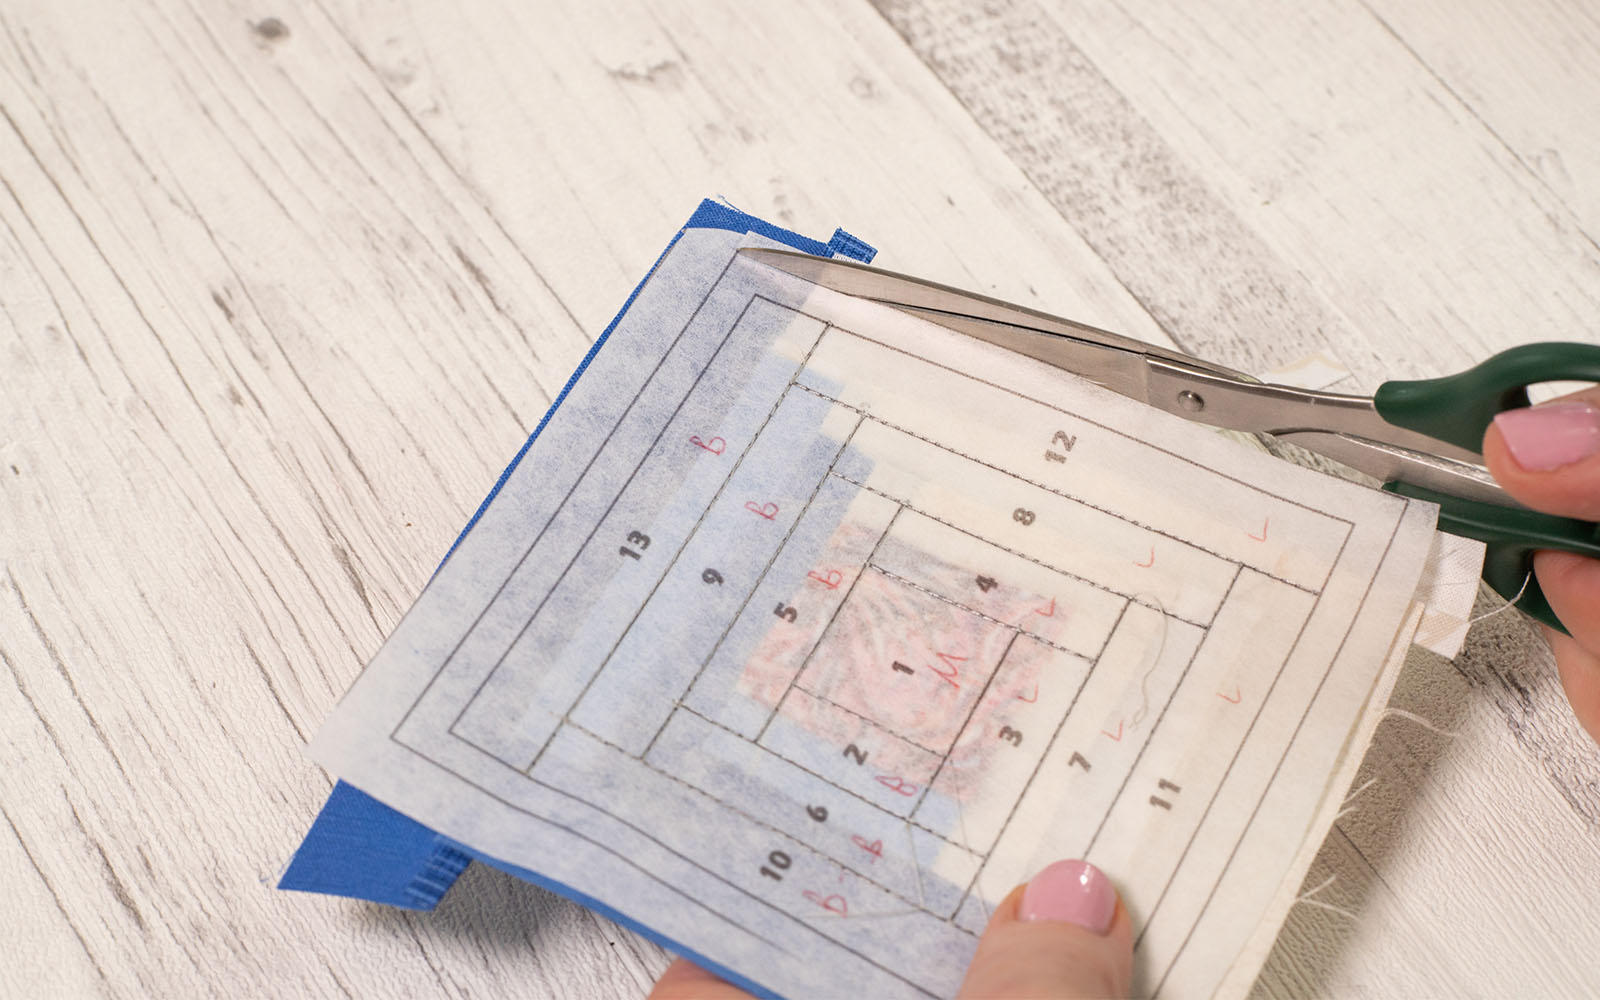
Press and sew a stay stitch halfway between the outer two lines.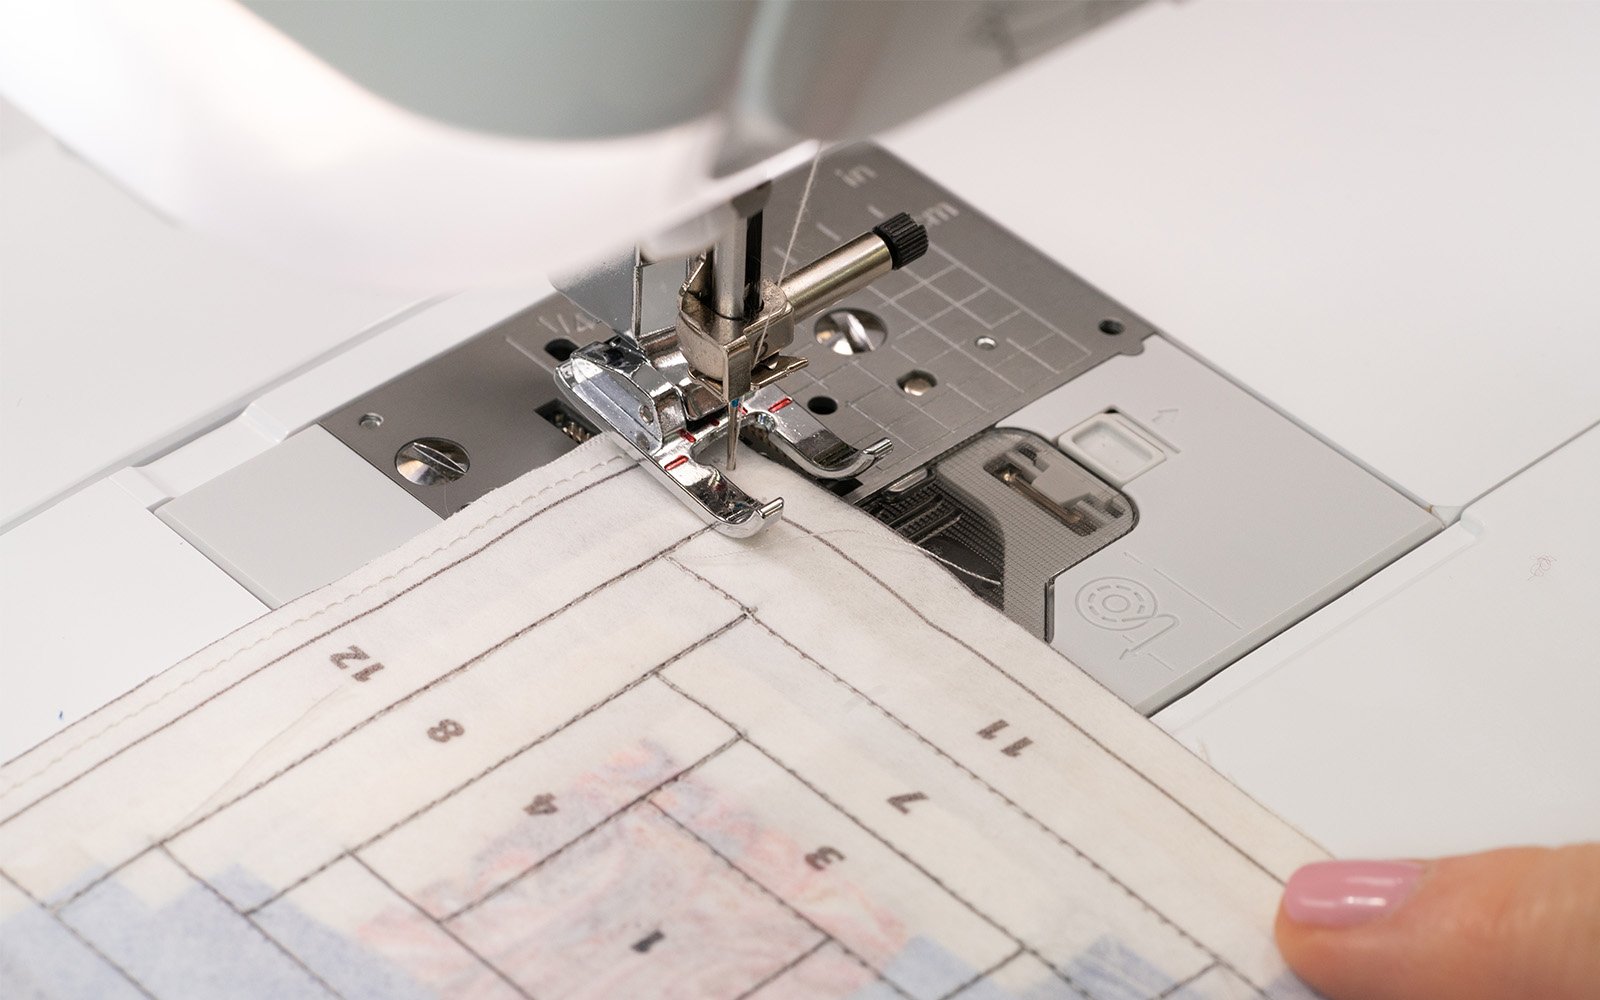
Step 13
Trim on the outer line.