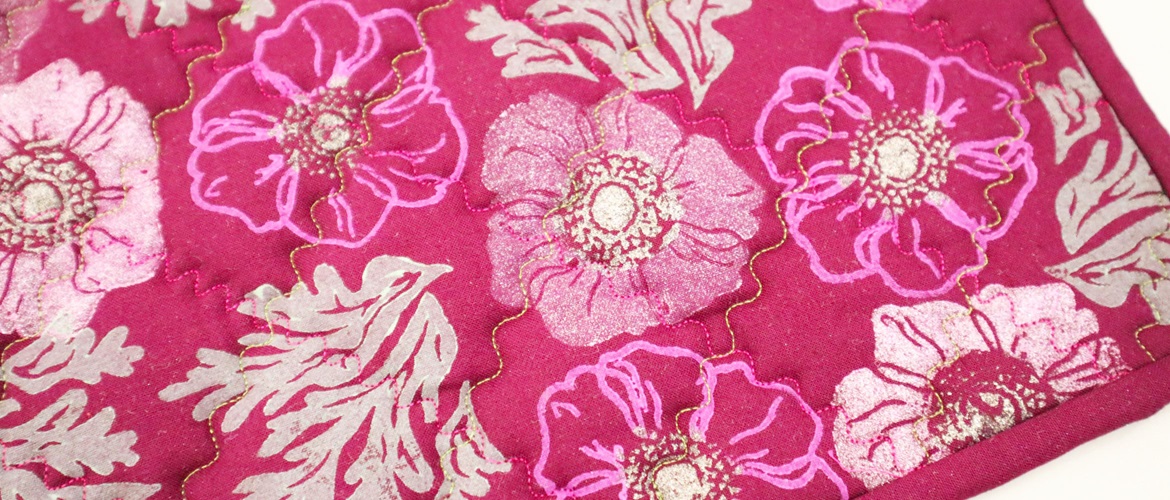
Block printed quilted trivet


Hand print your own fabric to create something both decorative and useful with this quilted trivet project from The Crafty Lass.
Don’t want to print your own fabric? This would work well with any pre-printed cotton fabric! Just skip to Step 6.
The use of the thermal batting allows this beautiful potholder to withstand hot temperatures.
Materials needed
- Cotton fabric: two 12” (30cm) squares
- Thermal batting (eg. Bosal Poly-Therm Fleece): two 12” (30cm) squares
- Coordinating thread
- Binding: 1.5m premade, or two strips of 2.5” wide x width of fabric to make your own
Equipment needed
- Sewing machine – I used the Brother NV1800Q
- Quilting foot
- Rotary cutter
- Quilting ruler
- Cutting mat
- Fabric scissors
- Iron
- Pins
- Wooden printing blocks
- Fabric paints
- Printing sponges or dabbers
- Foam mat
- Spare scrap fabric
How to
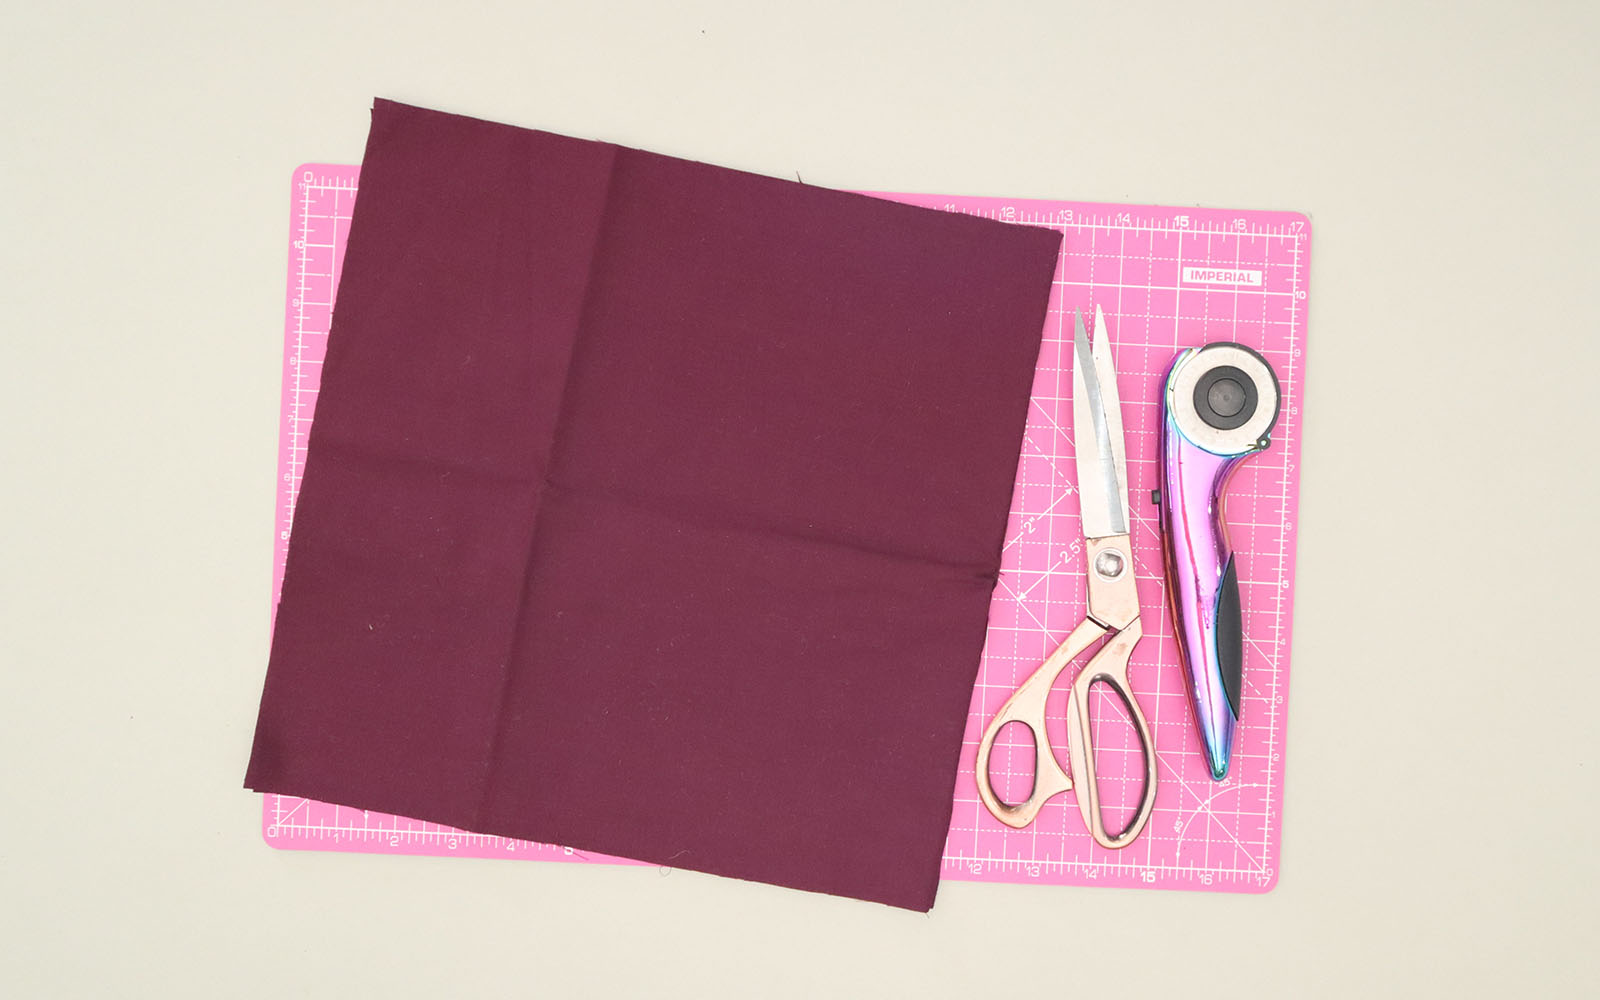
Step 1
Using your rotary cutter and quilting ruler, cut your fabric to the correct size. Press your fabric so it’s nice and flat – this is a good habit whatever you’re making or sewing!
I have selected a plain, organic cotton in the ‘Mulberry’ shade by Make + Believe fabrics.
Tip: you could make your trivet much smaller or larger, just adjust your measurements accordingly.
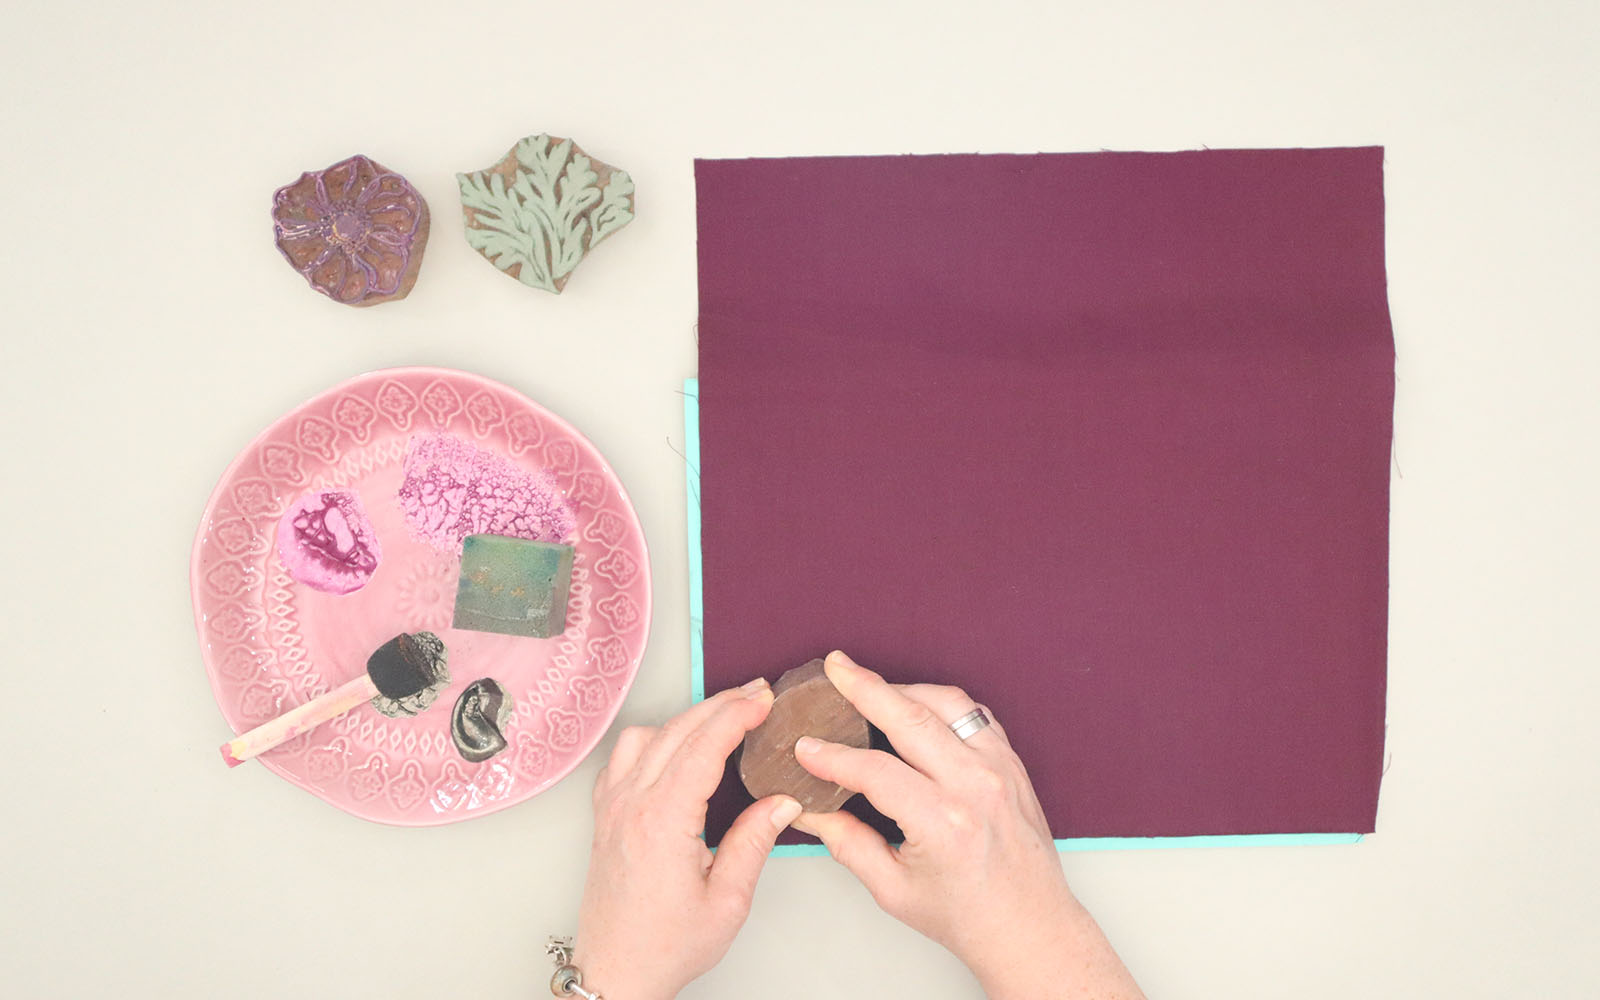
Step 2
Select your block printing materials. Lay one of your cut fabric squares onto your foam mat. You need the foam mat to ensure the print works correctly.
Using the printing sponges, gently dab your chosen fabric paints on to the wooden blocks.
I have chosen to use a selection of metallic and plain paints – with a darker grey in the centre of the anemones, alongside cerise and purple petals.
I am using a selection of Anemone printing blocks from my ‘The Crafty Lass – Spring Collection’ in collaboration with The Indian Block Print Co.
Tip: for more information on The Crafty Lass woodblock designs, and more ‘How To’ printing techniques, head over to The Indian Block Print Co website, linked above.

Step 3
Gently press your woodblock down on to your fabric, before revealing your design.
Woodblock printing is a centuries old printing technique, and don’t worry if your design doesn’t come out perfectly! Embrace any gaps or ‘errors’ – it is handprinted after all.
Step 4
Between each block print, use your spare scrap fabric to wipe your block clean. Continue printing across your piece of fabric.
Step 5
Once you are happy with your block printed design, allow to dry. Iron your fabric to heat set your design into the fabric. Follow your chosen fabric paint instructions.
Step 6
We will now layer up the fabrics. Start with laying your plain, unprinted piece of fabric right side down, followed by a piece of thermal batting shiny side up. Then lay the second piece of thermal batting shiny side up, before finally the printed fabric facing upwards.Tip: you could additionally add a layer of cotton between each layer of thermal batting for extra insulation. You could also add two further layers of thermal batting (so four layers of thermal batting in total) if desired to further increase the thickness and ability to withstand hotter temperatures.

Step 7
Pin the layers together – curved safety pins are great way, as they help avoid making holes in your fingers!
Step 8
Select your thread, load your bobbin and choose your stitch. I picked a wavy stitch line to create interesting diagonal lines across the trivet.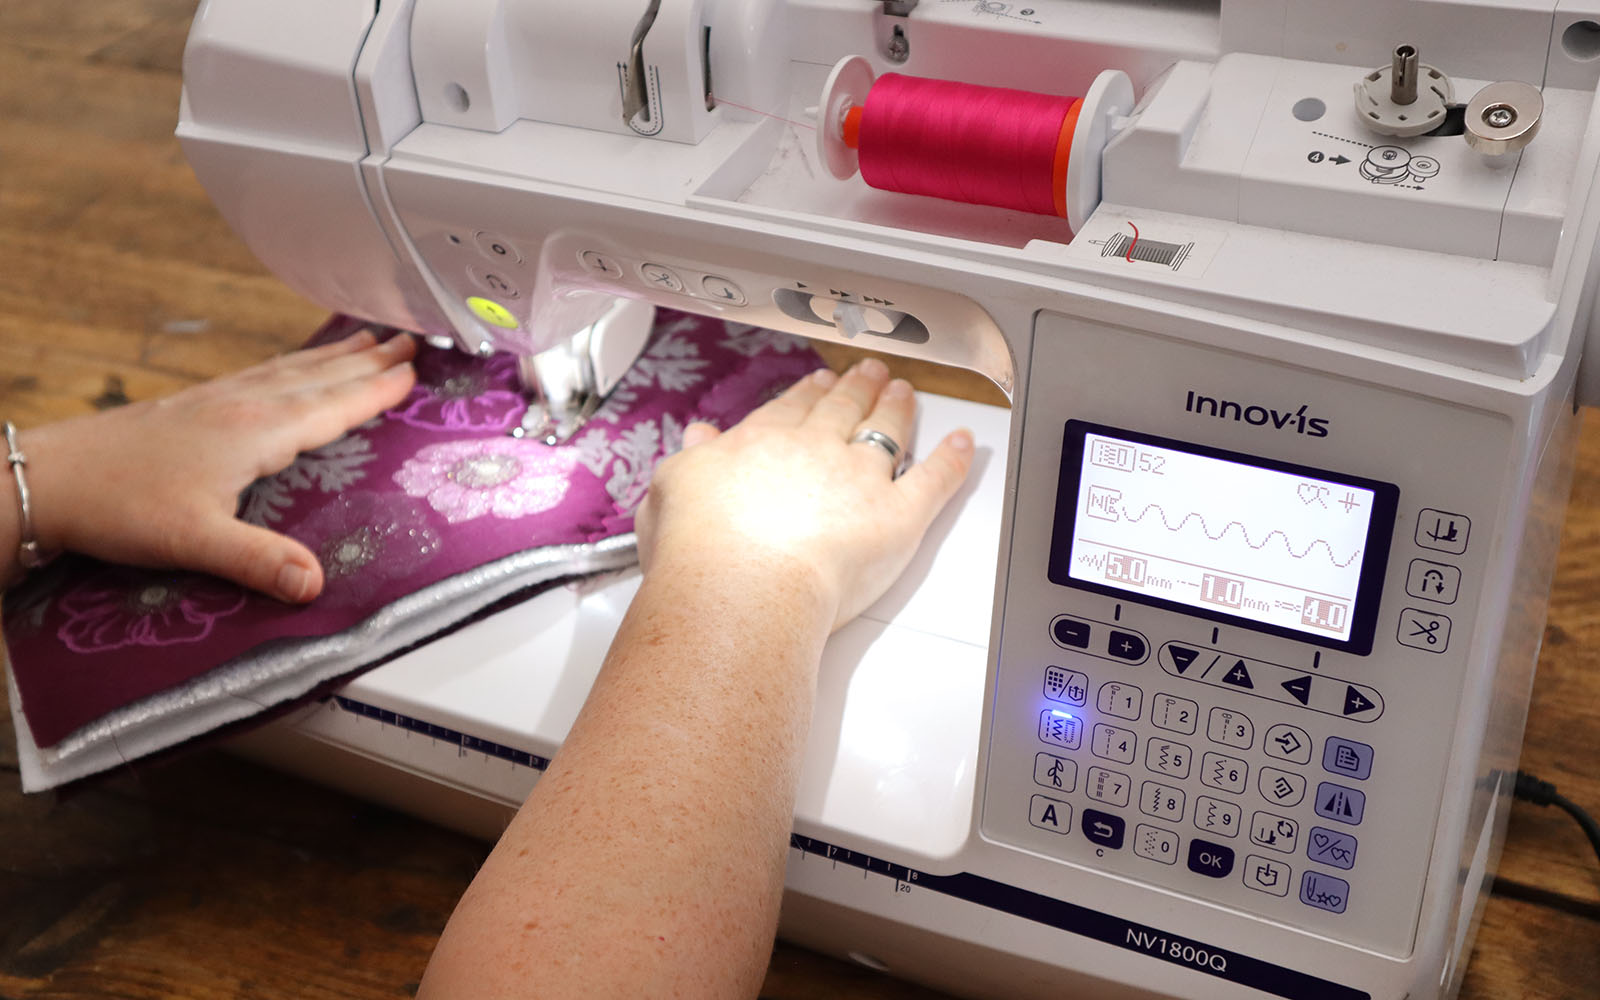
Step 9
Turn your trivet and sew diagonally across your already quilted lines to create a grid pattern.
Step 10
Square off by trimming back the edges slightly if required.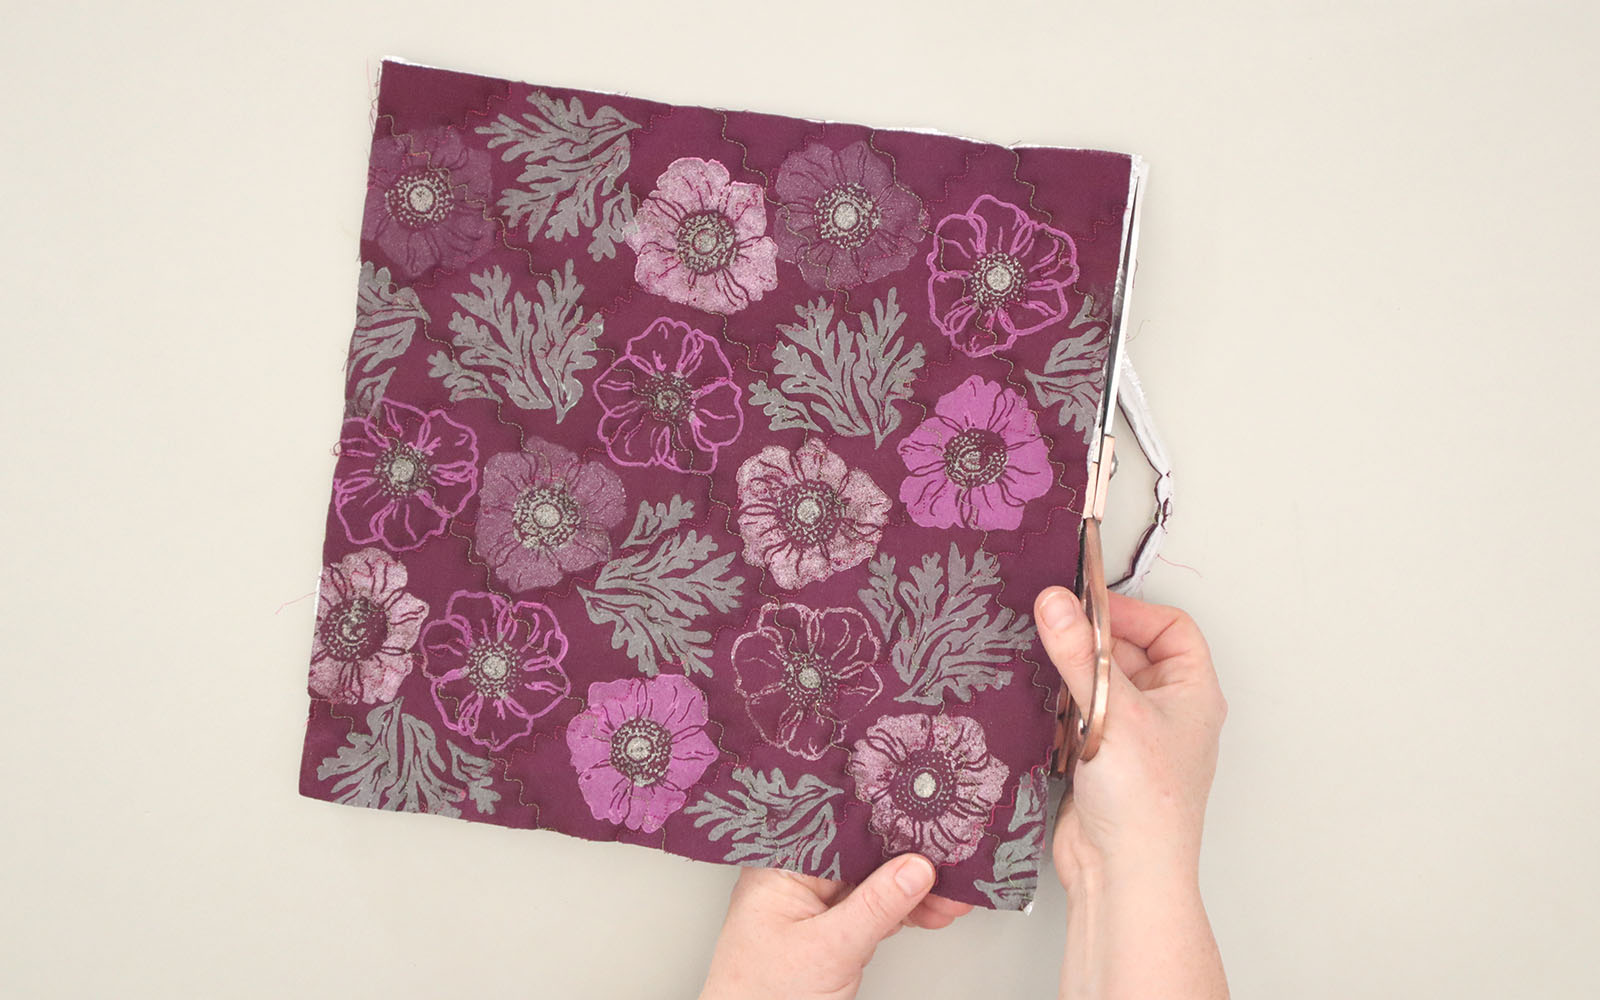
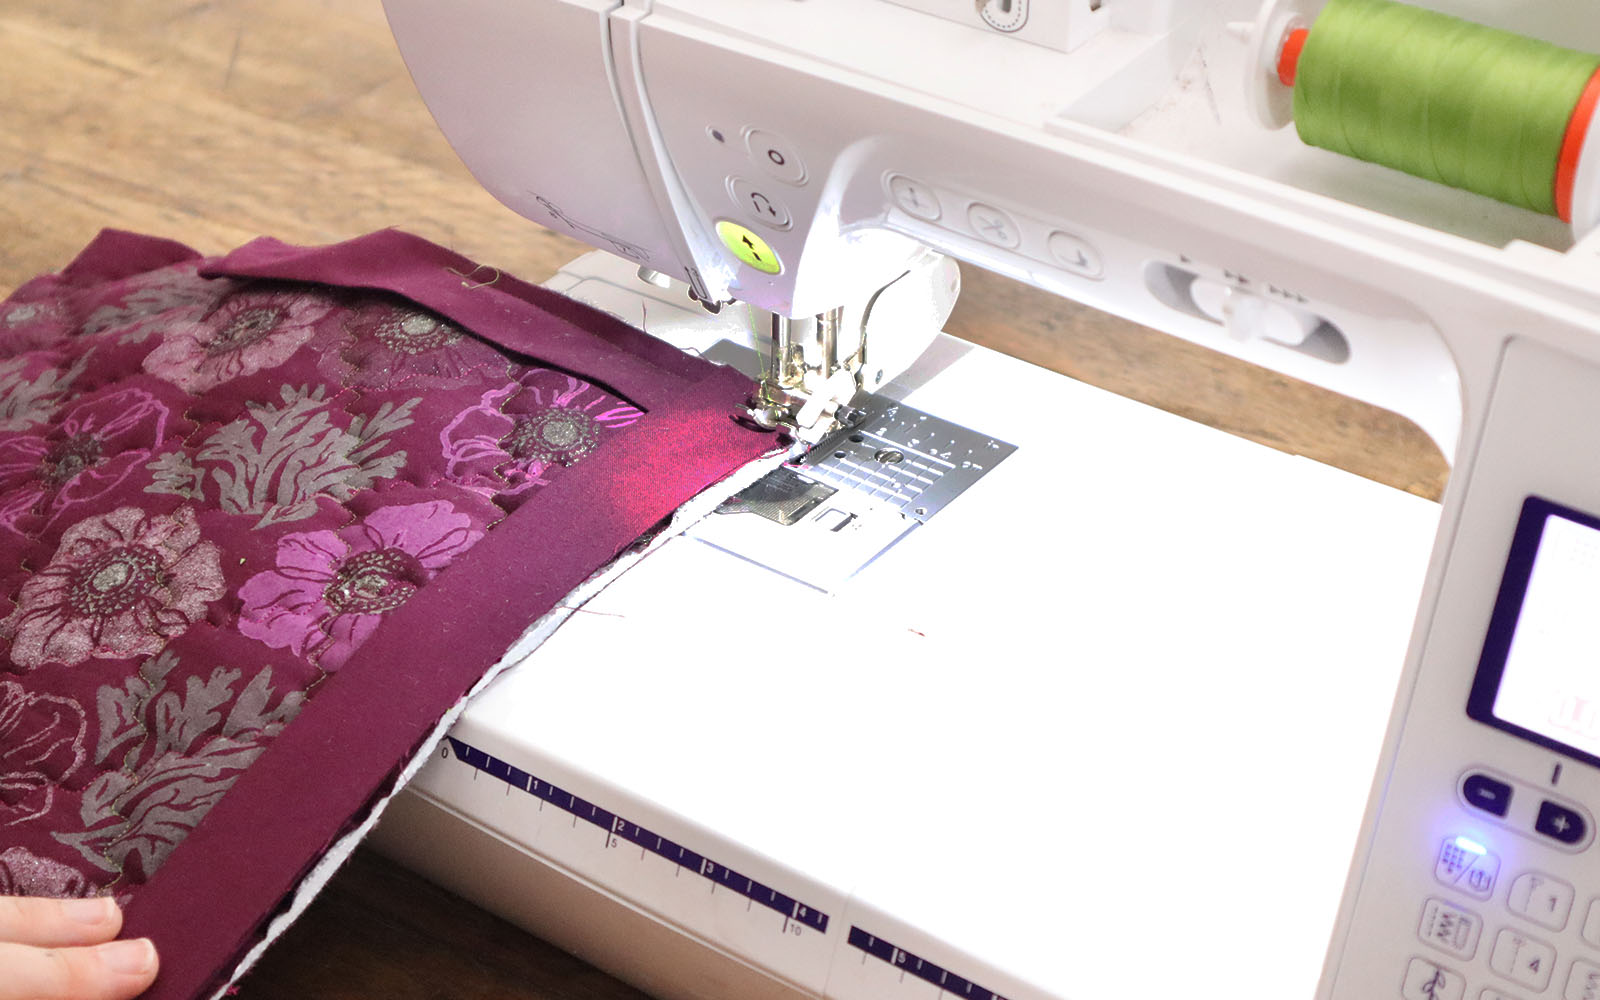
Step 11
If you are making your own binding, cut the strips, sew them together and fold the binding in half lengthways. Bind your trivet. I chose sew with machine sewing, finishing with hand sewing and mitred corners.Tip: if you’d like to learn how to bind a quilt with neat, mitred corners, you can view our How To blog here.
I hope you enjoyed making this project. I’d love to see what you make, so:
In addition come say hi, tag and follow me on Instagram, Pinterest, Facebook and Twitter.


