How to hoop your fabric for machine embroidery

Hooping can make all the difference when machine embroidering.
Get the hooping tight, and half the battle is won. However, there are some other tips that we think it’s important to know.
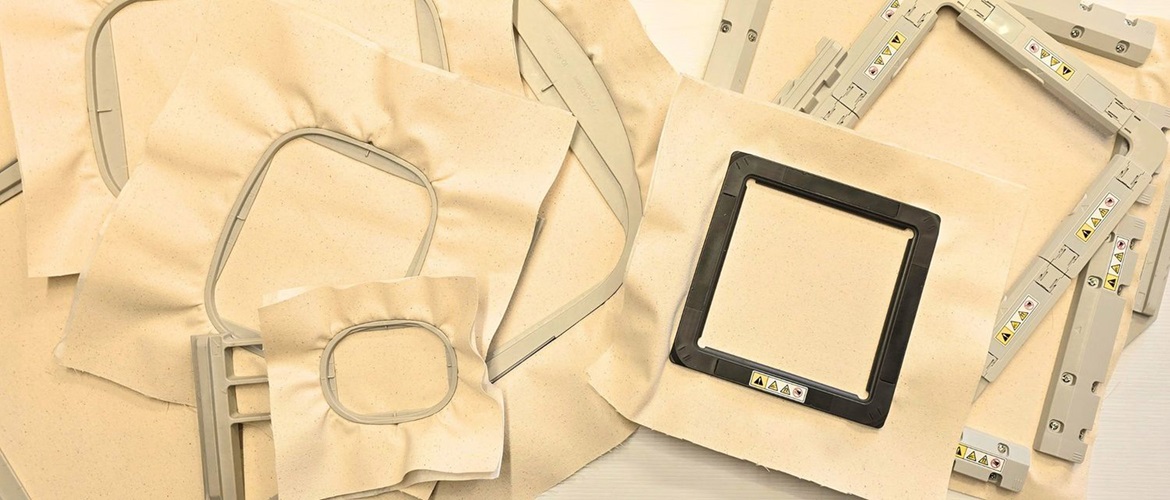
In this short article we show you how to hoop with Brother magenetic machine embroidery frames, and with Brother two piece machine embroidery frames.
How to prepare a Brother magnetic embroidery frame
- Prepare the fabric and stabiliser.
- Remove the magnetic parts from the frame – either full frame or magnetic strips.
- Lay the prepared fabric and stabiliser over the frame base, centering the area you want to embroider over the gap. Make sure the fabric and stabiliser overhang the bottom frame by at least 5cm on all sides and is laying flat.
- Place the top part of the magnectic frame over the fabric and bottom of the frame, so the two parts of the frame connect, trapping the fabric and stabiliser between them. If you are using a frame with magnetic strips, place the top magnetic strip first, then pull the fabric and stabiliser gently to the bottom and with your other hand attach the bottom magnet. Repeat with the magnet strips for the left and right sides of the hoop.
- Test the fabric – it should be drum tight but not stretched. The fabric should be taut and there should not be any bubbles or looser areas.
How to prepare a traditional Brother two piece embroidery frame
- Prepare the fabric and stabiliser.
- Adjust the size of the outer hoop by loosening the screw. There should be enough space to insert the inner hoop and fabric with stabiliser, but it should not be too loose.
- Centre the inner frame over the area on the fabric where you want to embroider. Lift the fabric, stabiliser and inner frame together and gently push it into the outer frame. It should offer a little resistance.
- Tighten the screw until the fabric and stabiliser is caught between the two parts of the hoop but still allows the fabric to move slightly. If necessary, gently pull the edges of the fabric and stabiliser together to flatten the fabric in the hoop without stretching it.
- Tighten the screw.
- Test the fabric – it should be drum tight but not stretched. The fabric should be taut and there should not be any bubbles or looser areas.
What else should you consider when hooping fabric to embroider?
- Make sure you’re using the right stabiliser for the right fabric and pattern type. You can read our handy stabilisers blog to find out more.
- Fabric should be pressed before hooping and embroidering. Only press fabric that can be pressed.
- Make sure there are no lumps or bumps in your fabric, or pieces caught under the side of the embroidery frame.
- If your fabric is thick, technical or very delicate, you may need to ‘float’ it on top of the embroidery frame, instead of hooping it in the traditional sense. We have two great articles you can read for more information: How to Embroider on Towels and Embroidering on Chiffon.
Now you’re ready to load your embroidery frame into your Brother embroidery machine and start stitching.
If you’d like some more information on getting the best out of your Brother embroidery machine when you’re new to embroidery, read more here.


