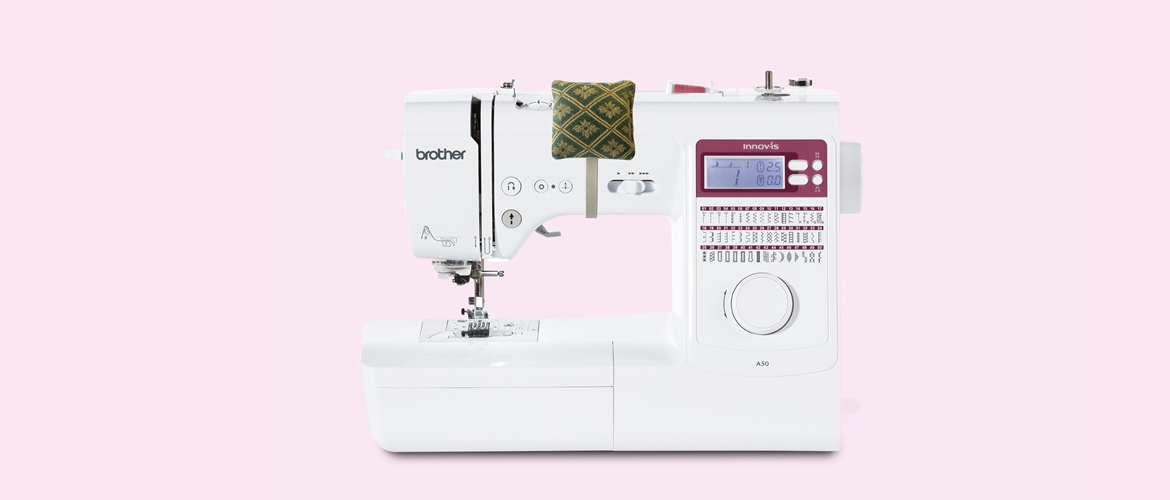
Sewing machine pincushion


Always wondering where you left your pins?
You won’t be with this handy pin cushion accessory that attaches to your sewing machine! Sewing Ambassadors Bomb show you how to sew this useful pincushion attachment. As it uses small amounts of fabric AND is stuffed with those annoying, tiny scraps of fabric you get from the end of every project, it’s a great sustainable stash buster!
Materials needed
- Two fabric squares 10 x 10cm
- Elastic: long enough to reach around your machine while slightly stretched (you don’t want it too loose, as it’ll fall off!)
- Sewing thread
Equipment needed
- Sewing machine
- Fabric scissors
- Hand sewing needle
- General sewing supplies
How to
Step 1
Take your elastic and measure it against your machine’s arm (where you want the pin cushion to sit). It needs to be slightly under tension so it stays put, but not too tight that you can’t take it on or off! Cut to size.
Step 2
Cut two squares of fabric 10 x 10cm each. Pin them together with the right sides facing and edges aligned.
Sew all around, leaving a 5cm opening centred along one of the edges. Trim the edges, snip the corners and turn the right side out through the opening.

Step 3
Time to use your old fabric scraps! Fill the cushion with small scraps. Sew slip stitches with needle and thread to close the opening.
Step 4
Attach the centre of the elastic to the centre of the cushion by sewing a few stitches with needle and thread through the elastic and the outer layer of the pincushion. Fasten off securely. Sew the ends of the elastic together.
Your pincushion is done! Thread it around the top of your machine.


