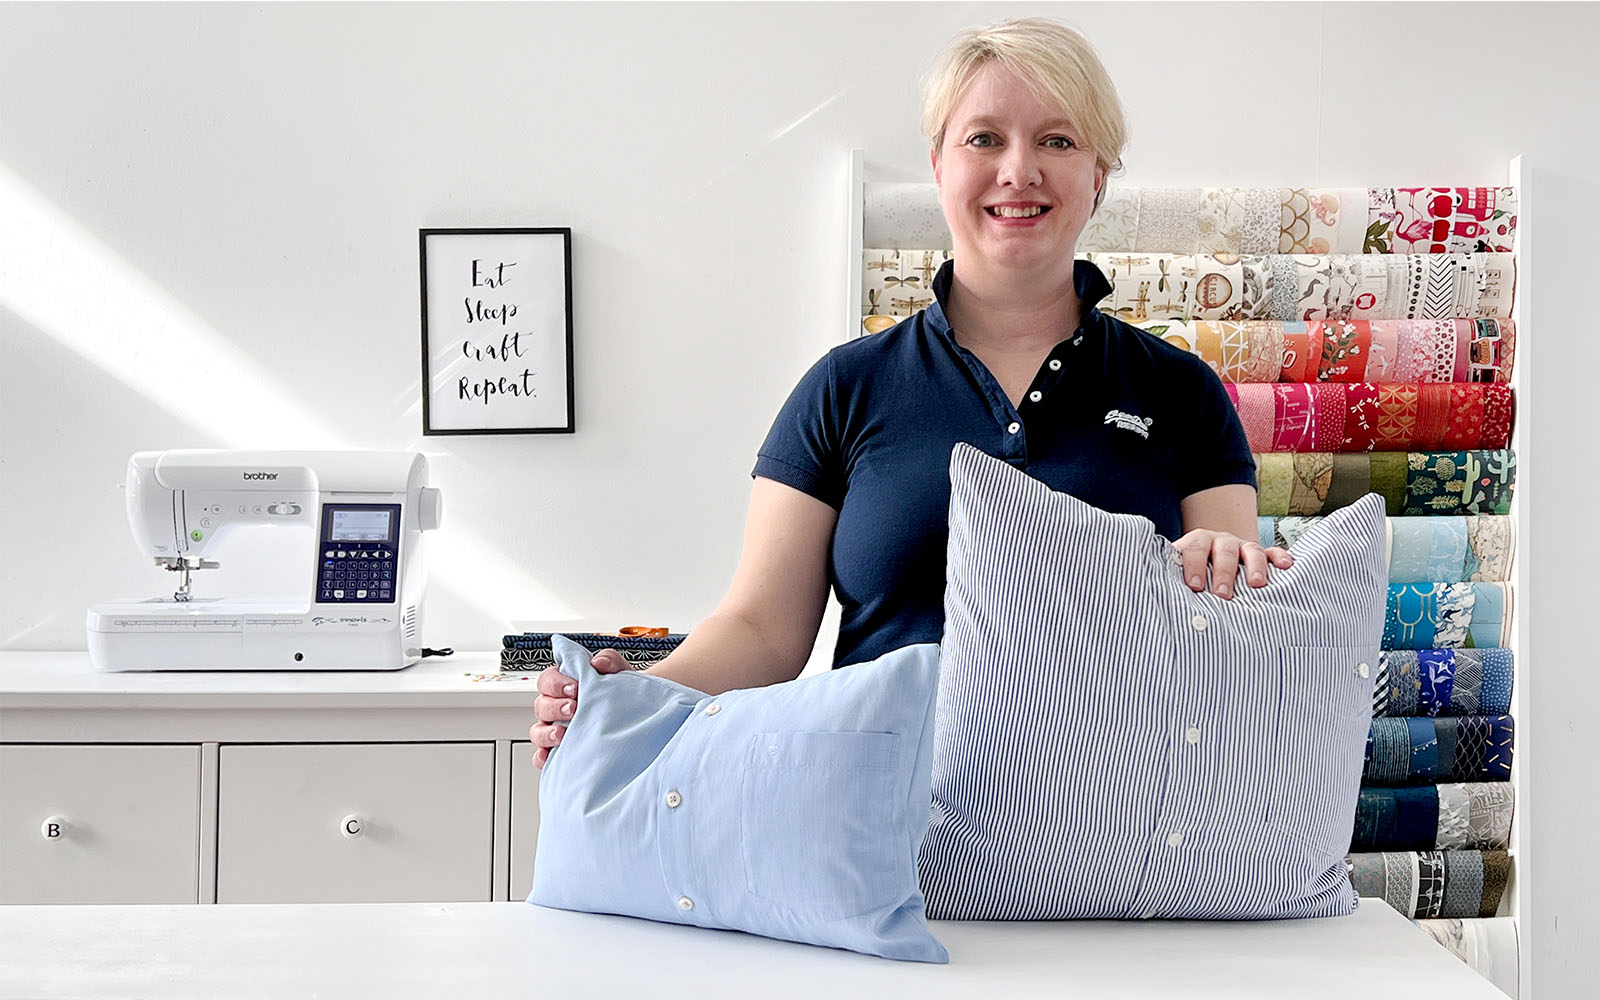
Upcycled shirt cushion covers


Do you have an old button-down shirt that is no longer wearable (or too small ;)) but you still like the pattern?
Would you like to create a memory of a loved one who wore the shirt? Do you like recycling projects, sustainability and sewing? Or do you simply need new decorations for your sofa? Then this sewing project might be for you!
A cover for a sofa cushion is made from an old shirt in no time - I'll show you how easy it is!
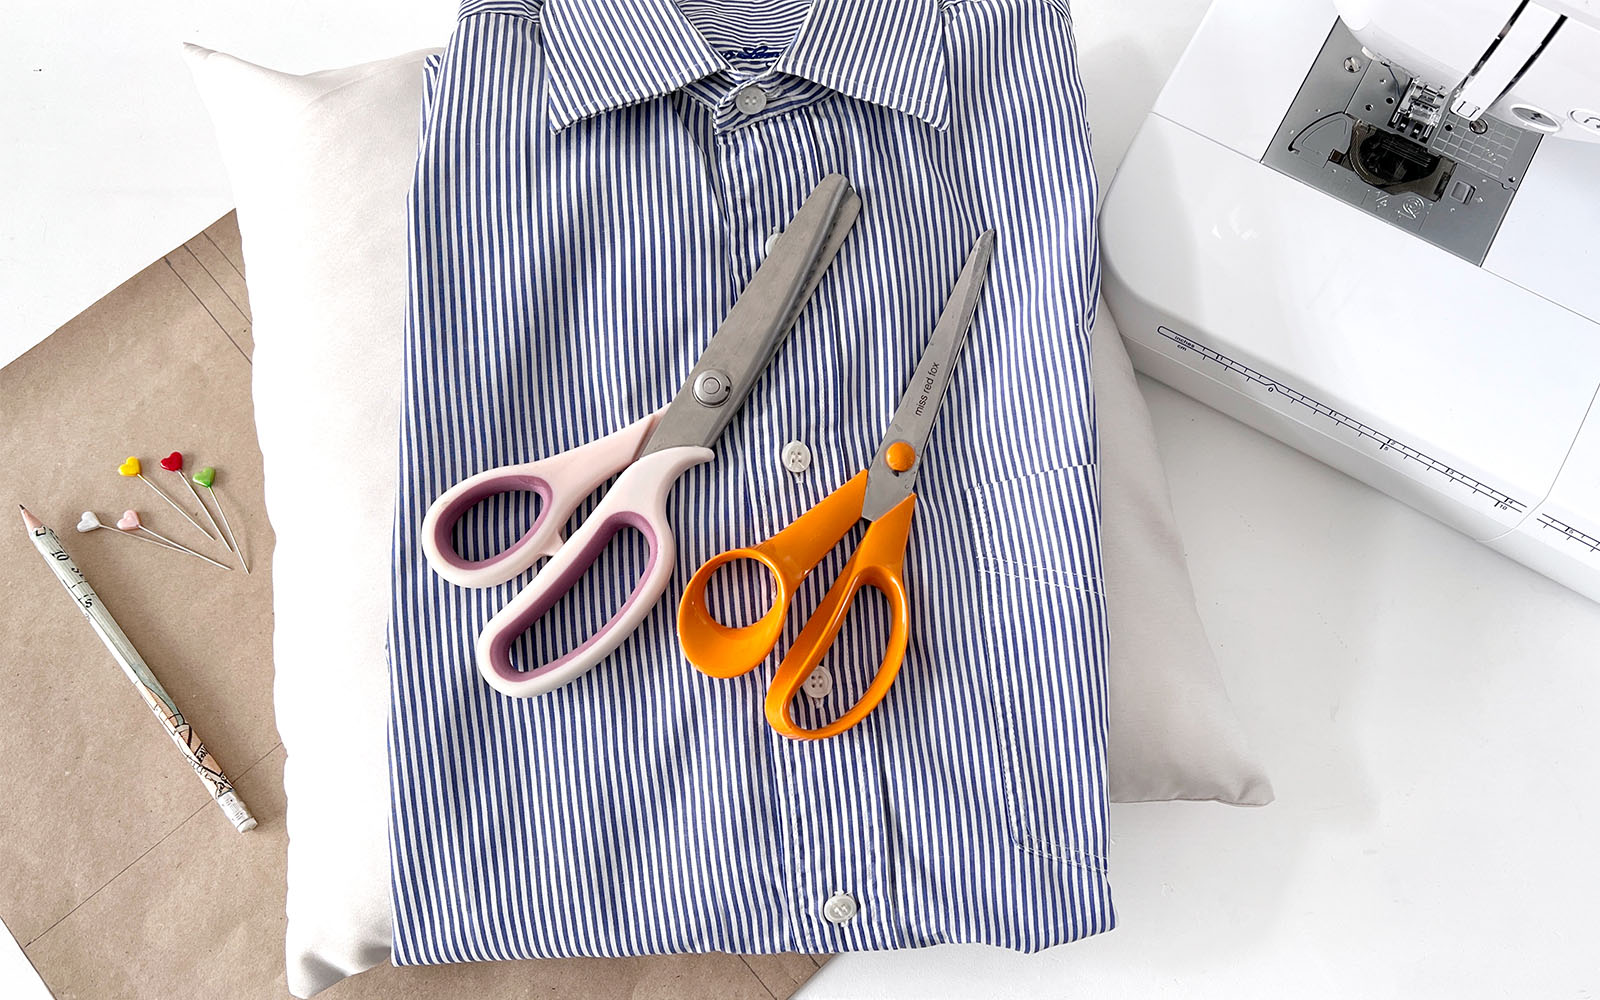
Materials needed
- Sewing machine and matching sewing thread
- 1 x man's shirt with buttons, straight cut (women's blouses are usually fitted and therefore not suitable for this project)
- A cushion inner - size of your choice
- Cardboard or paper for making a template
- Pen
- Pins
- Regular fabric scissors
- Pinking shears (optional)
- Iron and ironing board
How to
Step 1
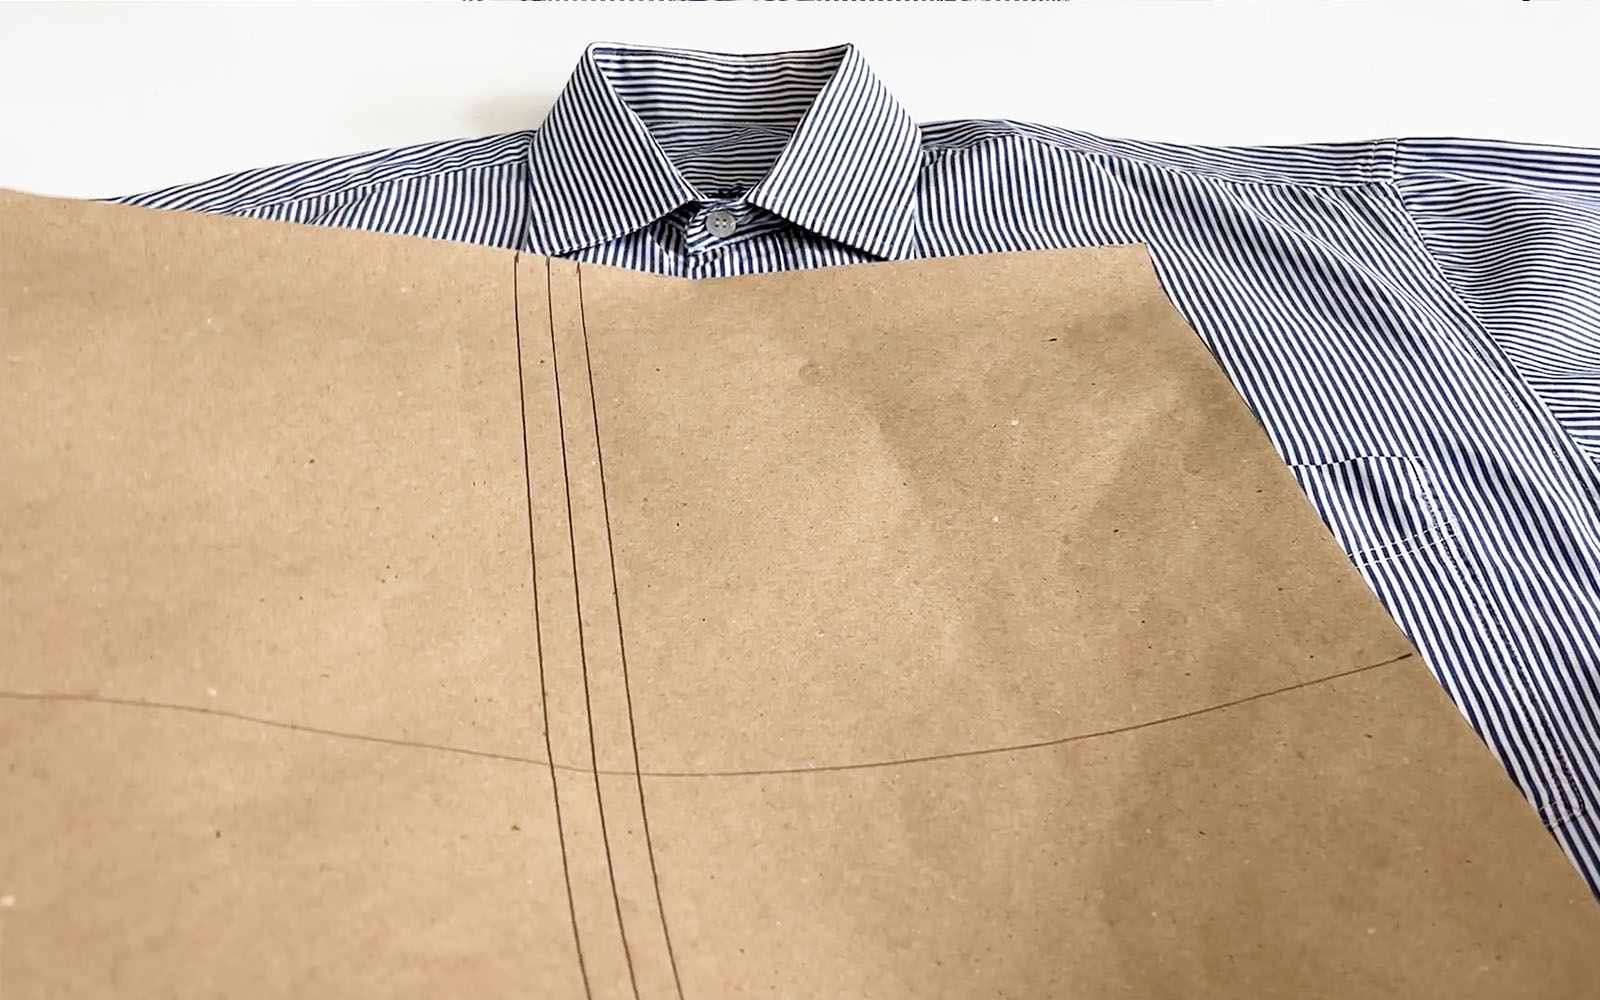
Prepare the template – if you don't have a large sheet of paper or cardboard, use wrapping paper from a roll. It is wide enough, and you can also double it and then glue it to make it more stable.Most sofa cushions are about 40 x 40 cm. In this case you need a paper template that is about 44 x 44 cm. If your cushion has other dimensions, add 4 cm per side when you draw your template.
It is important with this paper template that you mark the middle with a line - the vertical middle is the most important, because you will use it to make sure that the buttons are in the middle of your cushion cover.
Cut out the paper template after drawing.
Step 2
If the shirt has breast pockets, mark the vertical center of the pocket on the edge of the shirt. A ruler can be helpful here, but you can also make a visual estimate.Keep the shirt buttoned while you do this.
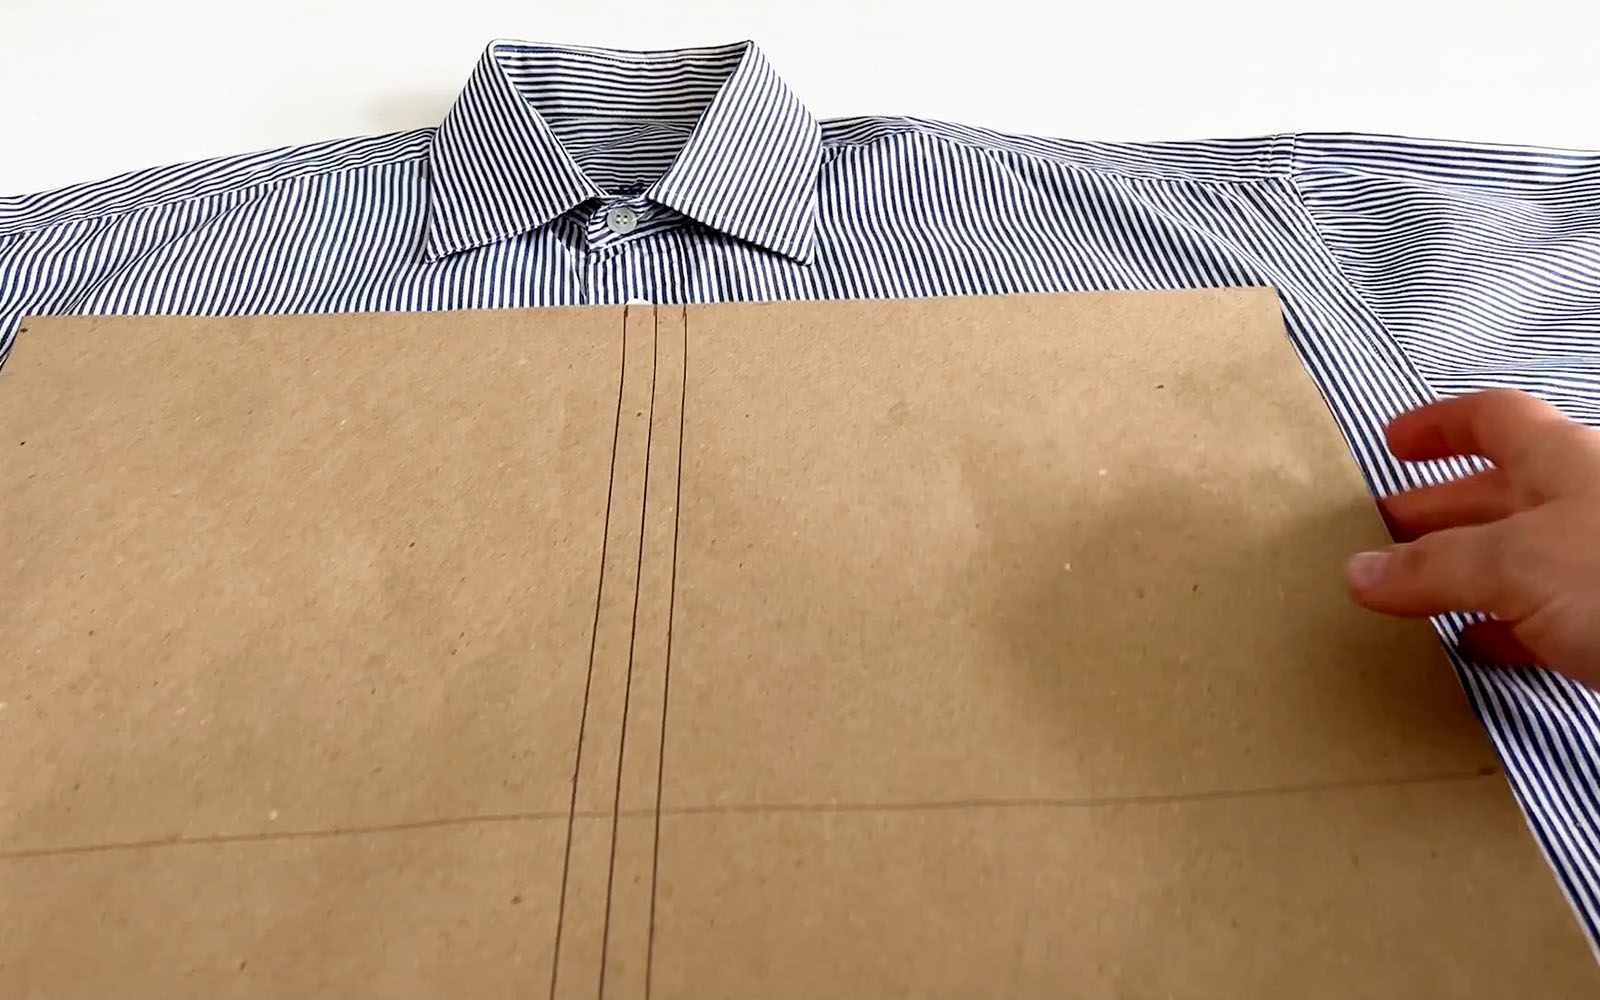
Place your template on the spread out and ironed shirt so that the horizontal center line corresponds to the marking on the shirt (half the height of the breast pocket(s)) and the vertical center line is over the buttons.
Step 3
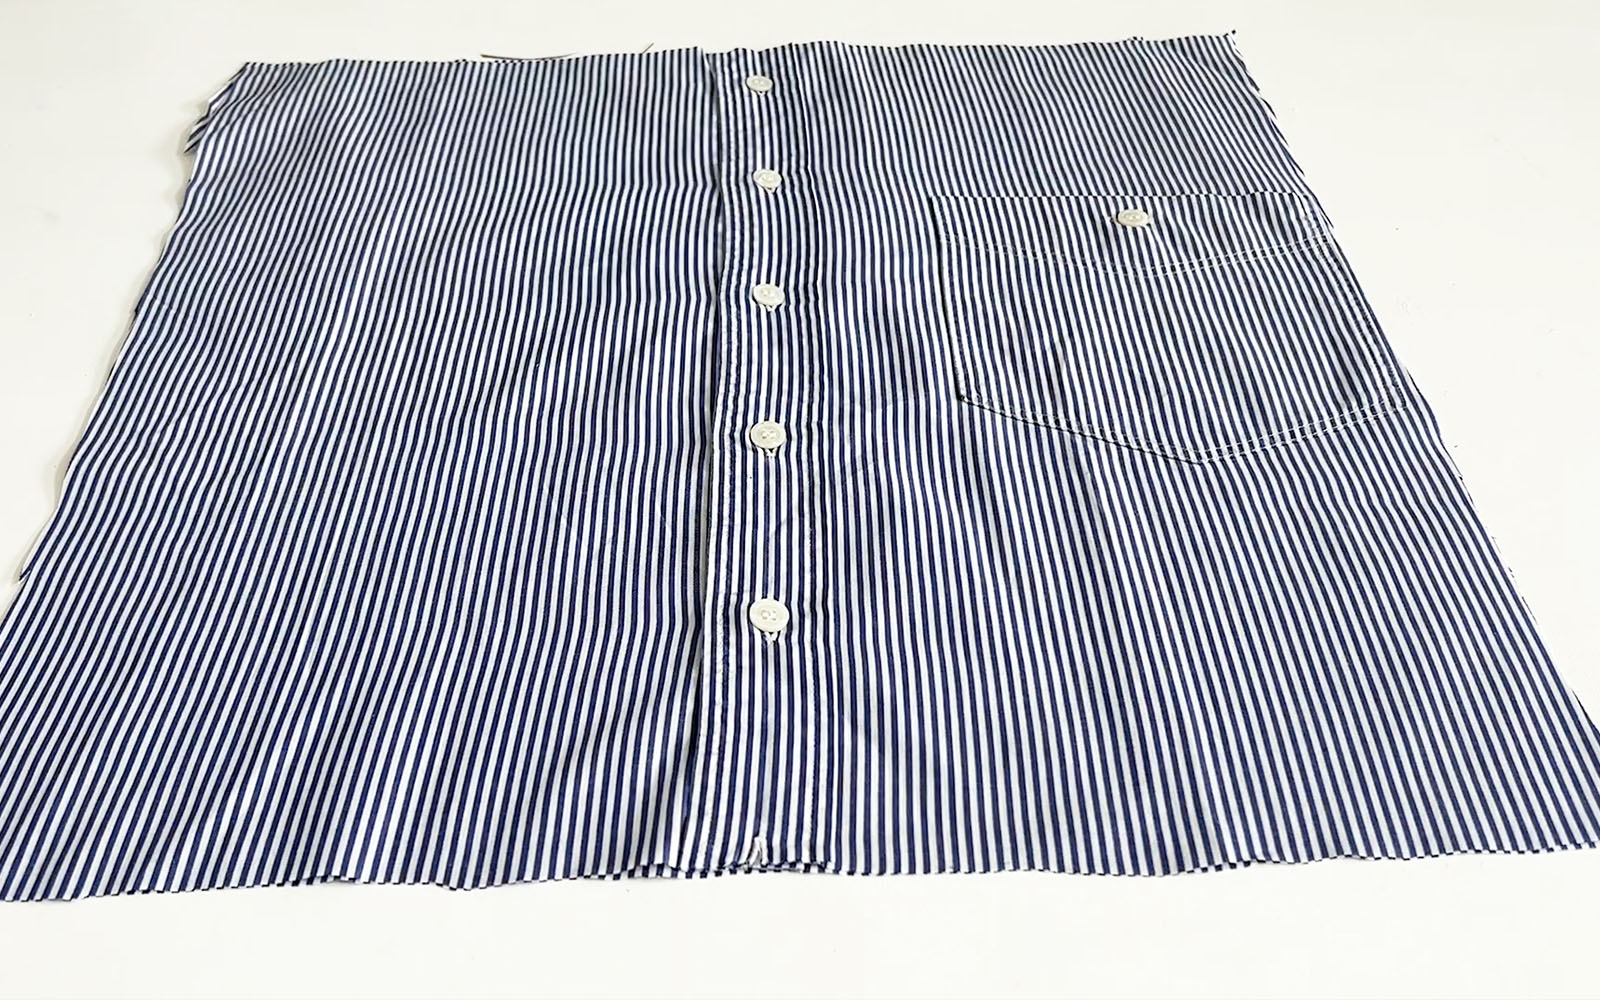
Then cut out the shirt (front and back) along the edges of the template. Use pins or sewing weights to help keep the template in place if you need to.At the end you should have two squares 44 x 44 cm of fabric. The buttons are in the middle and ideally the pocket(s) too. Now iron the two squares.
Step 4
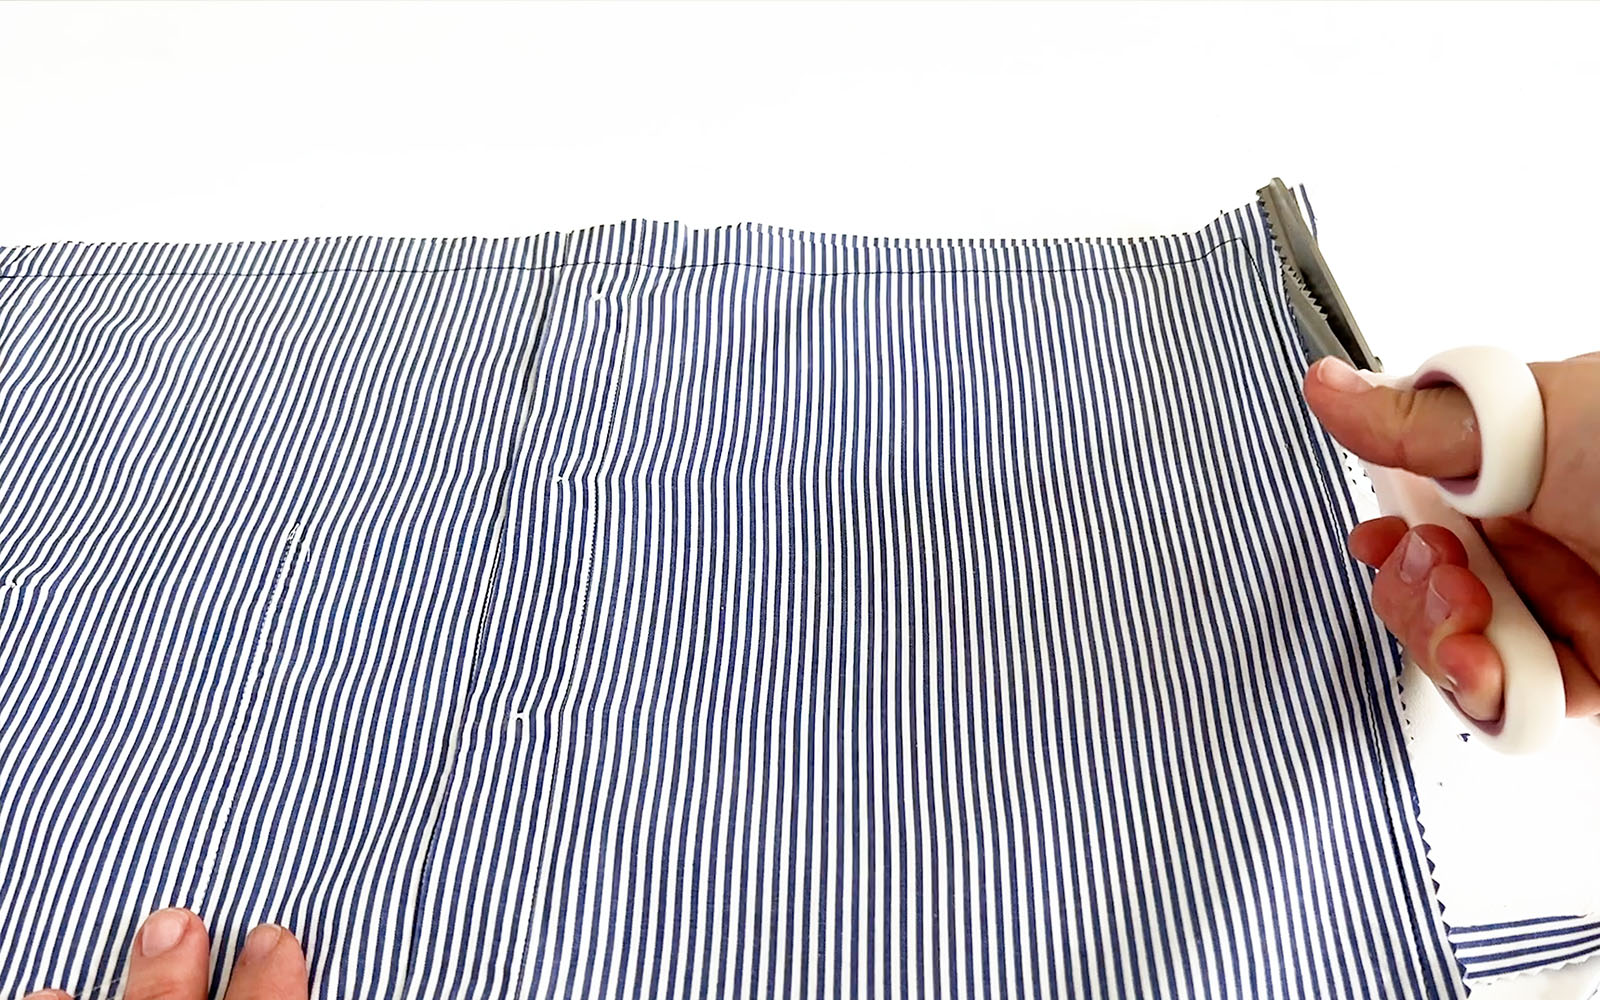
Place the squares of fabric right sides together and secure them with pins. Now sew all around (do NOT leave a gap for turning!) with a margin of about 2cm.You can now finish off the edges with zigzag scissors or with the sewing machine (zig-zag stitch or similar).
Step 5
The buttons can be opened now (it's easy, even if you do it from the wrong side) and the cushion cover can be turned right side out.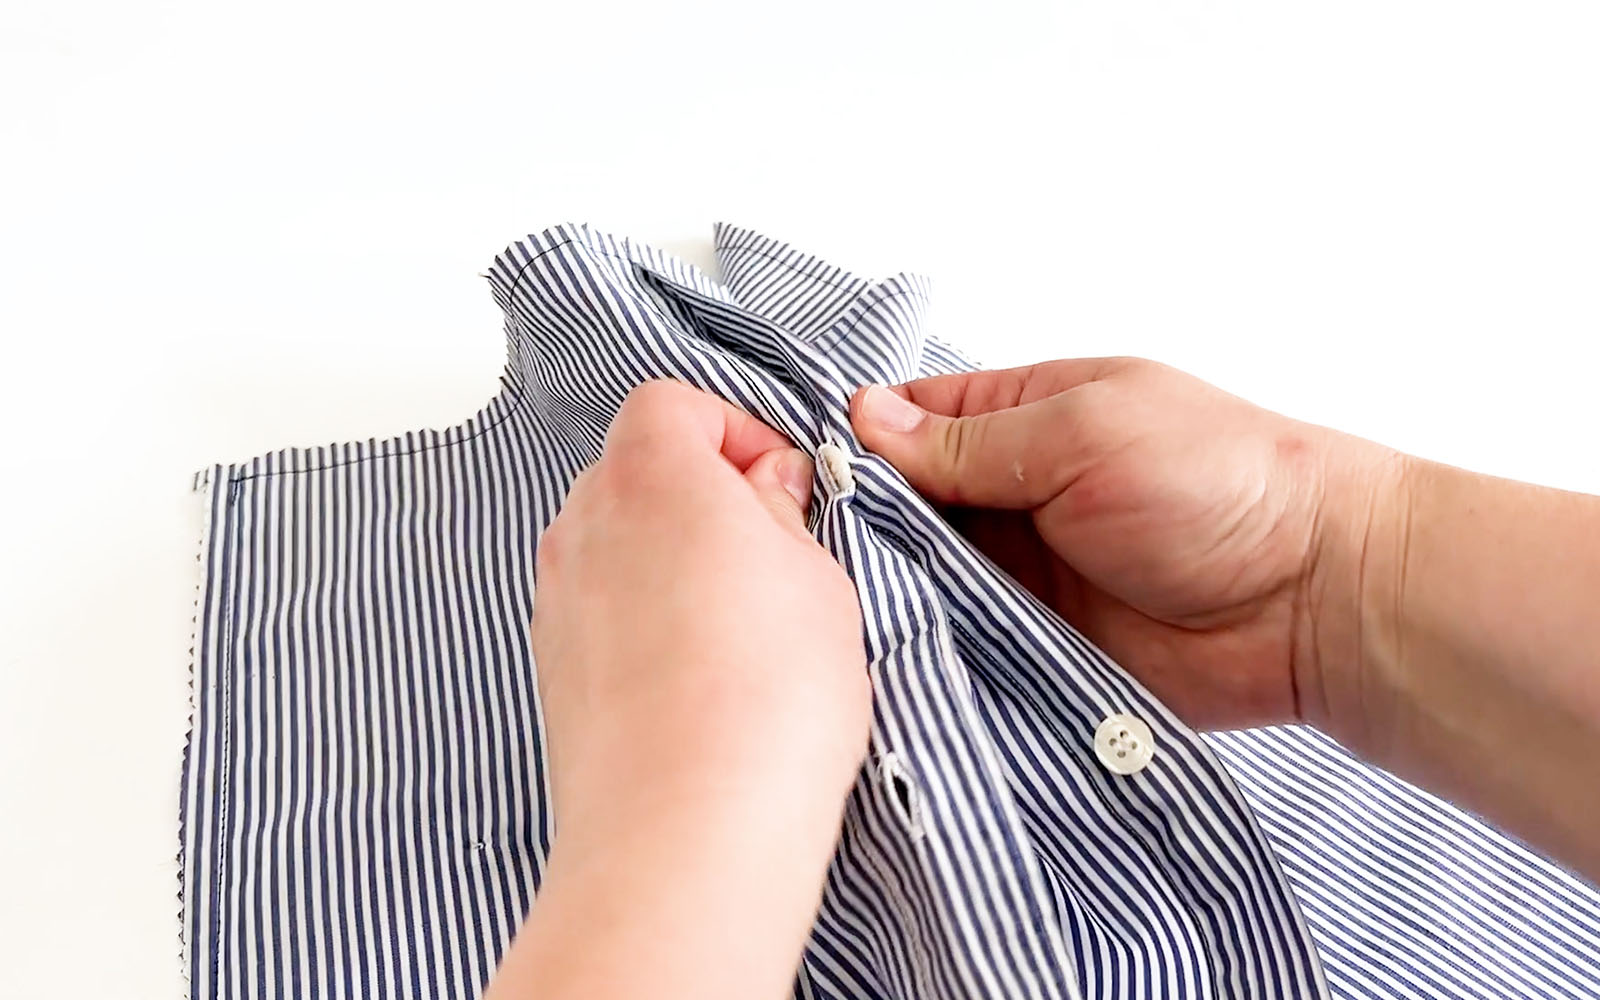
Step 6
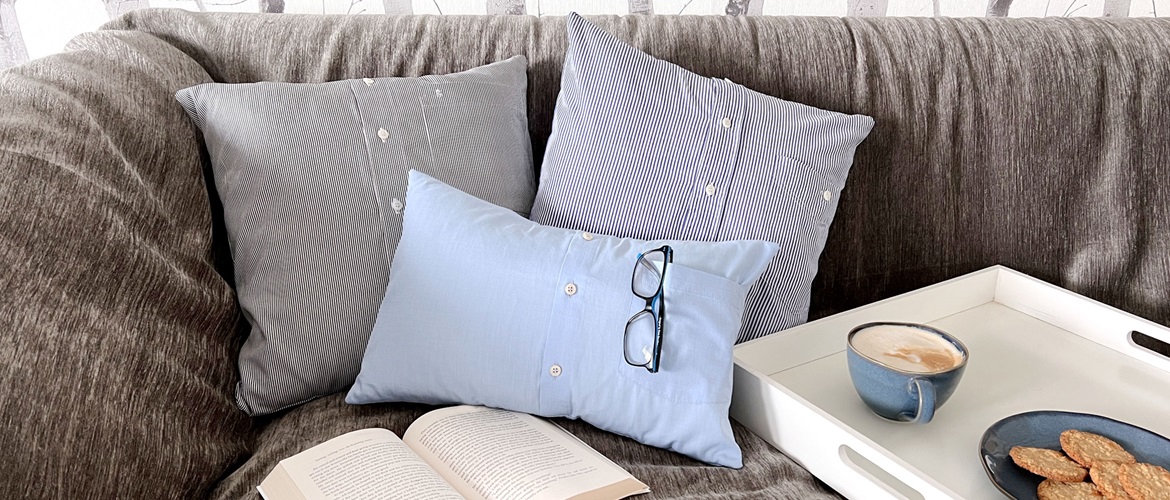
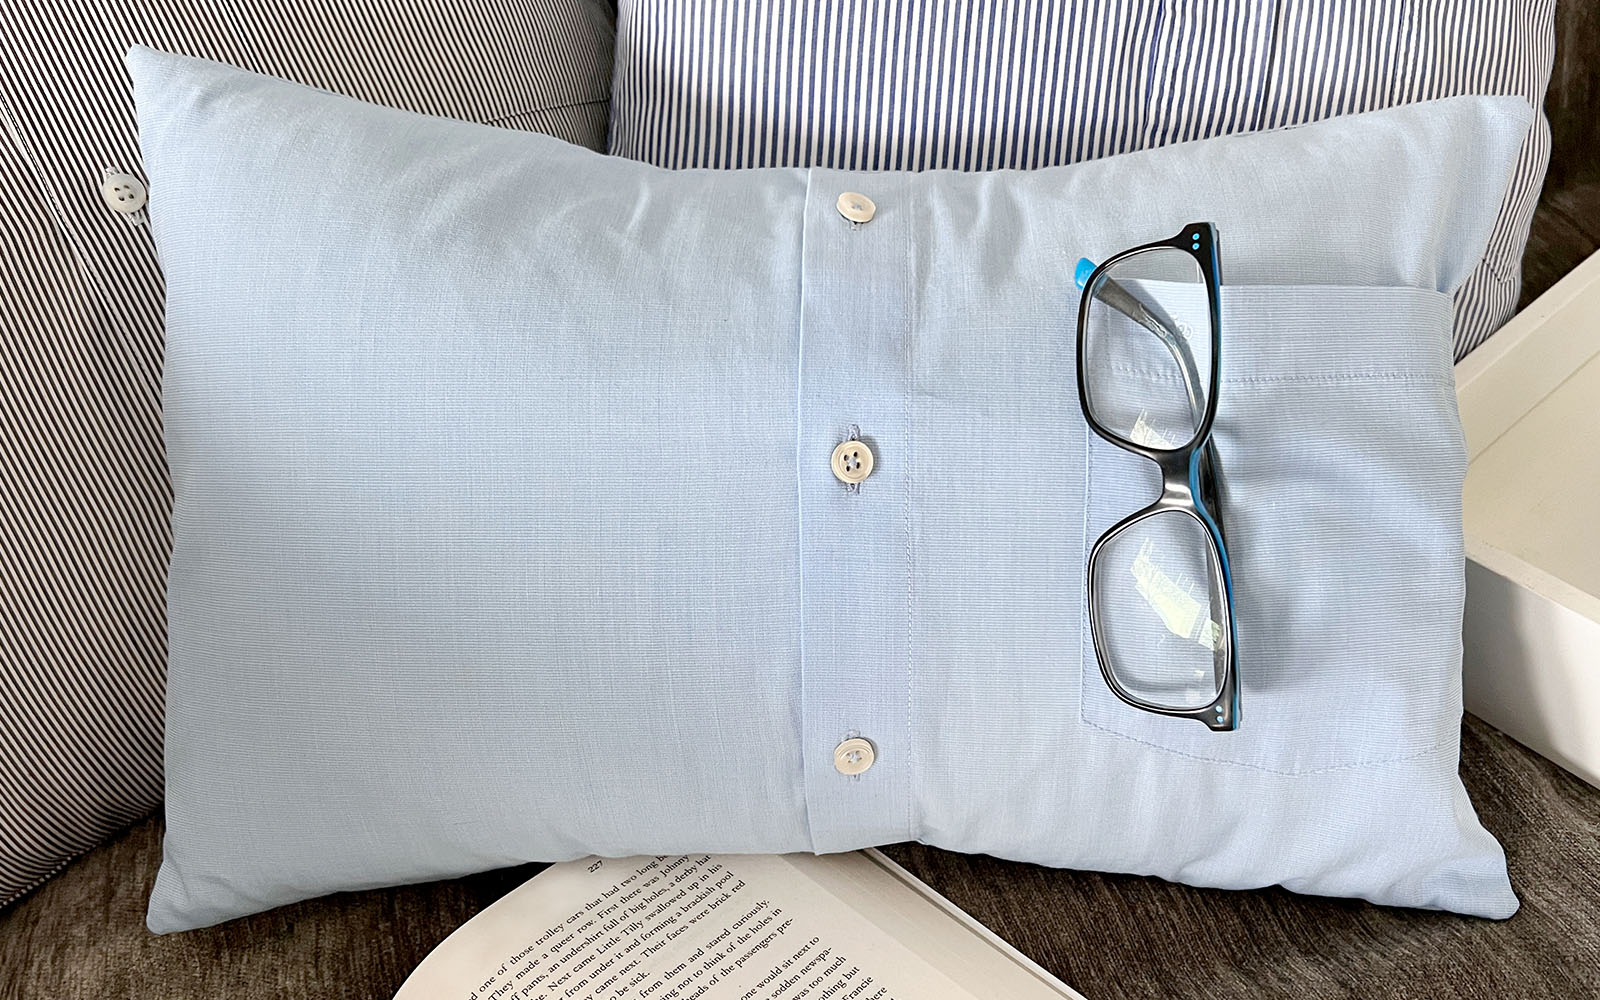
Put the cushion in the cover and close the buttons - done!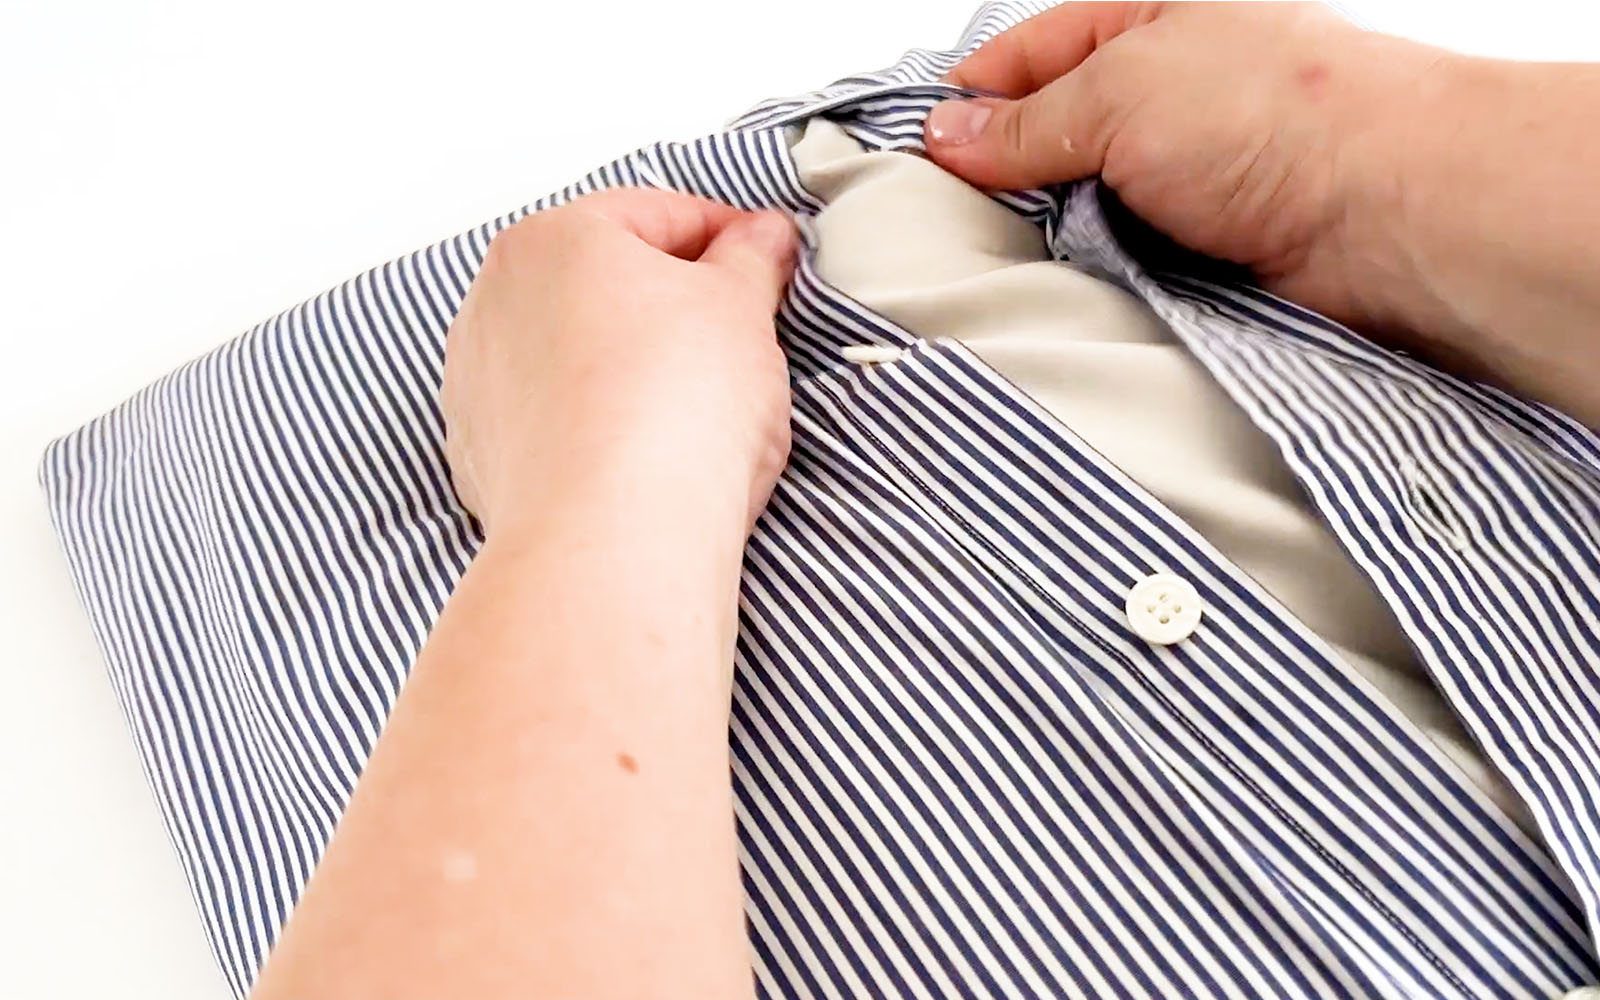
I wish you a lot of joy and fun when choosing shirt patterns, tailoring and sewing!
I hope you liked my project? Enjoy crafting and see you next time!
I can’t wait to see what you make! Remember to tag in Brother on Instagram and Facebook, and myself too!