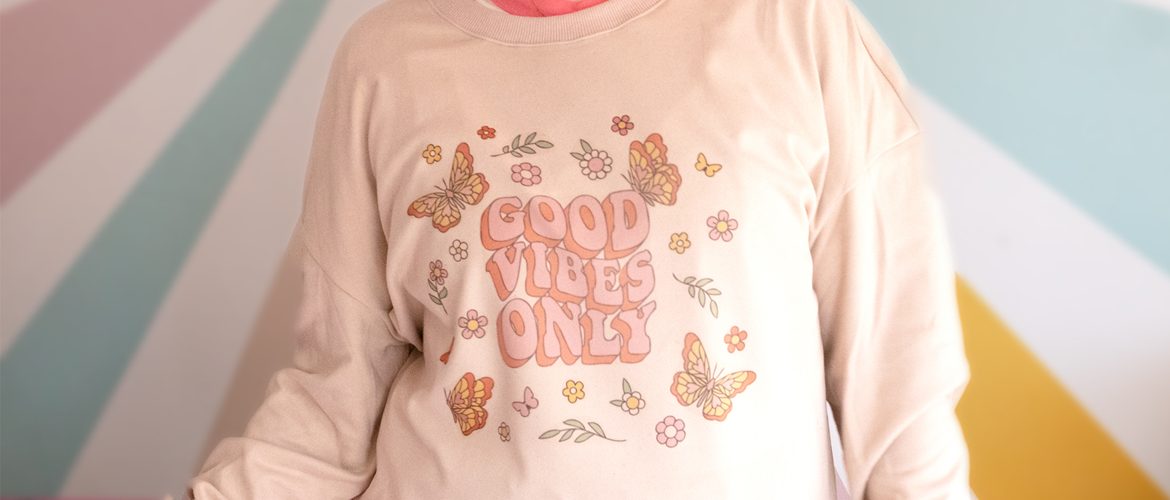
Good vibes sublimation sweatshirt


Create a fun sweatshirt design using the Brother Sublimation Printer SP1 and designs from the Brother Artspira app.
This project is perfect for beginners looking to try sublimation for the first time! I used a polyester sweatshirt blank and combined several ready-made Artspira designs to create a fun pattern. No drawing or graphic design experience is needed to make this.Just download, print, and press; it’s that easy! I’ll talk through each step in more detail so you can start sublimating with confidence.
Materials needed
- Sublimation paper (Brother Sublimation Paper)
- Polyester sublimation blank sweatshirt
- Heat-proof tape
Equipment needed
- Brother Sublimation Printer SP1
- Heat press or household iron
- Sublimation ink (Brother SP1 Sublimation Ink for the printer)
- Artspira app
- Scissors
- Heat-proof mat
How to
Step 1
Open the Brother Artspira mobile design app and explore the built-in design library. If you don’t have Artspira yet, you can download it for free using the button above.
Tip: to make it more personal, you can mix and match illustrations to make a unique combo. I chose the gorgeous retro designs you can find in the ‘logo’ section.
Step 2
Select your chosen designs and scale them to your desired size within the Artspira app.There are a few designs in this style, so I printed a few of them to mix and match different parts.
Step 3
Load the sublimation paper face down with cut corner in the right-hand side and hit print in the Artspira app.
Note: the Brother SP1 sublimation printer is all automatic, so no tricky setup is needed! It doesn’t require any fussy colour matching or changes; it prints great quality sublimation prints with a few clicks, and the finish is amazing quality.
Step 4
Set up your heat press and heat-proof mat on a firm surface.Tip: I heated my press to 190 degrees for 50 seconds, but this may vary depending on your surface materials. Please follow manufacturer’s instructions.
Step 5
Pre-press your sweatshirt for a few seconds on the heat-proof mat to remove any moisture and wrinkles. Pre-pressing makes sure you’ll get the best sublimation results, so don’t skip this step.
Position the printed design face down on the sweatshirt and tape it in place using heat-proof tape. I sublimated the design in stages, with the centre text first. I then placed the small designs I had cut individually, placing them by eye where I wanted them.

Step 6
Use a heat press at as directed for your sublimation blank or a hot dry iron (no steam) with firm pressure.Once the print is transferred, peel away the paper to reveal your design!
You can repeat the process and layer more designs or keep it minimal with just one. As mentioned, I did mine in stages.
Tip: use a piece of heat-proof paper to prevent your design from fading each time you add more to it.

Step 7
Give the sweatshirt one final press (with a protective sheet on top) to set everything, and you're done!It’s comfy, cute, and the perfect beginner-friendly sublimation project.

Remember to tag both me and Brother if you make this, we love to share your work to inspire others.


