How to: Use magnetic frames for Brother PR embroidery machines


Take the hard work out of hooping with the magnet frames for the Brother PR embroidery machine range.
Materials needed
- Brother PR embroidery machine
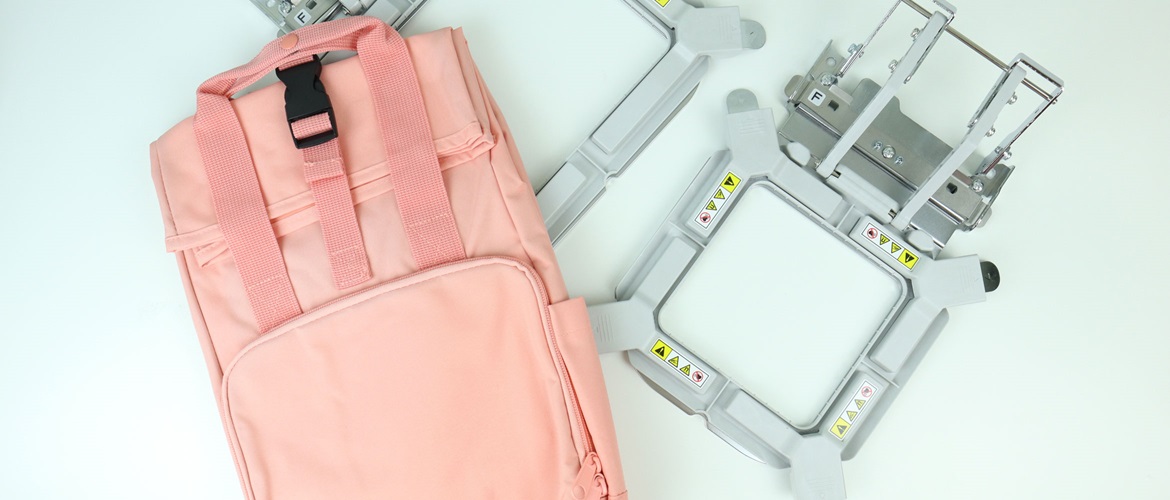
- Brother magnetic frame PRVMFMKIT or PRVMFLKIT
- Fabric to embroider on
- Stabiliser to match
- An embroidery design
Step 1
Install the adapter for the magnetic hoop on your embroidery machine, following the included instructions..
Step 2
Insert the frame into the adapter. The frame has two holes on the side, each of which must snap into the adapter with the matching counterpart. Position the magnetic frame in the centre, push it backwards until it clicks into place.
Step 3
There are four individual magnets, each with a lever which is pressed upwards to remove the magnet from the frame.
Step 4
Remove all four magnets and lift the plastic part of the frame.
Step 5
Position the fabric between the metal and plastic frames. Remember to add stabiliser to your project (you can slide it in underneath the fabric as shown on the video).
Step 6
Lower plastic frame and attach the four magnets in their respective positions. The magnets will adhere tightly when positioned correctly. Make sure to test that your fabric is hooped tightly.
Step 7
Select your embroidery file, position accordingly and start embroidering.
Step 8
After embroidery is completed, remove the magnets from the frame using the levers.
Step 9
Lift the plastic frame part and remove the embroidered item.
Step 10
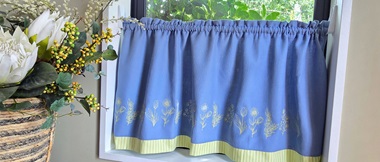
Remove stabiliser and done!