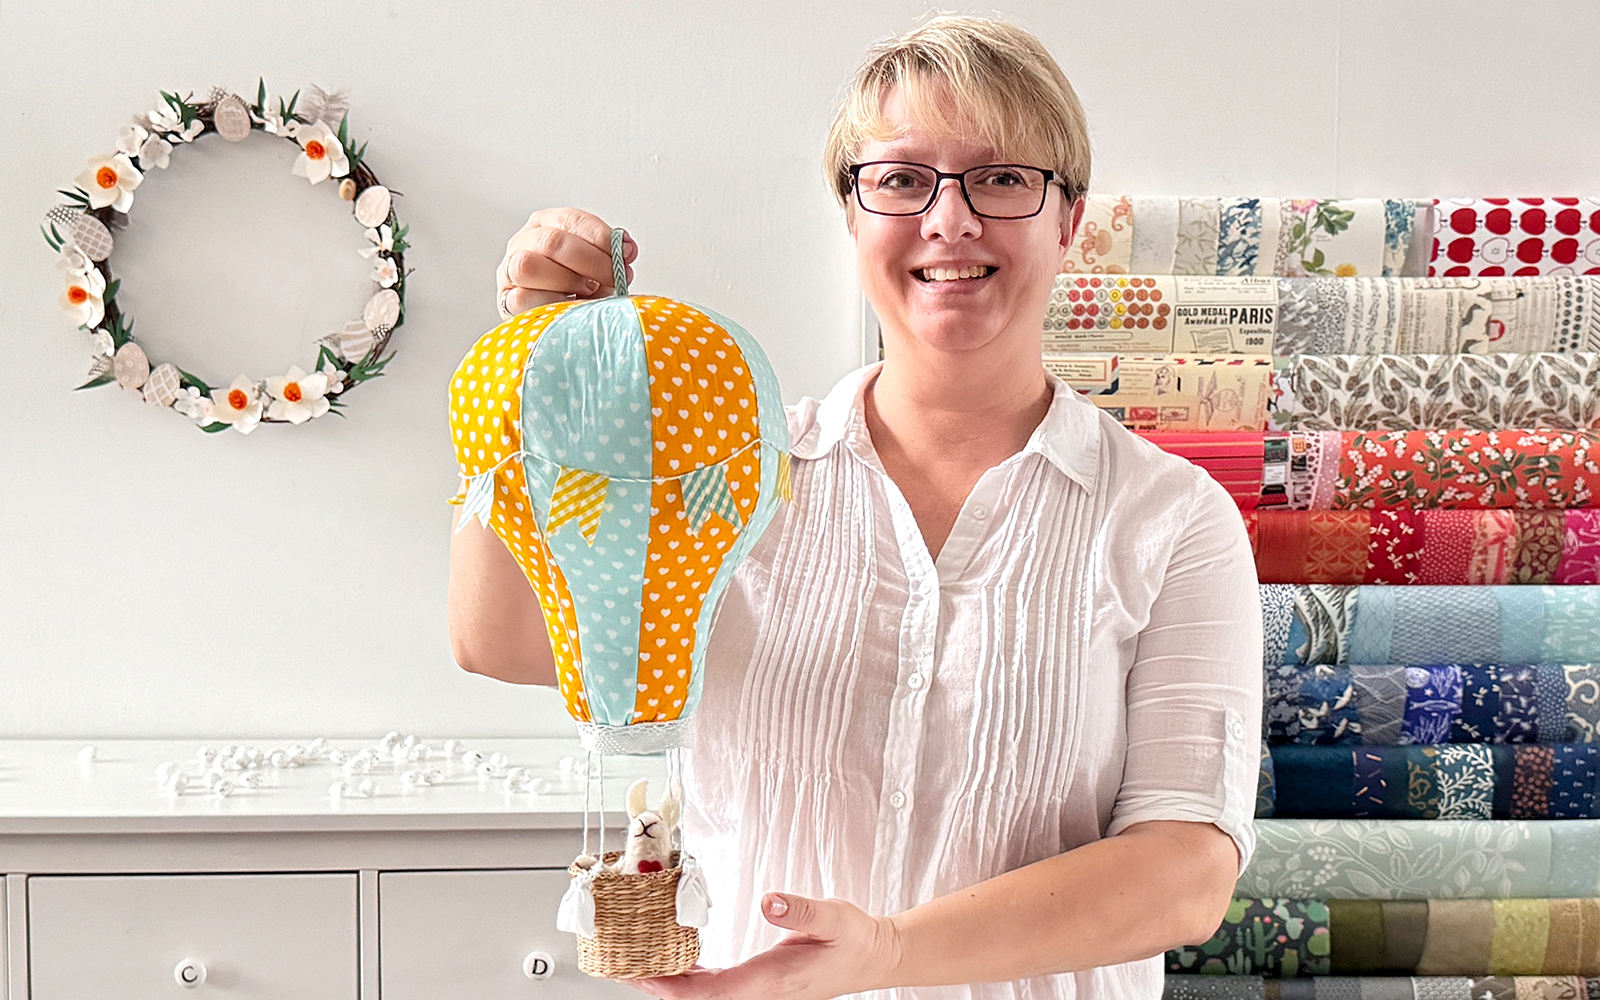
Easter delivery!


Embrace warmer weather and bluer skies with new decorations - how about a fabric hot air balloon? You can fill it with sweets for Easter, but it is also ideal as a mobile in the nursery.
Materials needed
- 50 x 50cm cotton fabric in two colours: I used mint (fabric A) and yellow (fabric B)
- 20 x 20cm cotton fabric in white
- 50 x 70cm fusible interfacing (I used Vlieseline H250)
- 15cm narrow fabric ribbon
- 25cm lace, 2cm wide
- Baker's twine
- 300g (approximately) fiberfill
- Basket (about 7 x 7 cm) or alternatively a muffin cup or ice cream cup made of cardboard will work
- A4 sheet of light weight card to print the template onto
- Washi tape
Equipment needed
- Sewing machine
- Sewing thread
- Fabric scissors
- Pinking shears
- Fabric clips and pins
- Hand sewing needle
- Darning needle
- Pen
- Compass or circle template with 4cm diameter
- Iron and ironing board
How to
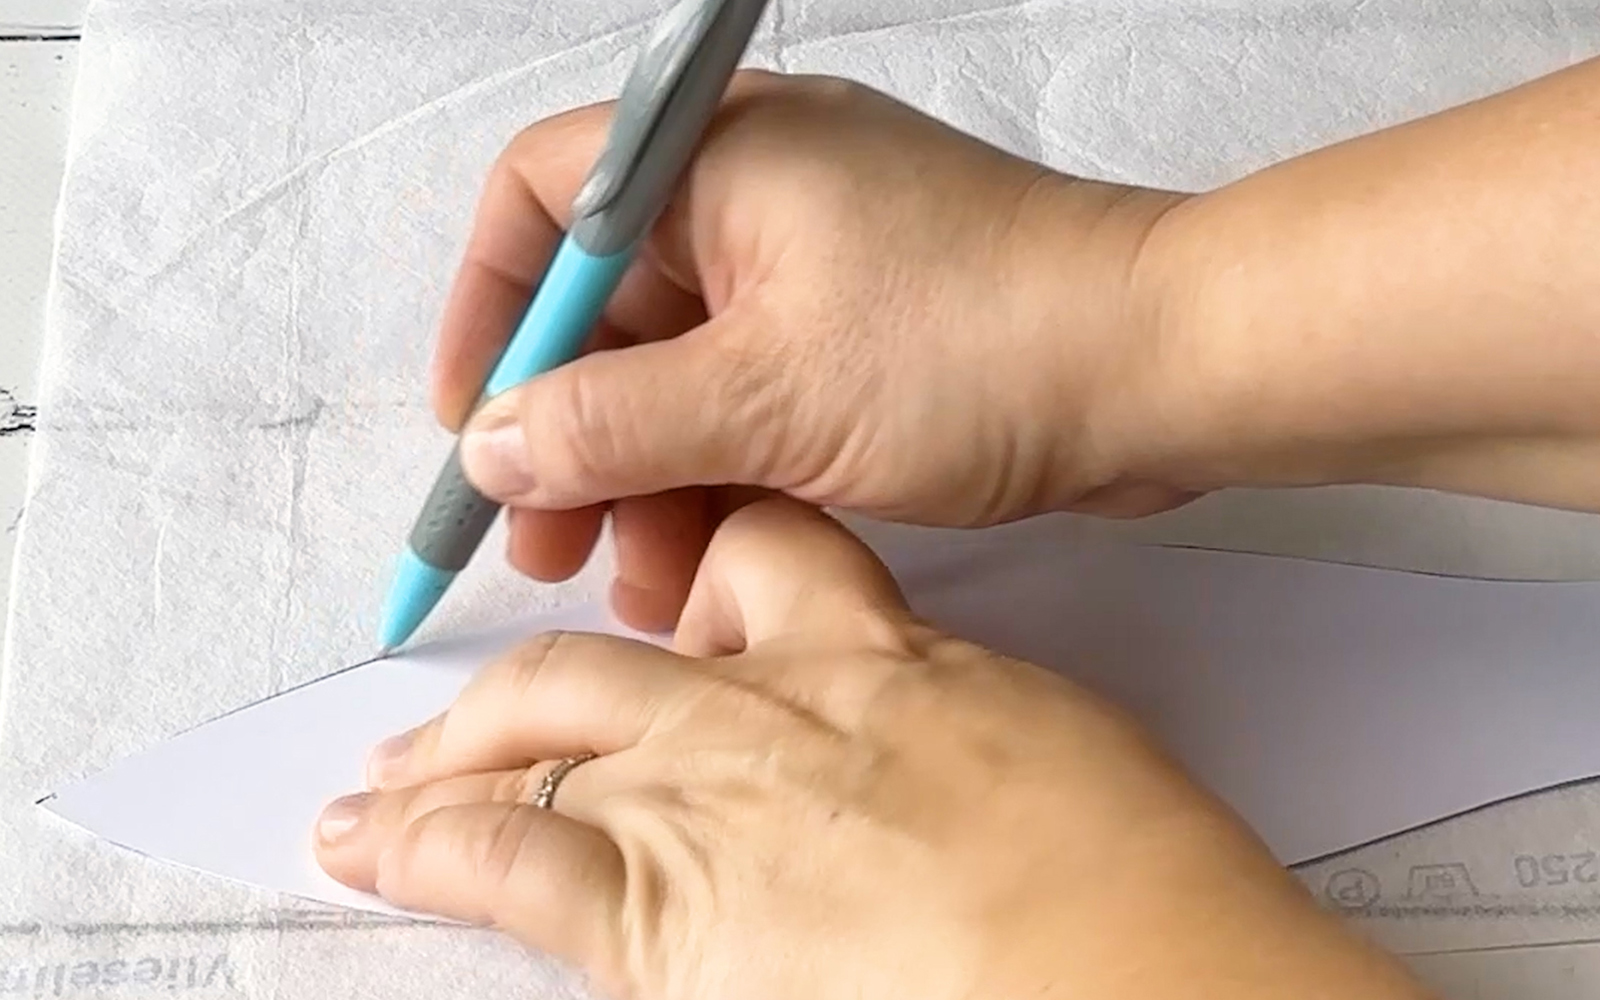
Step 1
Print the balloon template onto the lightweight card and cut it out. Trace eight impressions of the template onto the fusible interfacing and cut out the pieces.
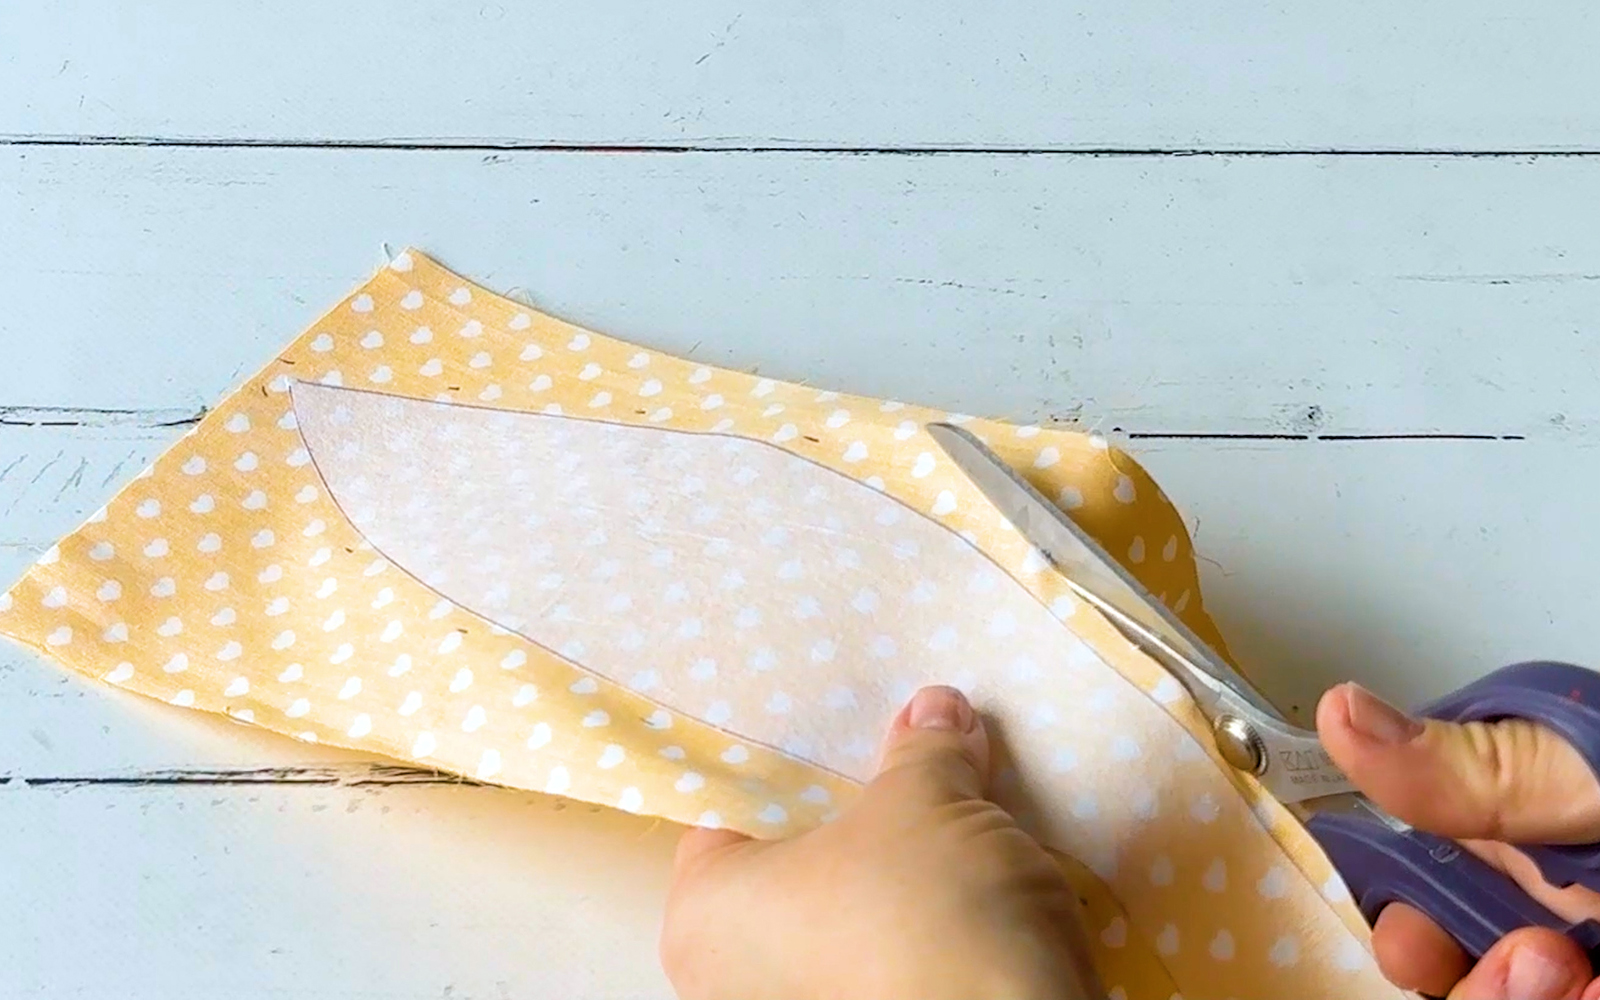
Step 2
Iron four pieces of interfacing onto the wrong side of each piece of fabric A. Repeat with fabric B. Make sure to leave at least 1cm between each piece of ironed on interfacing to allow for seam allowances. Mark a 5mm seam allowance around each piece of interfacing and cut out the pieces.
Step 3
Place a mint section on a yellow section, right sides facing and edges matching. Secure with pins or fabric clips and sew a straight stitch exactly along one edge only of the interfacing from top to bottom. Start sewing at the top of the interfacing, leaving the top 0.5cm unsewn, so you can piece this together with the other balloon pieces later.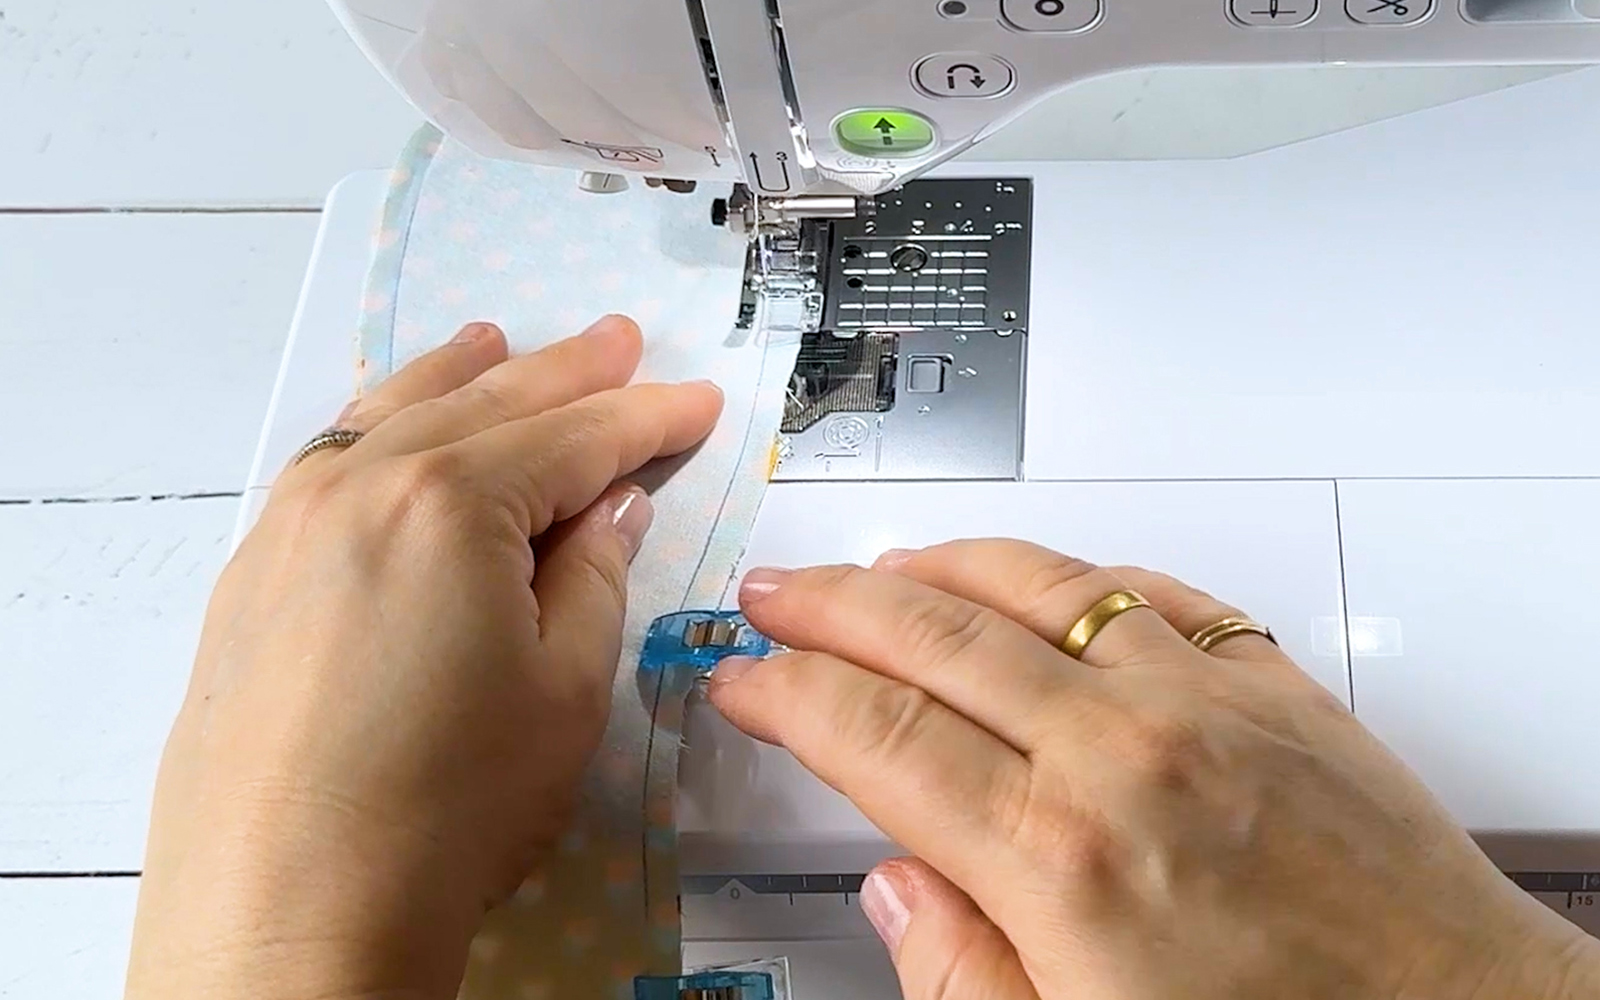
Step 4
Following the same method as in step 3, sew pairs of mint and yellow fabric together. You will have four pairs by the end. Join two pairs together along one edge to form half a balloon. Again, leave the top 0.5cm unsewn so that you can piece it later on. Repeat with the other two pairs to form the other half of the balloon. Trim the seams with pinking shears.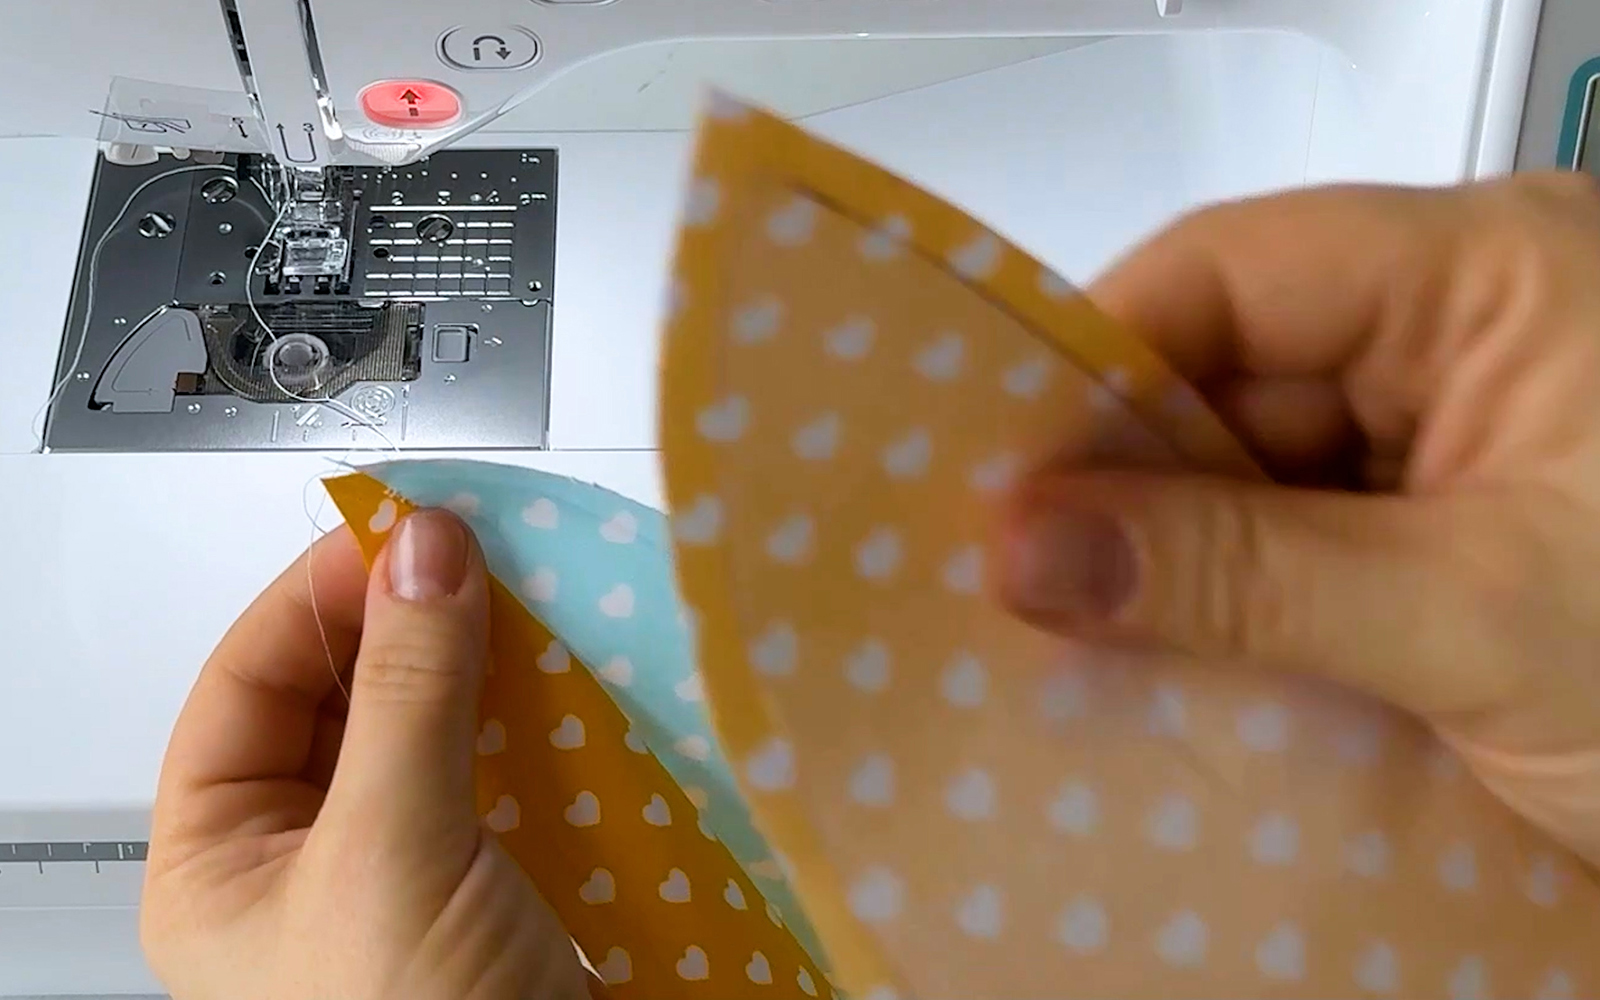
Step 5
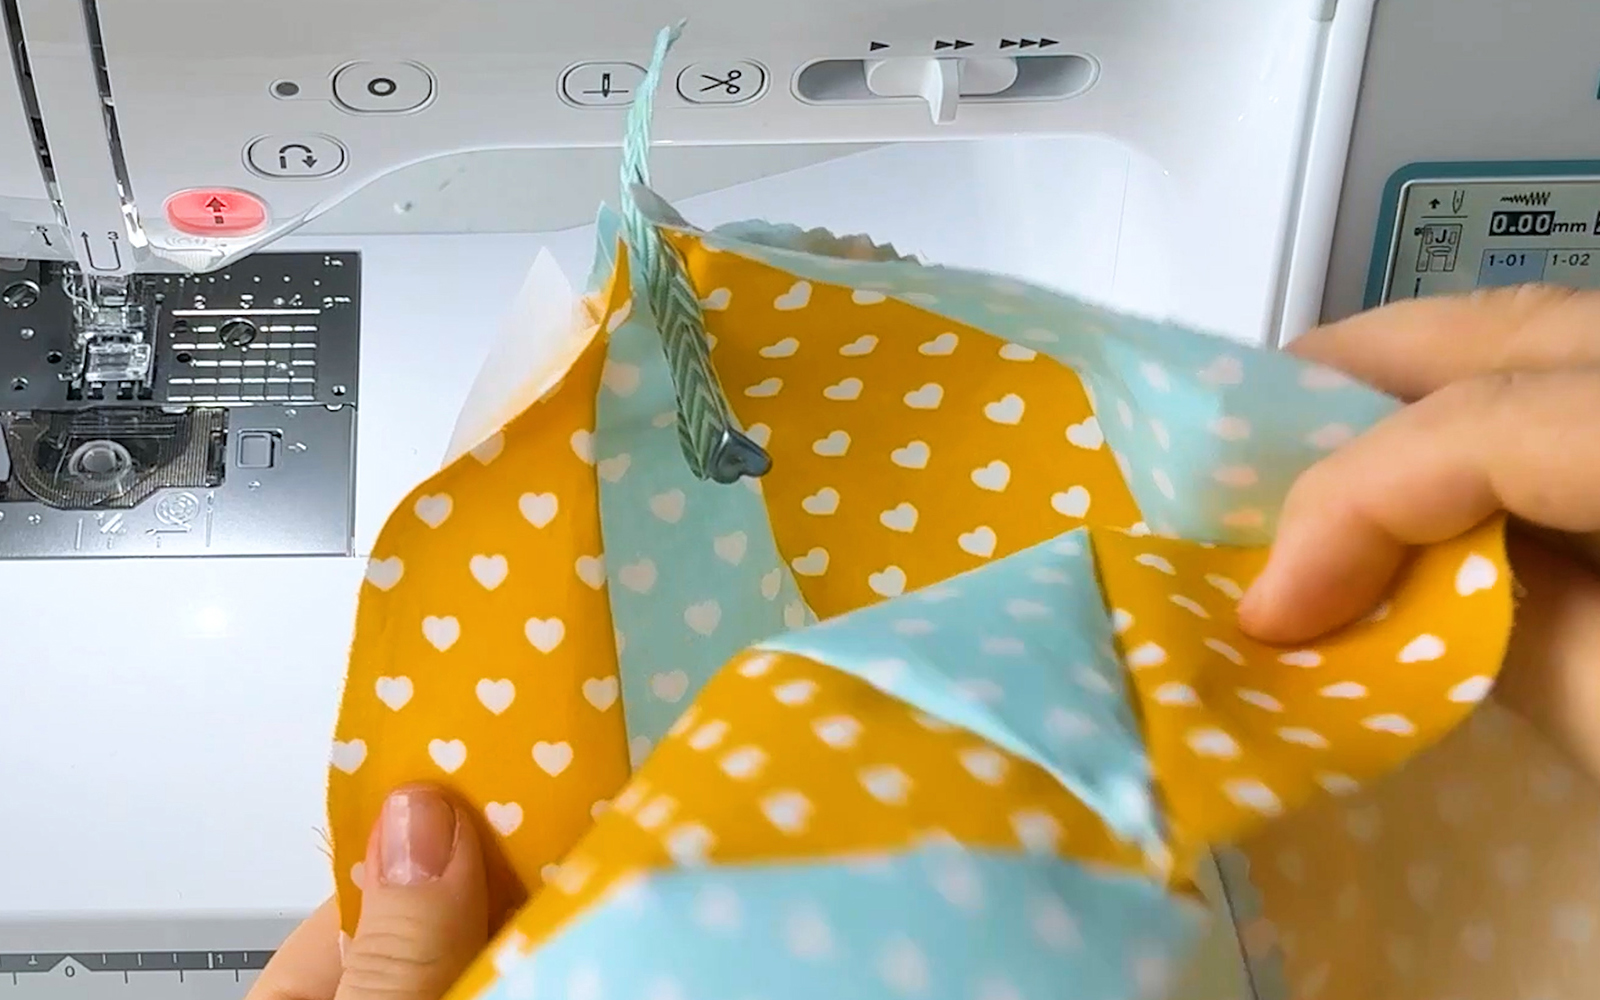
Fold the ribbon into a loop and pin it, with the loop facing down to the inside of the balloon, at the top of one of the two sections.
Place the second half of the balloon on top of the first half with right sides facing and edges matching. Secure all around with pins or clips and sew the remaining sides. Do not sew the lower, straight edge. Trim the remaining seam allowances with the pinking shears.
Remove the pins, turn the hot air balloon right side out and press the seams carefully.
Step 6
Cut two pieces of baker’s twine, approximately 1m each. Fold them in half to find the centres. Using a hand sewing needle and thread, sew the centres of both pieces of twine to the top tip of the balloon. Using a hand sewing needle, sew close the very top of the balloon from the inside, encasing the threads inside.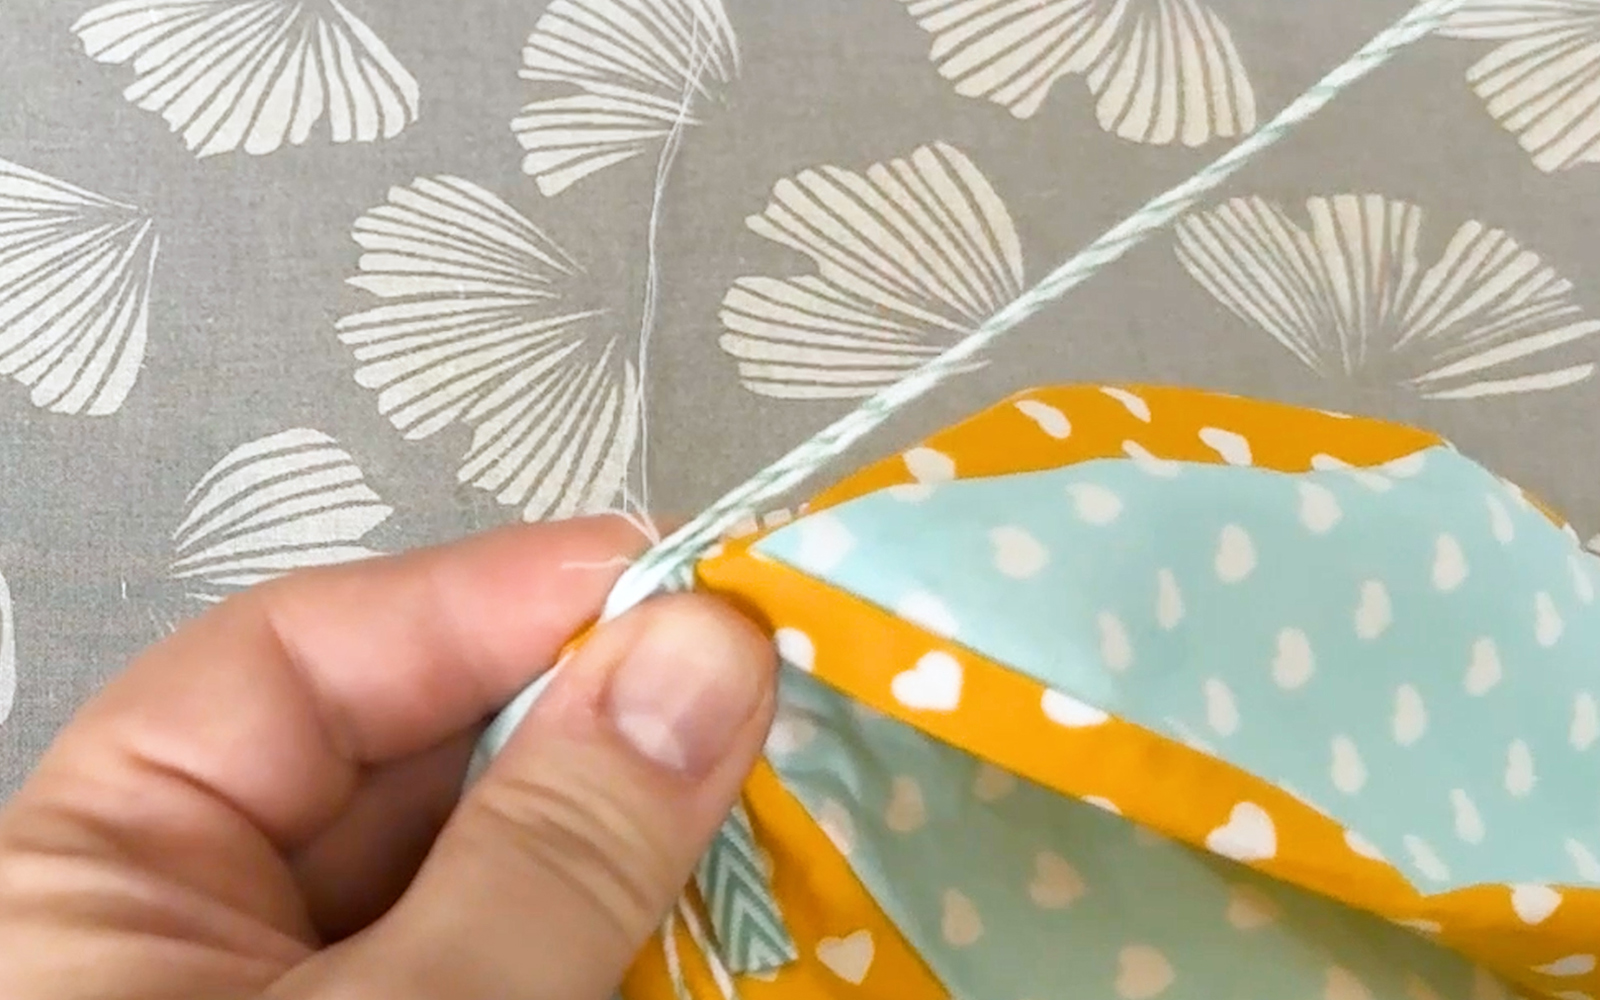
Step 7
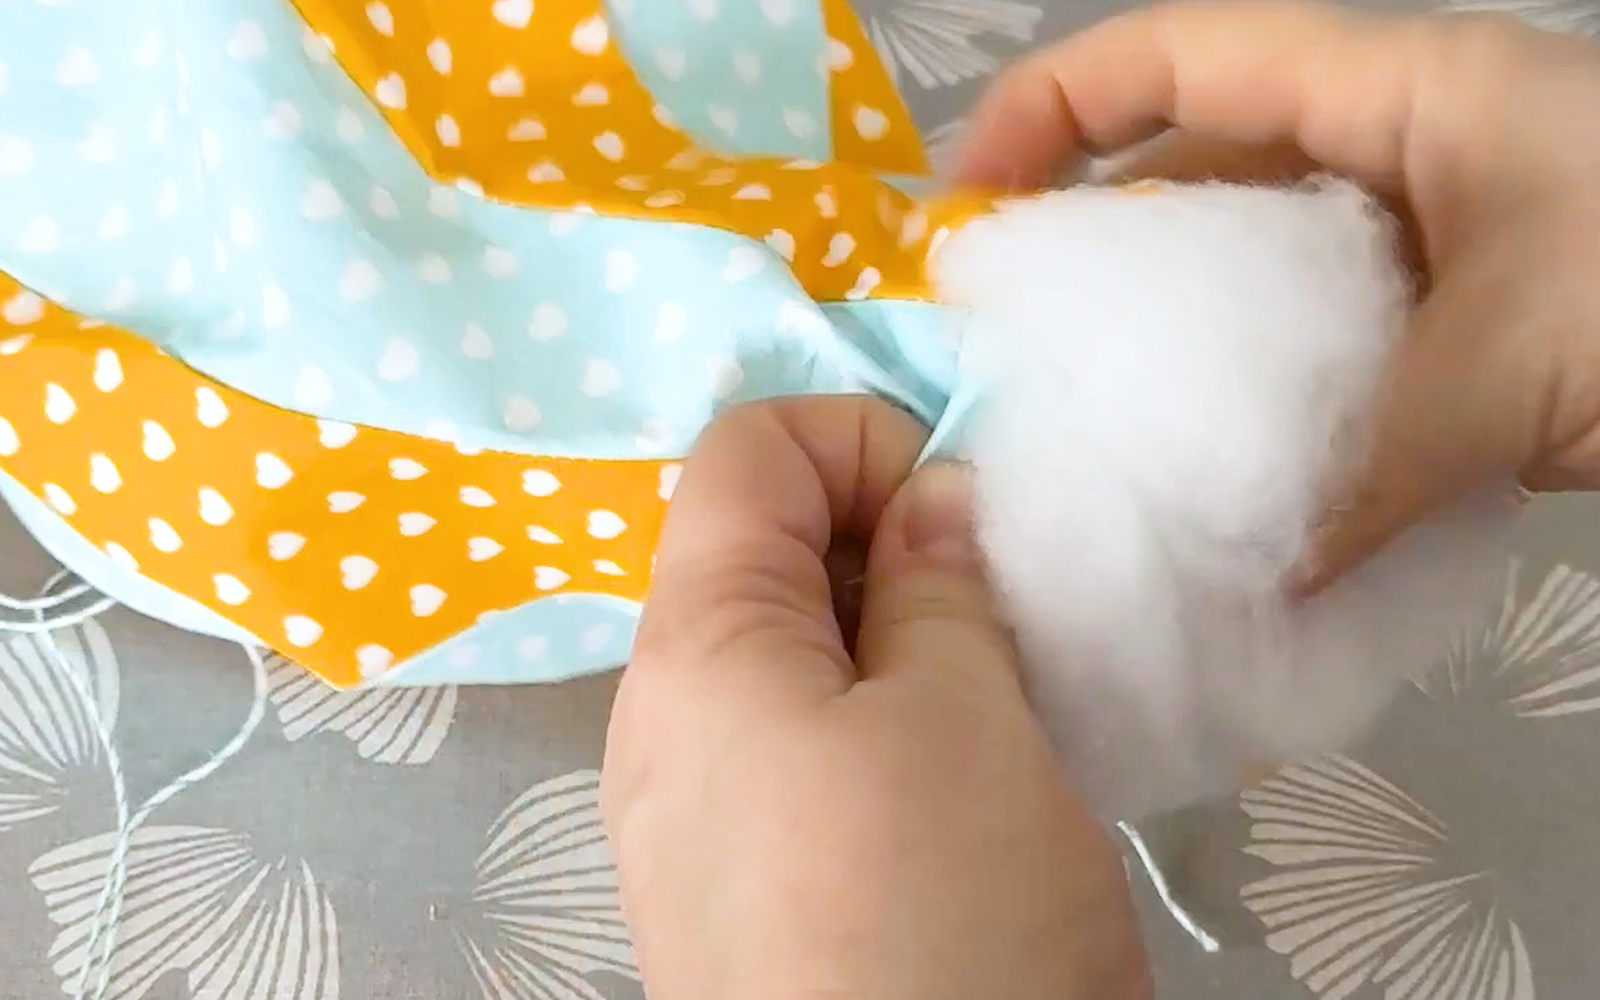
Stuff the balloon tightly with fiberfill.
Step 8
Using a sewing needle and sewing thread, hand sew large basting stitches around the opening of the balloon and pull the thread to close the opening. Secure the thread with a knot or a double stitch.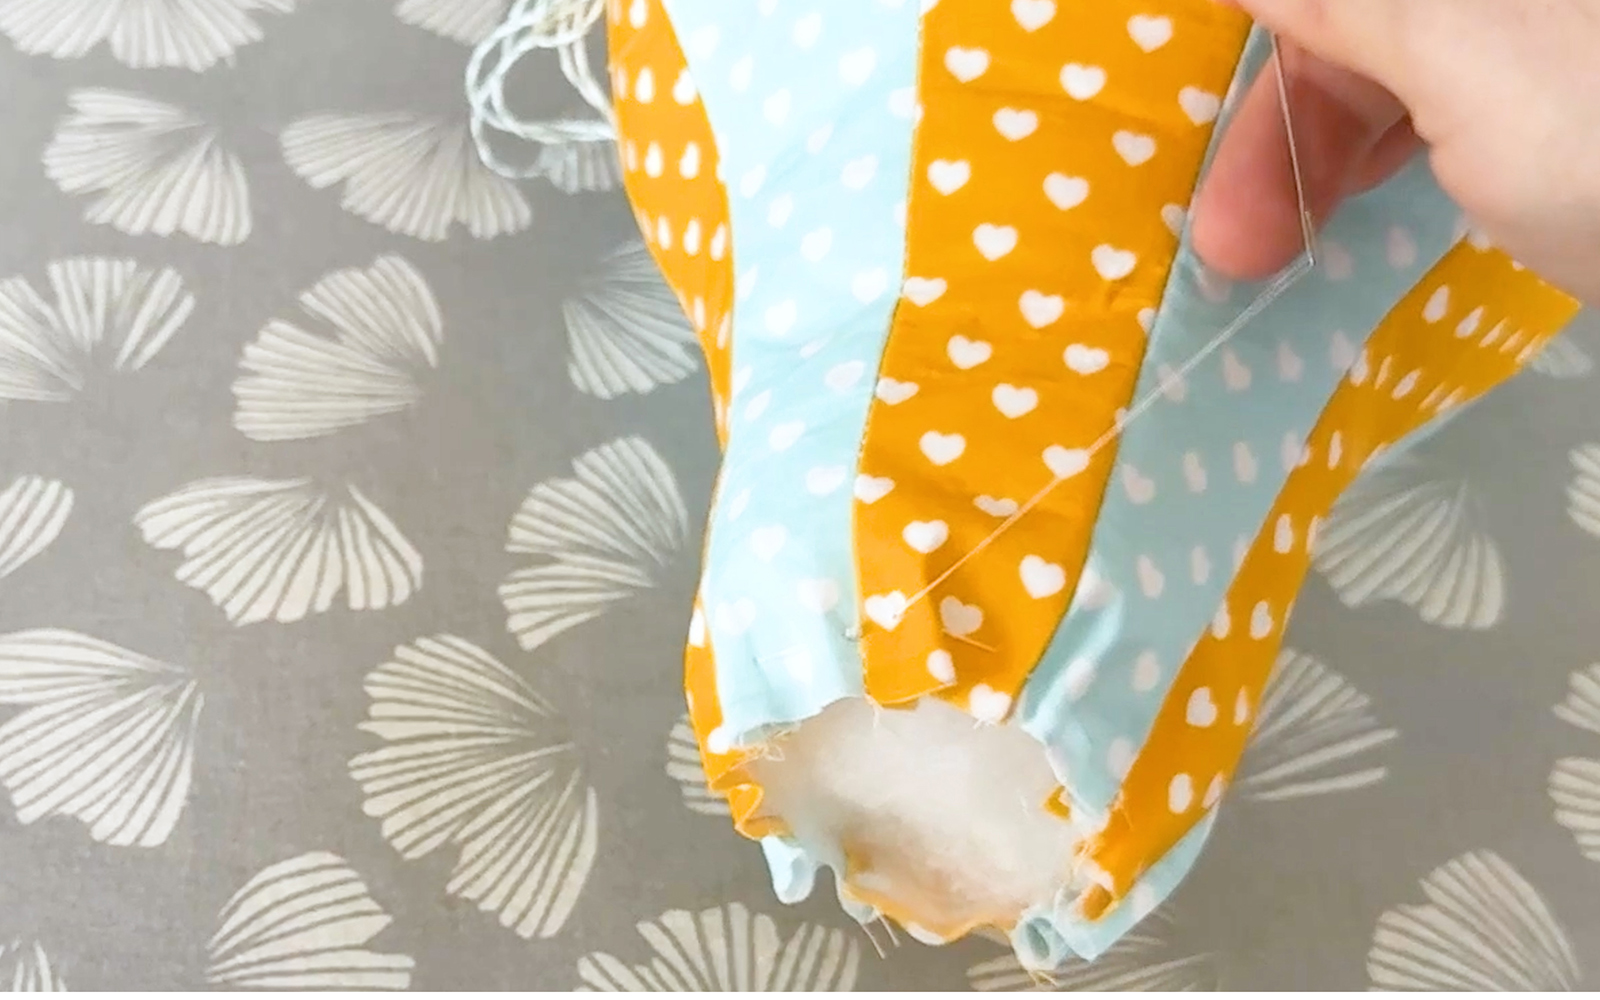
Step 9
Cut a piece of fabric (your choice of yellow or mint) to 10 x 5cm. Fold right sides together to form a square.Draw a circle with a diameter of 3.5cm. Stitch along the line. Trim around this line with pinking shears, being careful not to cut through any of the stitches.
Separate the fabric circles so you have only one side between your fingers, then cut a small opening using your sewing scissors. Slide the tip between the two circle layers to cut a small cross in the centre of only one of the circles. Turn it right side out through the opening. Push the edges out and iron the sewn circle.
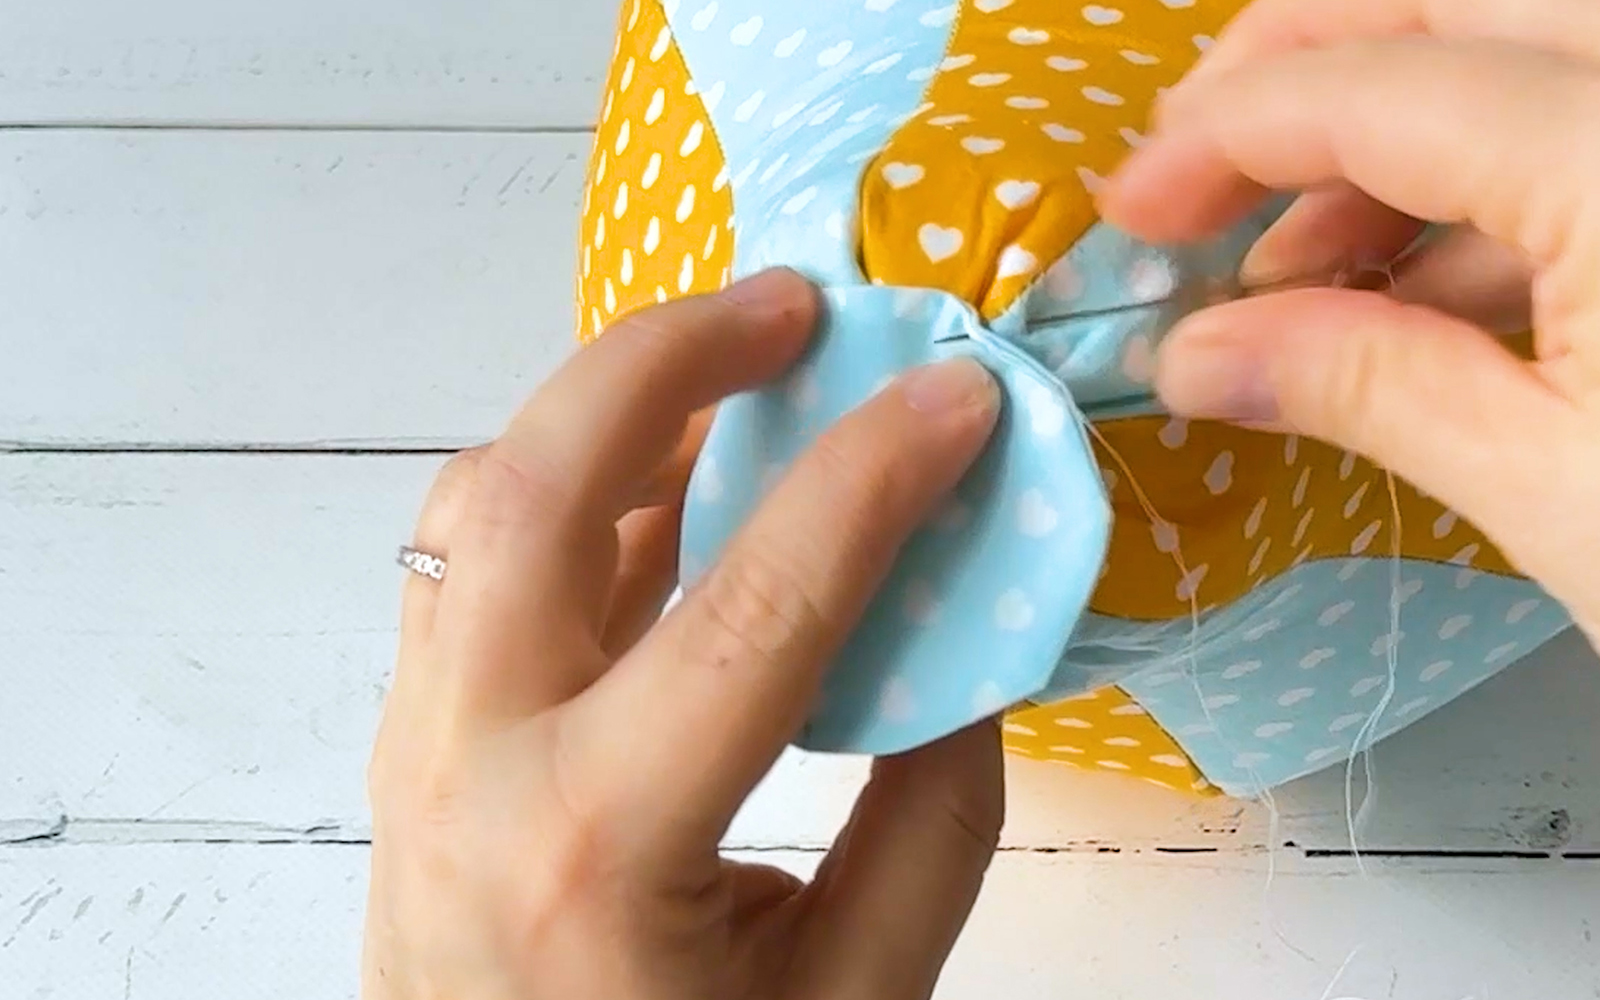
Place the circle over the gathered opening of the balloon with the snipped circle facing the balloon. Hand sew the circle to the balloon with small slip stitches.
Step 10
Guide each length of baker’s twine that is fixed to the top of the balloon to the base (see image below).Place them at regular intervals and along the seams. Secure on the widest part of the balloon and at the base with a few hand sewn stitches.
Leave the ends of string hanging – the basket will be fixed to them later on.
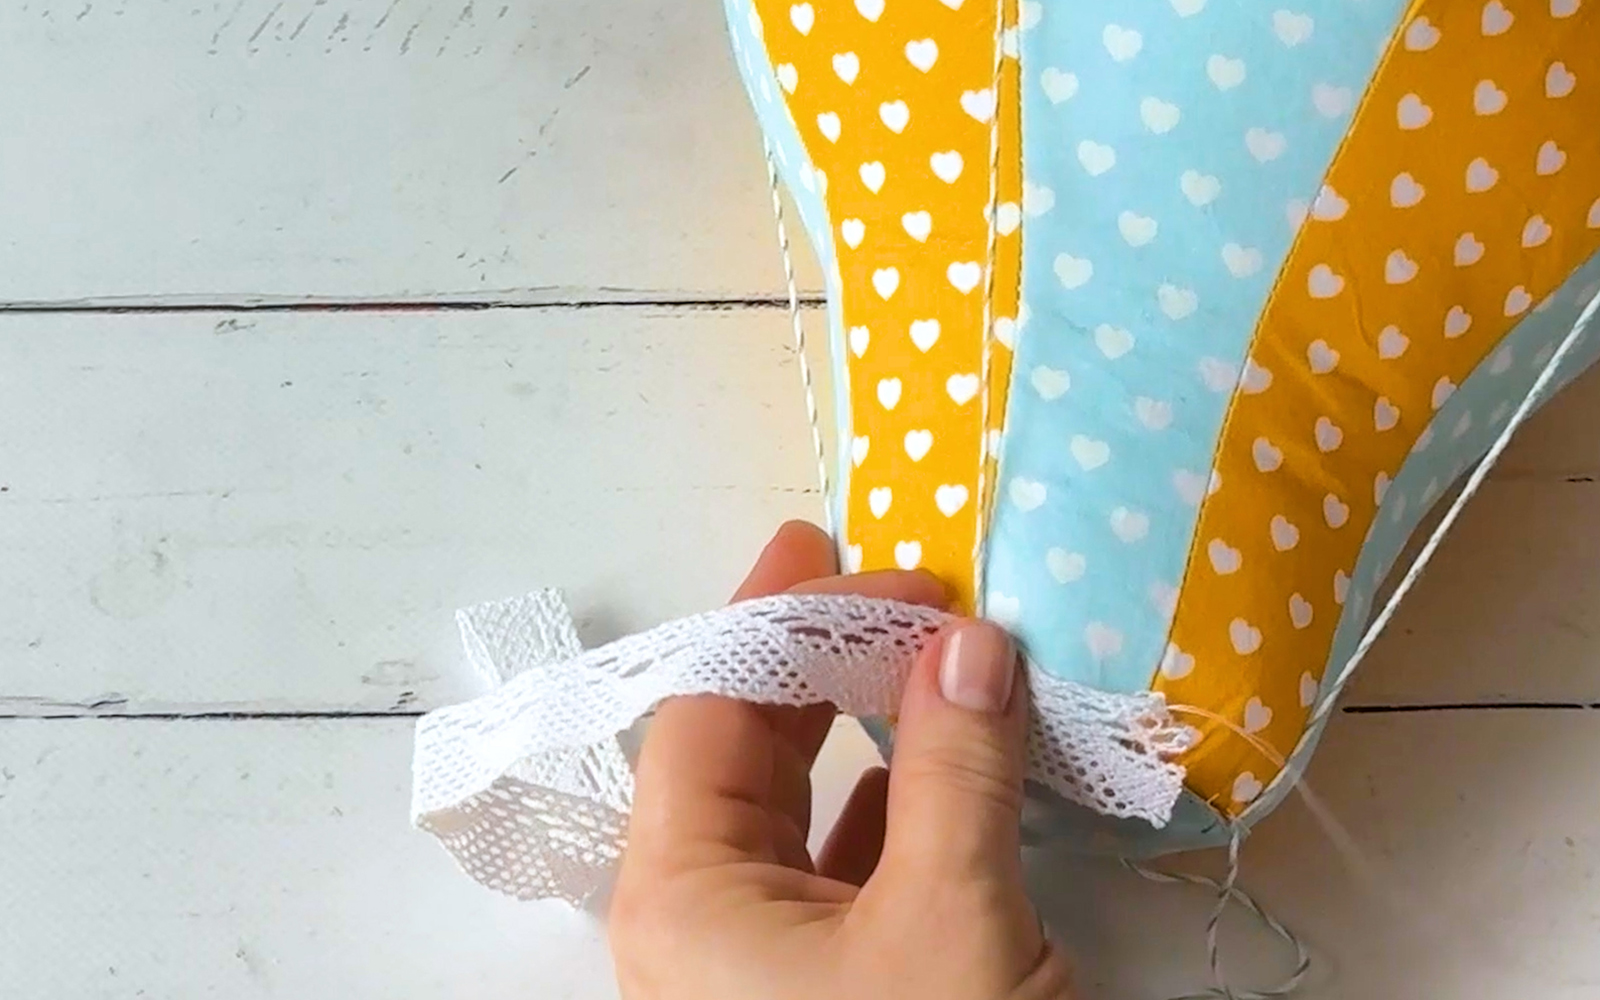
Step 11
Hand sew the lace all around the base of the balloon.
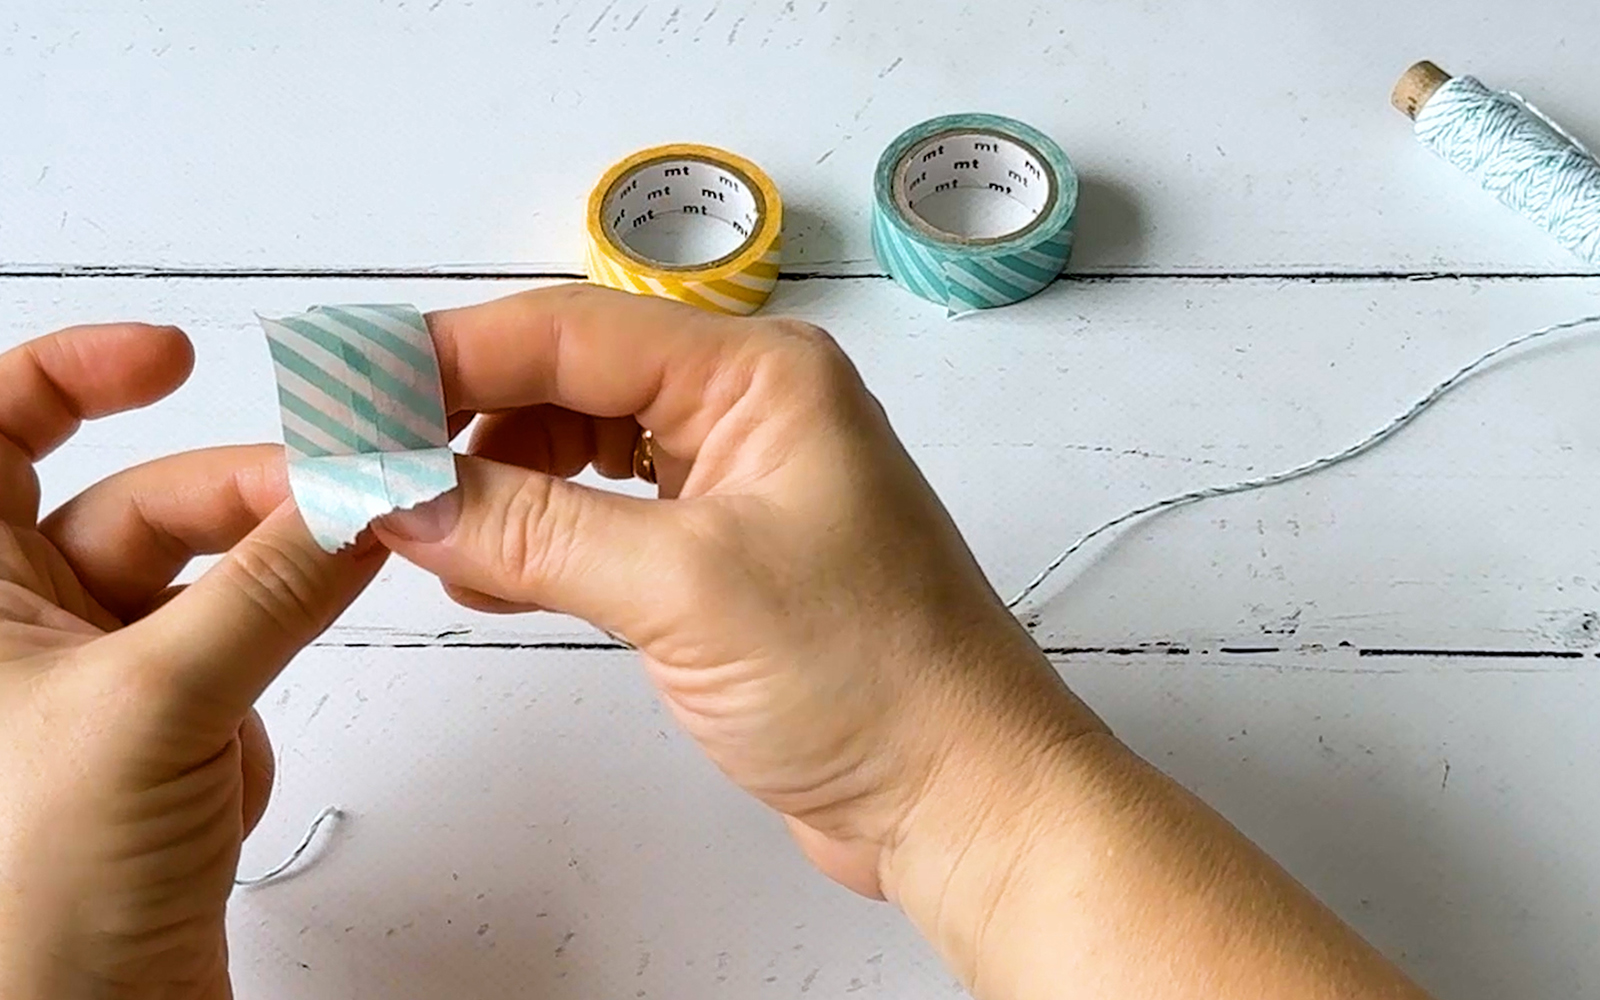
Step 12
Make the bunting: cut a piece of baker’s twine long enough to reach loosely around the widest part of the balloon.Place a washi tape strip of approx. 9cm long on the baker's twine and fold double so the tape sticks together. Cut into the washi tape to form flag shapes of approximately 3cm wide and 4cm high. Space the flags about 4-5 cm apart on the twine.
Tip: you want one bunting flag per section of the balloon, so you can create the bunting leaning against your sewn balloon as a guide.
Step 13
Thread the bunting underneath the four pieces of baker's twine attached to the balloon so that there is a flag on each of the 8 balloon parts. Tie the ends of the garland together.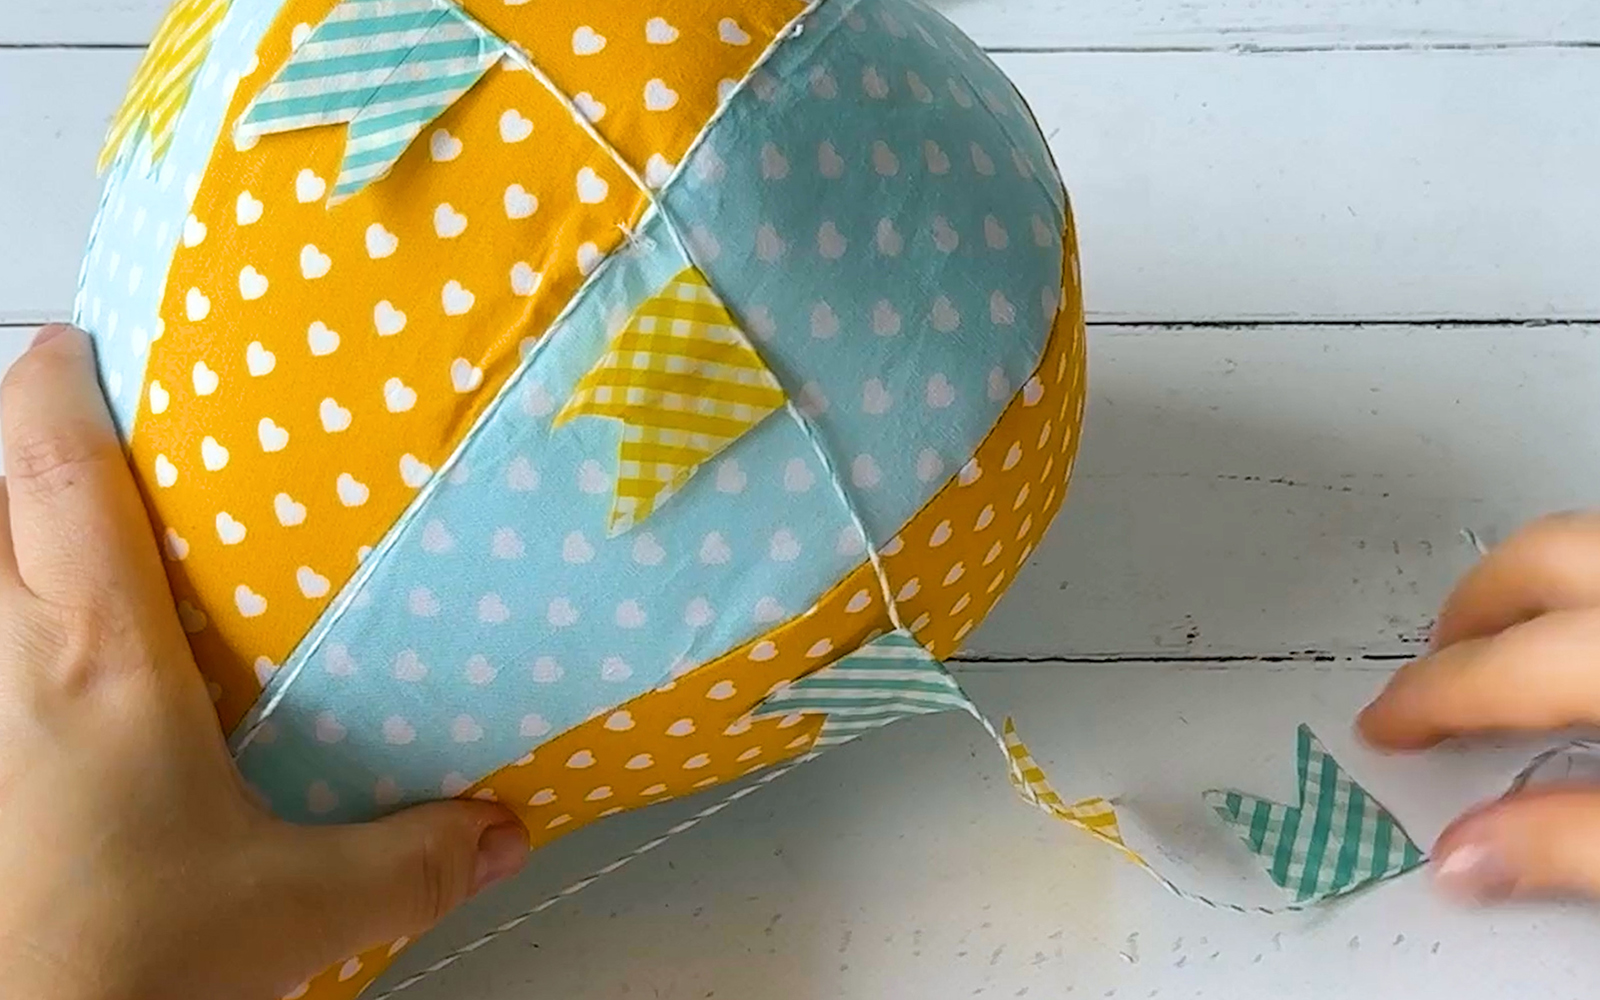
Step 14
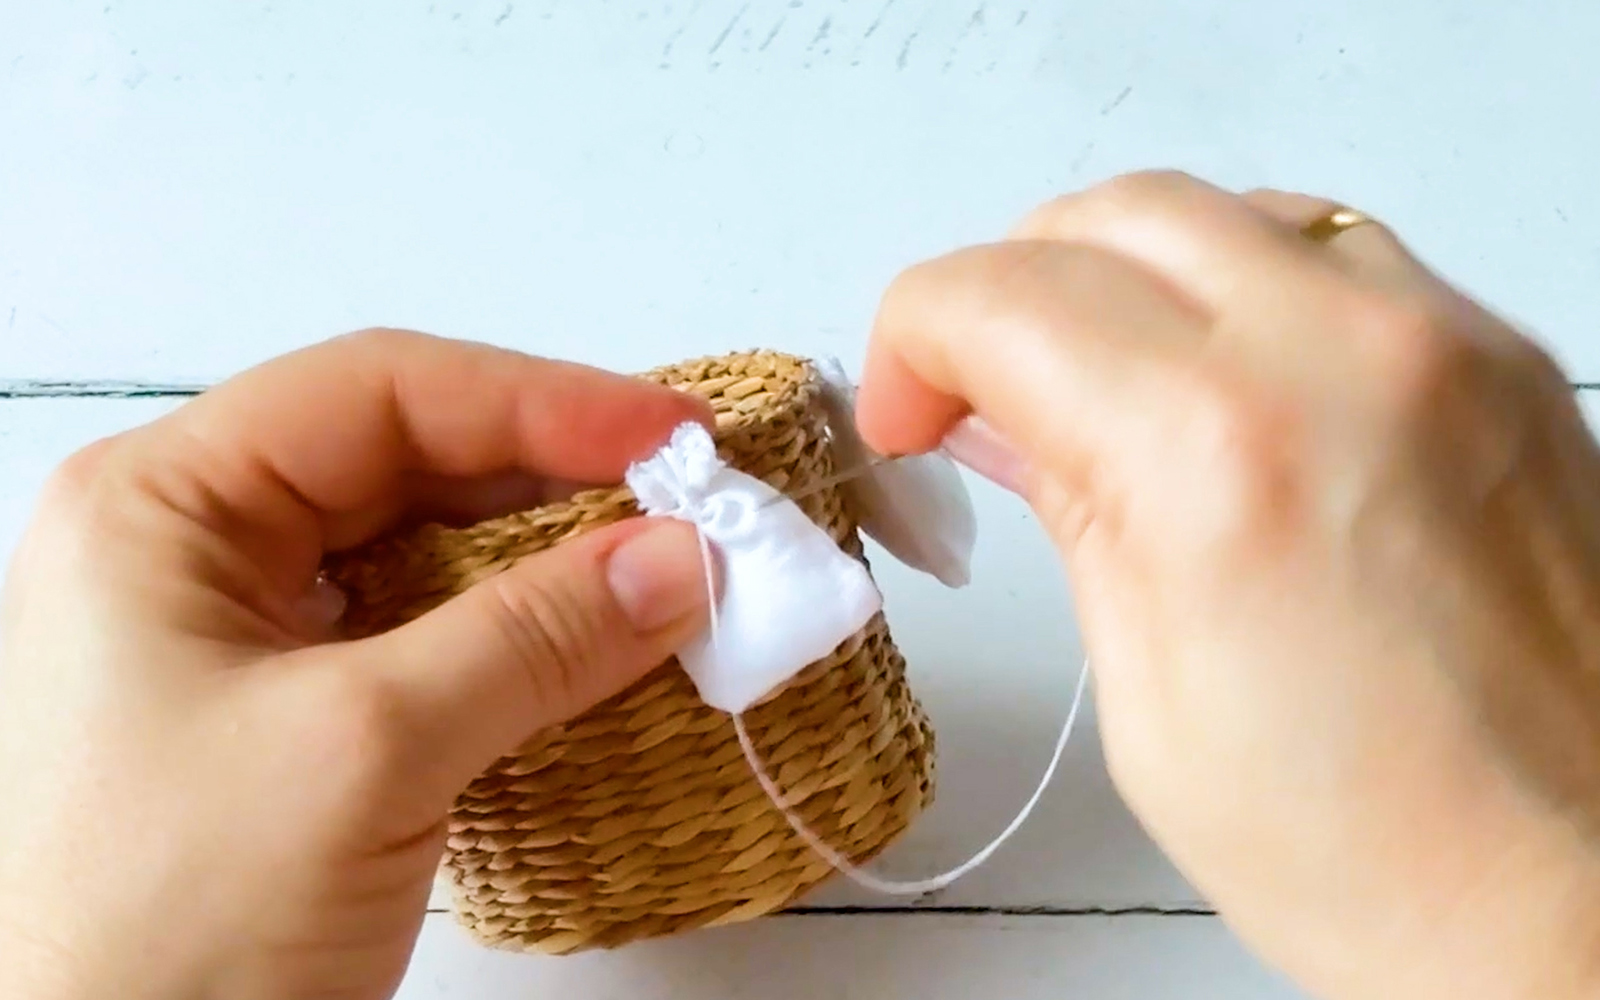
Make the ballast sacks: cut four rectangles of 4 x 8cm each from the white fabric, fold them right sides facing. Stitch three edges with a 0.5 cm seam allowance, leaving one short edge open. Trim the edges with the pinking shears.Turn the bag right side out, fill it with a bit of fiberfill and sew the open edge by hand so that the bag is gathered.
Sew the bags by hand at equal distances along the edge of the basket.
Step 15
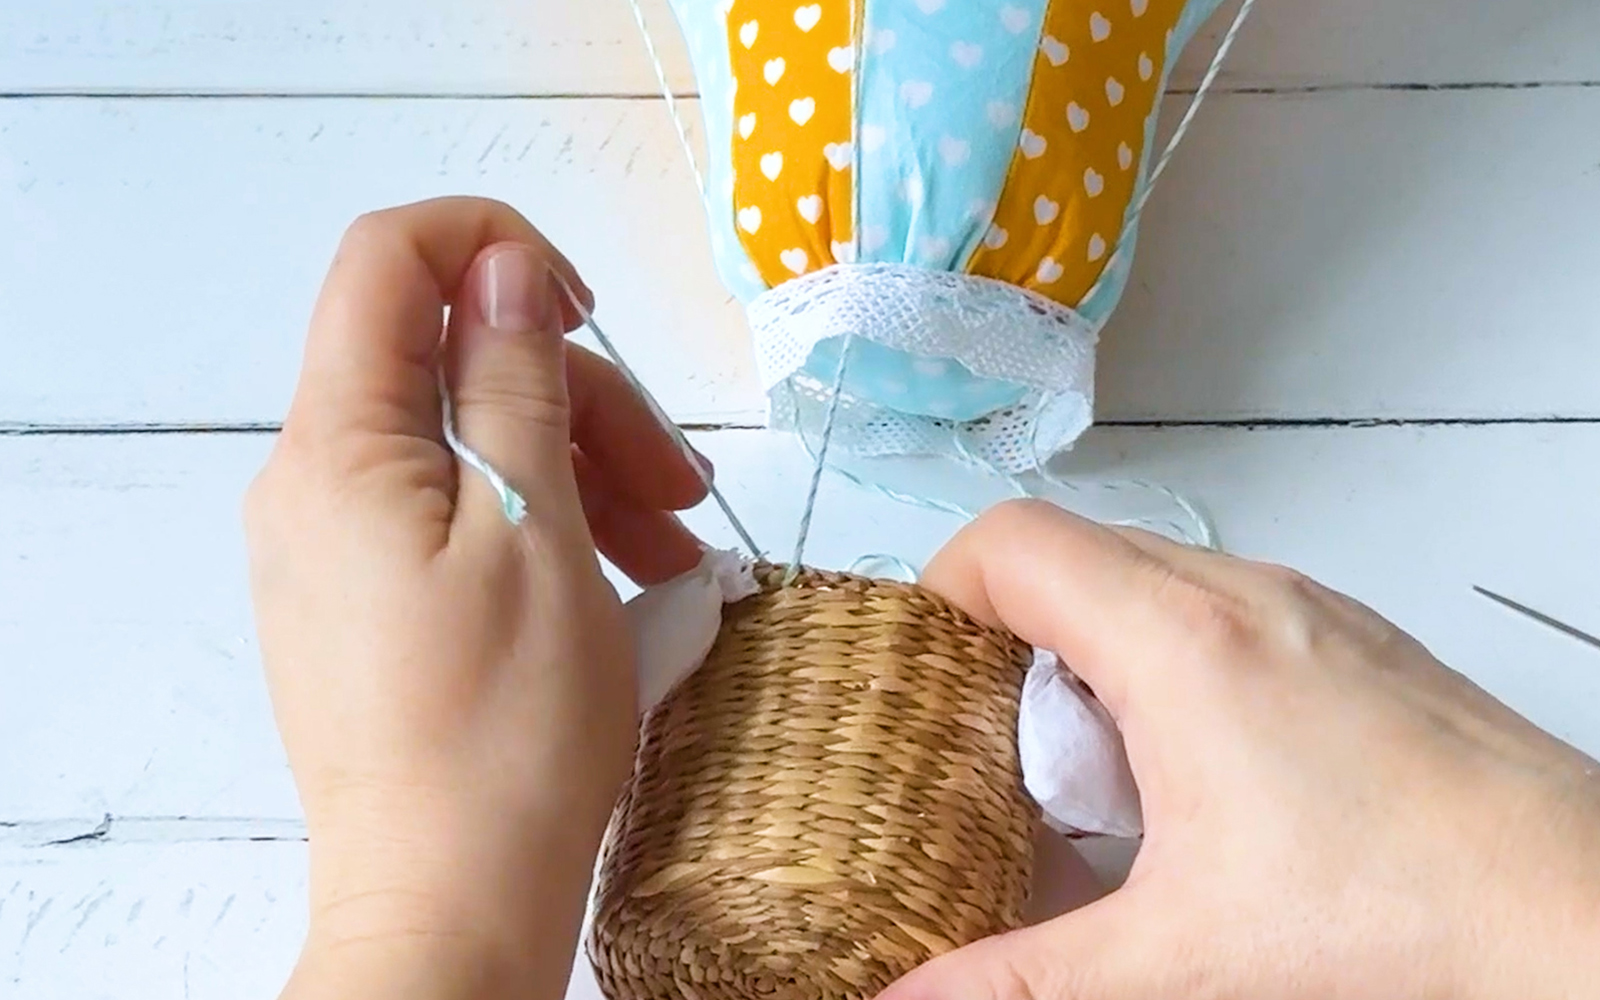
Thread the first of the loose hanging ends of baker's twine onto a darning needle and pull it through the edge of the basket. Pull it to the desired length and tie a loose knot.Repeat with the other three ends of baker's twine. Adjust the lengths to get the basket to hang level. For this you may need a second person to hold the balloon, or you can hang it from a bar or a rod.
When the basket is level, fix all four pieces of baker’s twine with a secure knot and trim the twine ends.
Hang the balloon from a mobile or hang it with nylon thread from the ceiling and fill it with Easter treats.
I wish you a lot of fun sewing, a great spring, and a happy Easter!
I can’t wait to see what you make! Remember to tag in Brother on Instagram and Facebook, and myself too! You can also find Brother on Pinterest and YouTube for even more inspiration.