
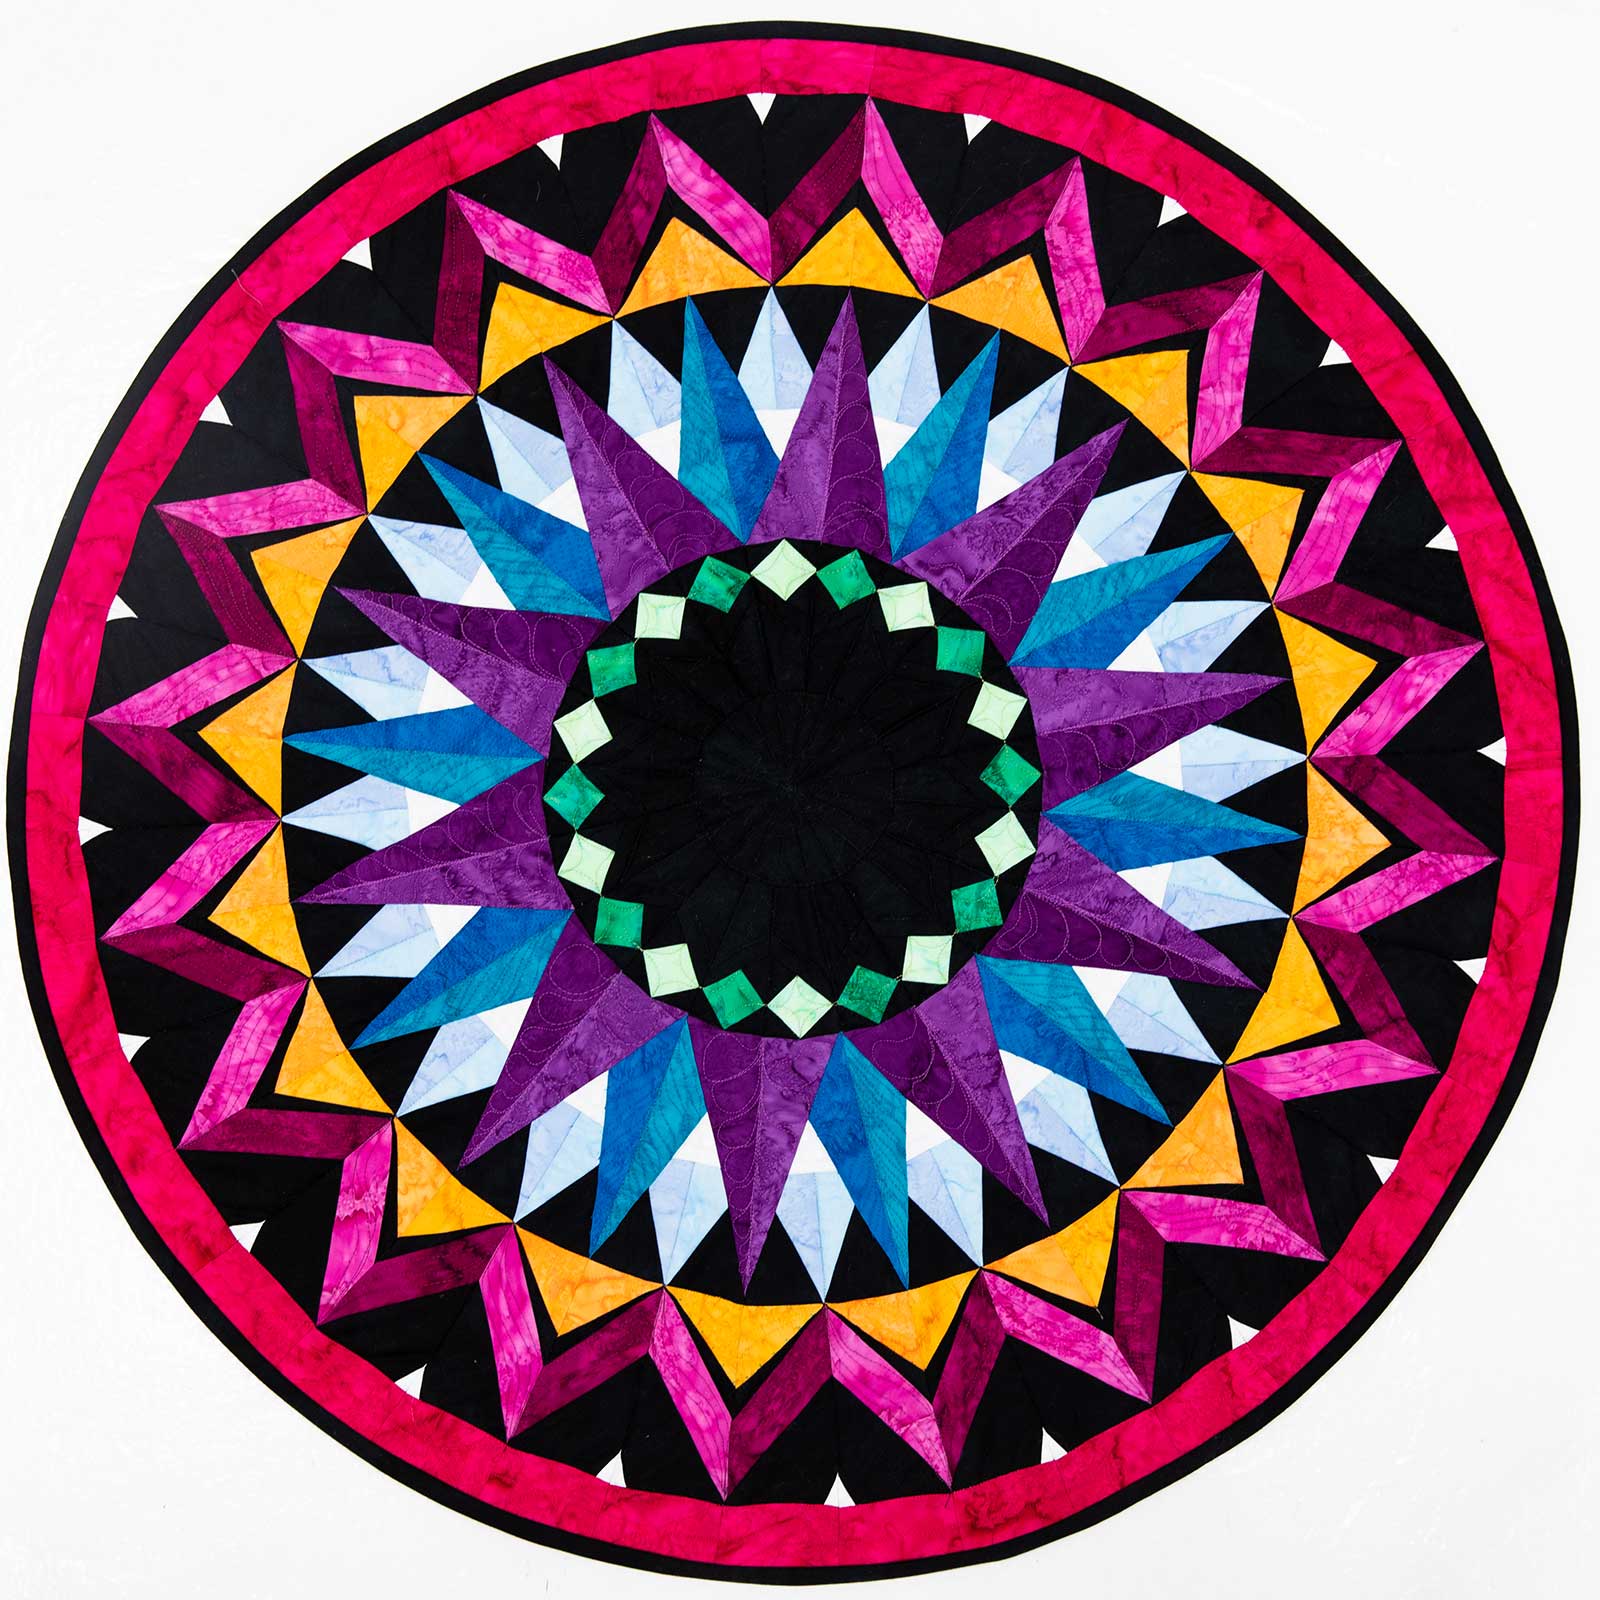
Kaleidoscope quilt


This free quilt pattern contains both the repetitive, circular pattern typical of mandalas, and the geometrical shapes found in kaleidoscopes. These combine with vivid colours to create an eye-catching spectacle.
This striking quilt was made using foundation paper piecing. The instructions are for intermediate to advanced foundation paper piecing. If you haven’t used this method before, please practice with a simpler design to learn the technique. You can practise using our Introduction to Foundation Paper Piecing article and pattern here.
Overview
The kaleidoscope quilt consists of 10 wedges.Each wedge contains two slices – left and right.
Each of these slices are made up of four sections.
Left slice – templates A, B, C, D
Right slice – templates E, F, C, D
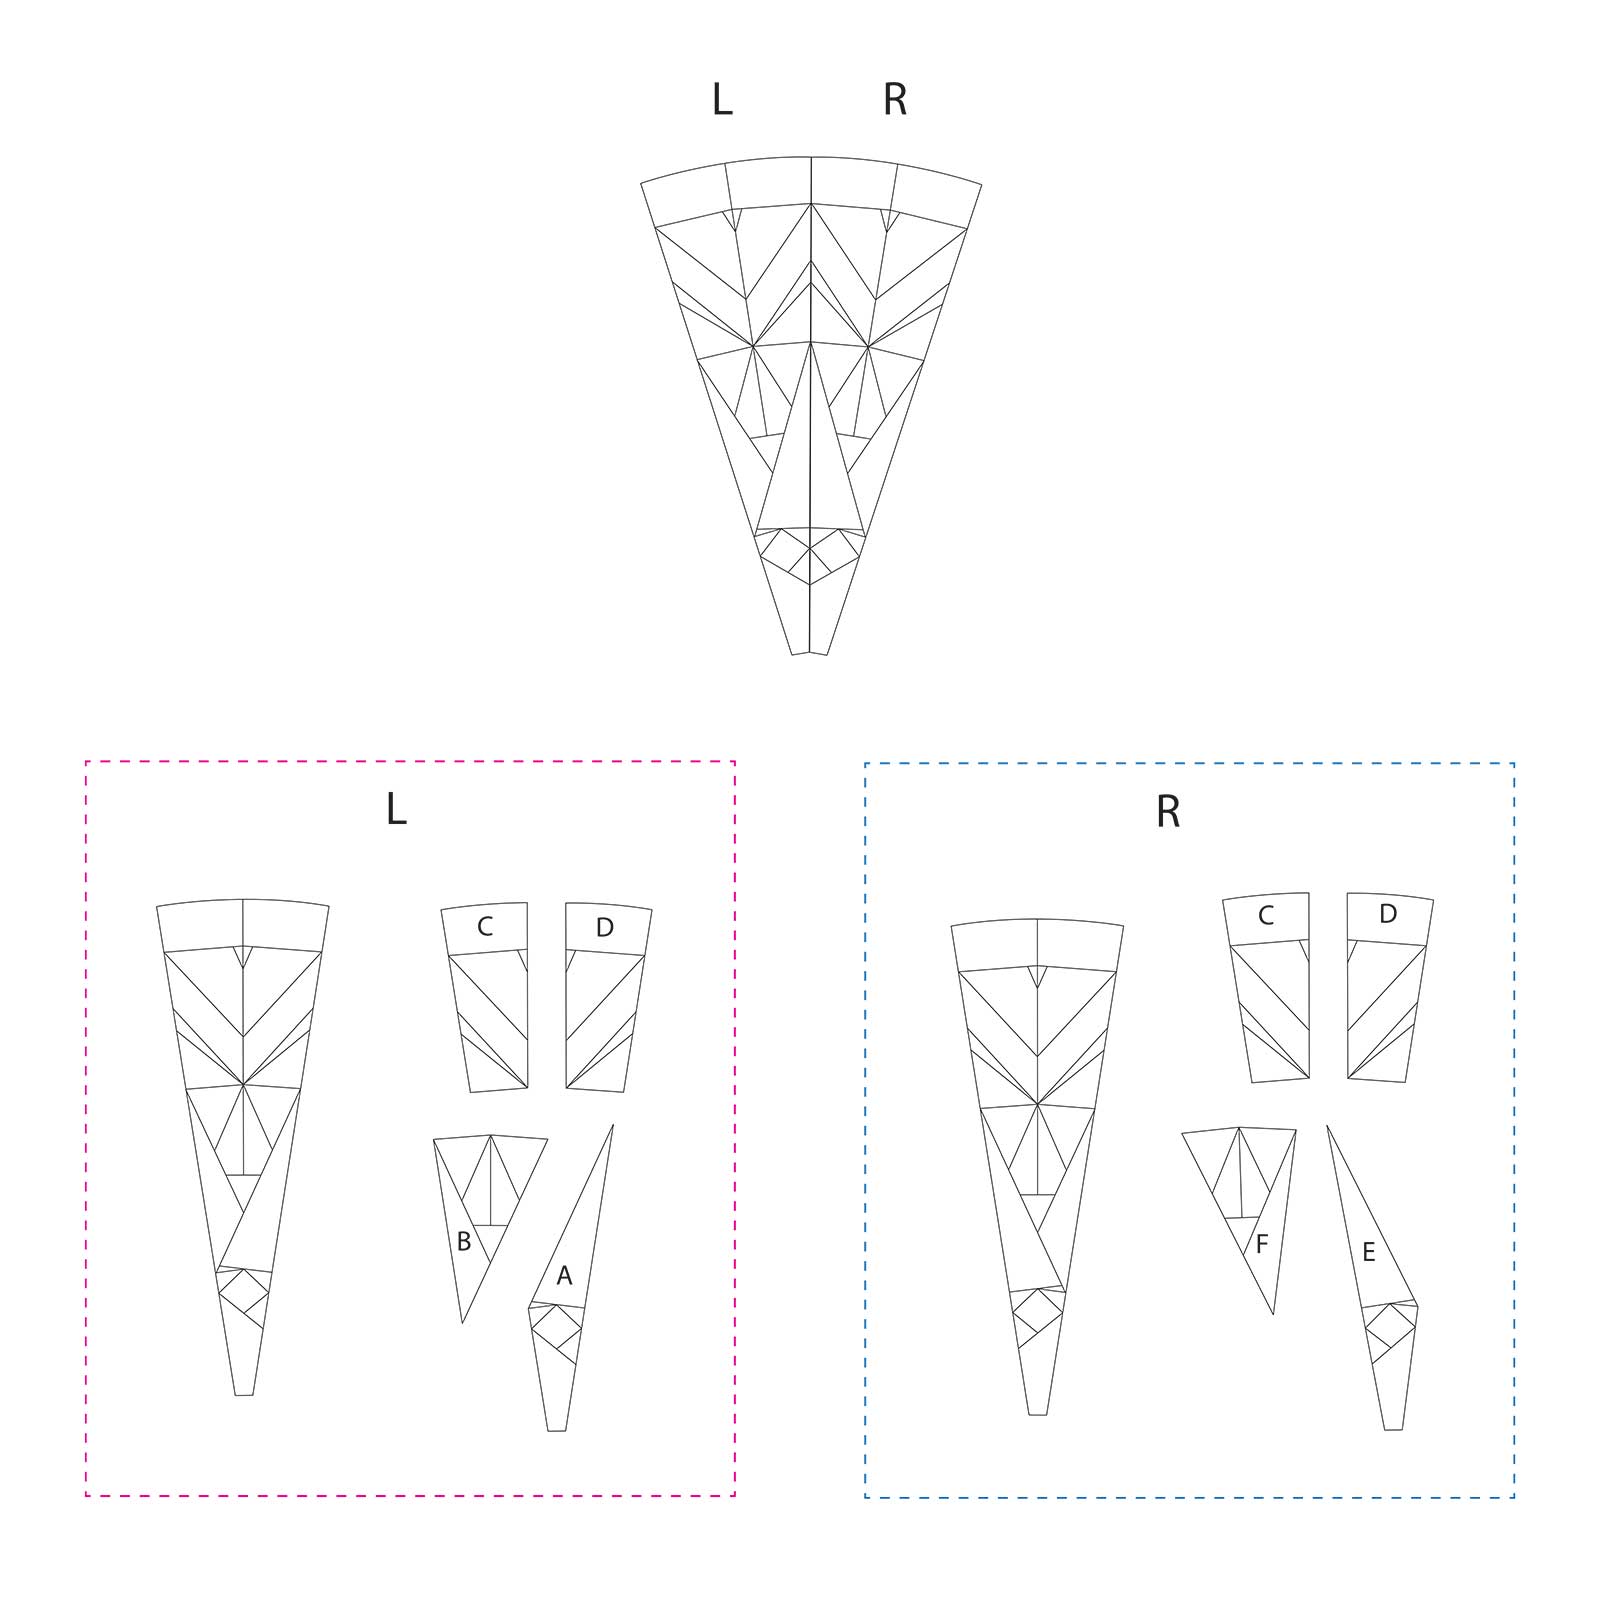
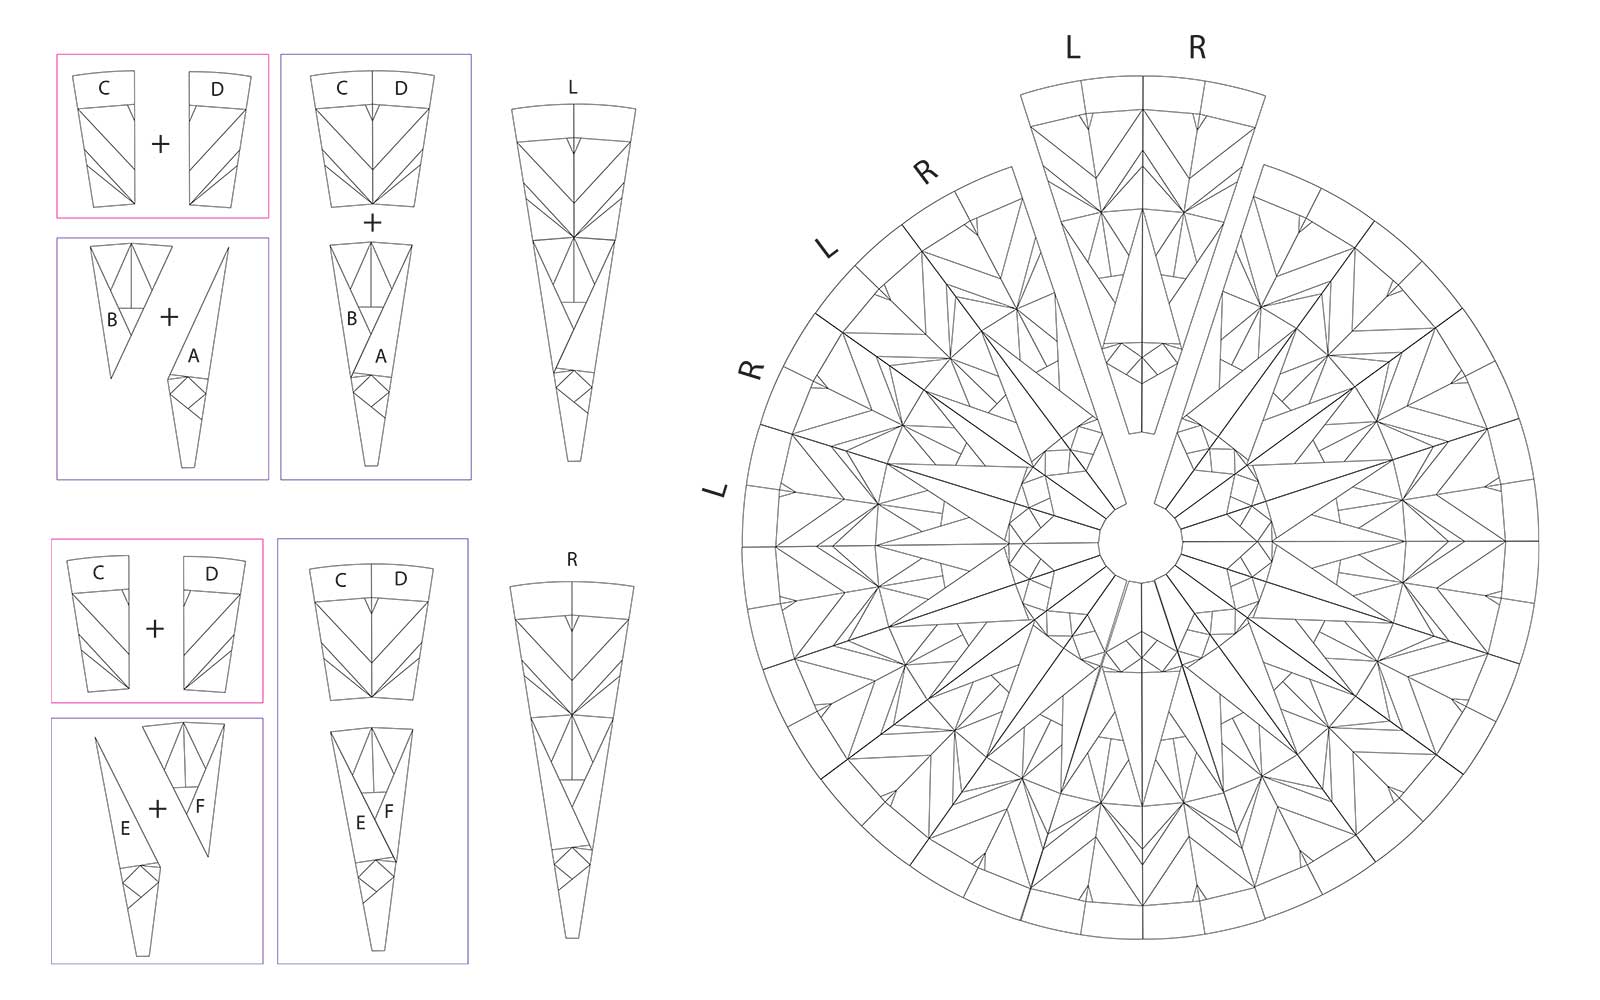
The sections are joined to form slices, then the two slices are joined to form 10 wedges. Finally the wedges are joined to form the circle. A circle piece is added to the center (G).
Materials needed
- Foundation piecing paper or material of your choice
- Fabric:
Black solid or semi solid: 2.8m (including backing and binding)
Dark Pink: 20cm or one fat quarter
Light Pink: 20cm or one fat quarter
Dark Aqua: 20cm or one fat quarter
Light Aqua: 20cm or one fat quarter
Light Blue 1: 15cm or one fat quarter
Light Blue 2: 15cm or one fat quarter
Dark Purple: 20cm or one fat quarter
Light Purple: 20cm or one fat quarter
Light Yellow: 25cm or 1 fat quarter
Dark Yellow: 25cm or 1 fat quarter
Light Green: 10cm
Dark Green: 10cm
White: 10cm - Batting - charcoal or black: 1.2m square
- Dark grey thread to piece, variety of matching colours for quilting
Equipment needed
- Printer/copier to print your foundation pieces
- Sewing machine
- Sharp Scissors
- Rotary cutter, ruler and cutting mat
- Iron
- Flat head pins
Download the free quilting pattern here
Workspace setup
Set up your workspace so your sewing machine is in the centre, your piles of ready-cut fabric pieces and corresponding paper templates to your left, and an ironing station to your right. Creating a logical layout like this will make your sewing easier and more enjoyable.
Your ironing station could consist of a wool pressing mat (or a folded towel with a cotton cover) and an iron (or even a mini travel size iron). You need to iron after each seam you are sewing, so having your ironing station next to you, will save you having to get up all the time.
Mass production
We encourage you to work in the following order:
- Copy all your paper pattern pieces, roughly cut around them and sort them into separate stacks. Double check the quantities.
- Cut the fabric for each section, sub-cut them into the pieces as in the table (above) and sort them with your stacks of pattern pieces. Store each section’s pattern pieces and fabric in a zip lock bag, so they don’t get mixed up with other sections.
- Take one section and piece it completely so you can see that you have all the pieces in the right place.
- Then piece the rest of the sections in a production line manner – ie. sew all number 1 and number 2 pieces, press them all. Then do all the number 3 pieces, press, then all number 4 pieces etc. Remember to press after each sewn seam.
- When done with your sections, press and trim all of them, count that you have the correct number of them and put them back in their respective zip-lock bags before starting the next section.
How to
Step 1
Prepare your patterns. Photocopy or print in actual size (please set printer accordingly):
- 10 pieces each of A, B, E, F
- 20 pieces each of C, D
- 1 piece each of G, H
Rough cut around them, and fold on all lines except for the outlines. Sort the different sections so you have all of each kind in a single bundle.
Step 2
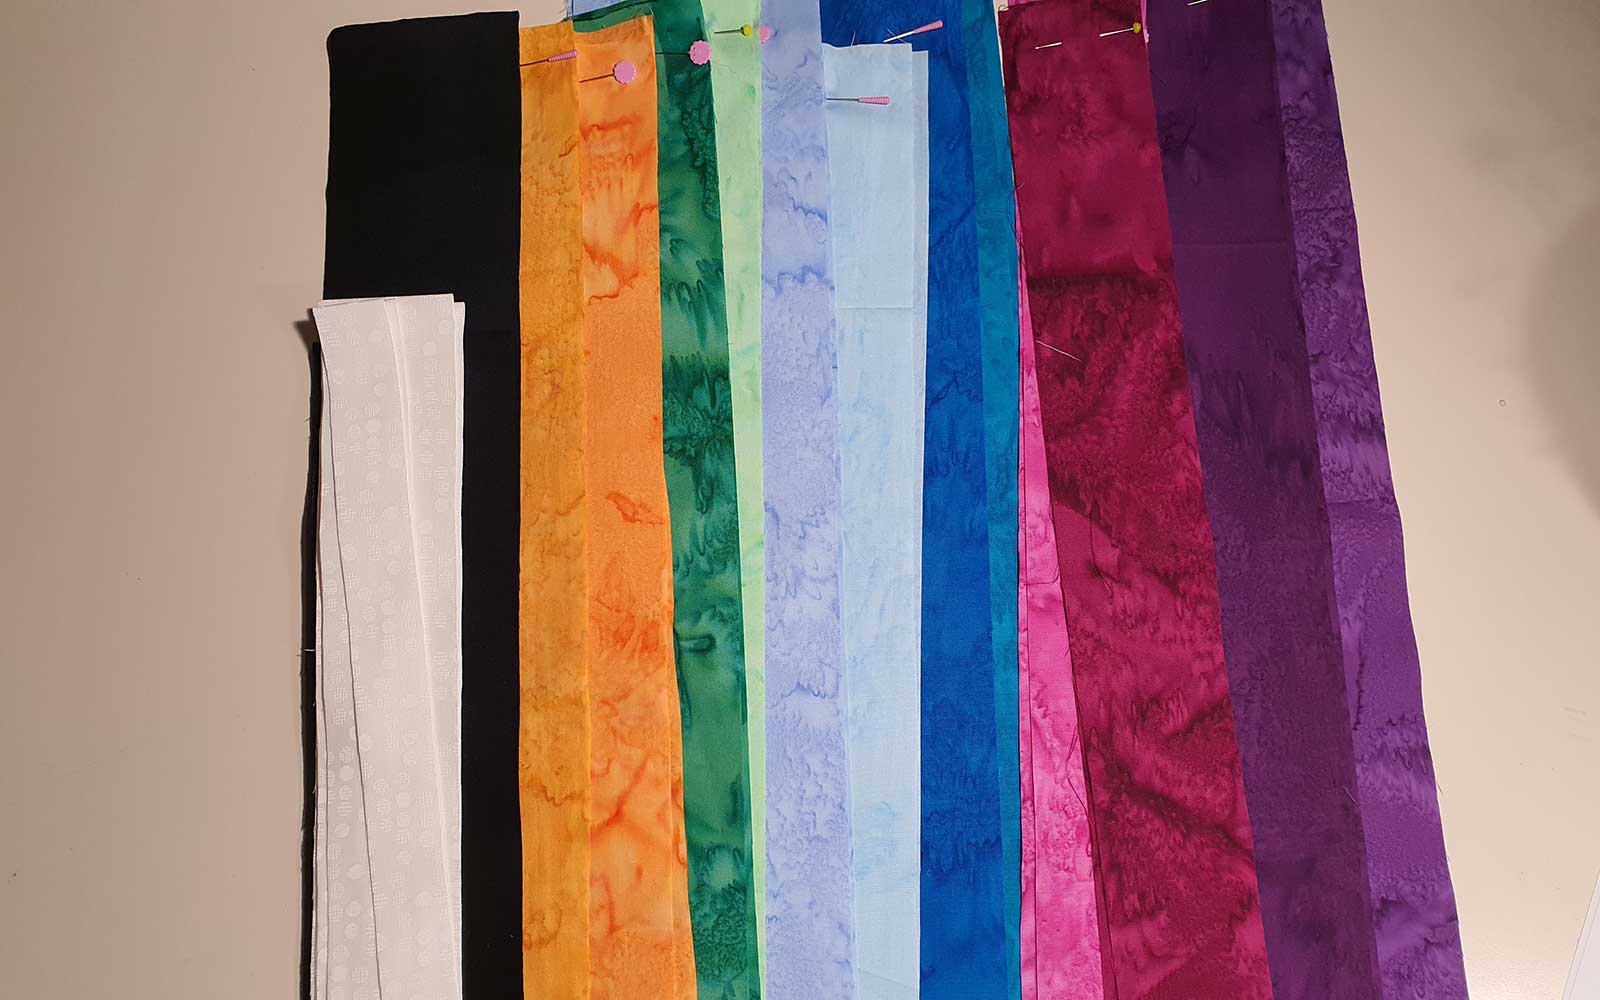
Prepare your fabrics. Choose your fabrics and sort them with your pattern bundles. We recommend that you pre-cut them into strips as per the table below and put them in bundles with the corresponding paper pieces.
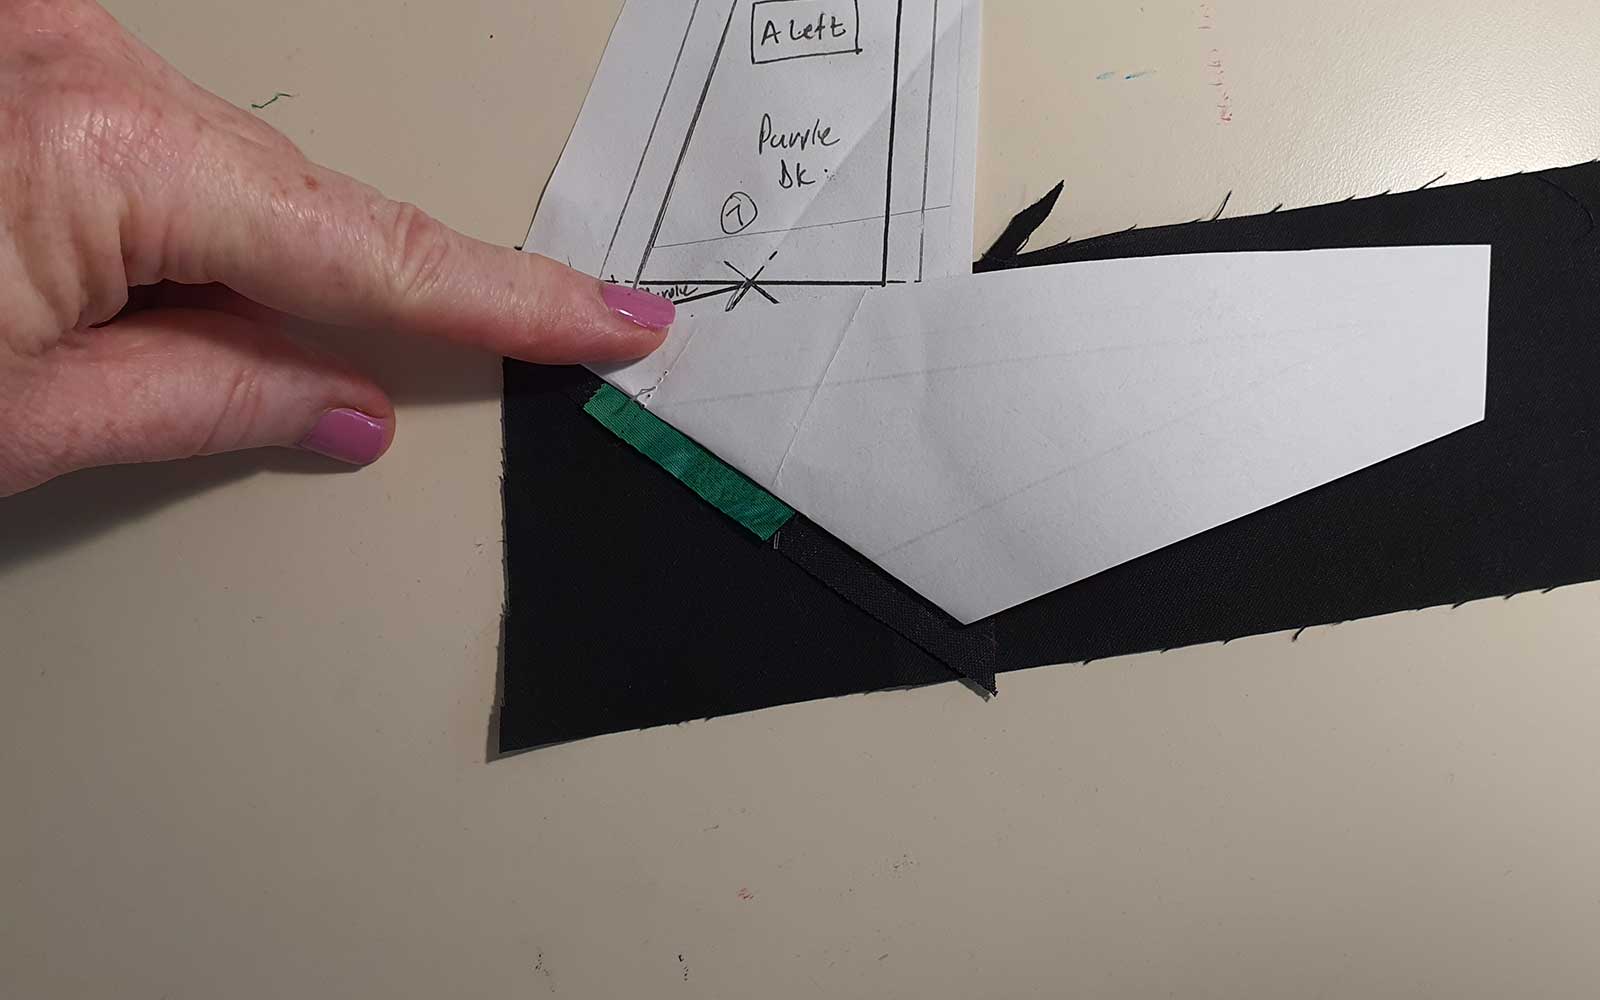
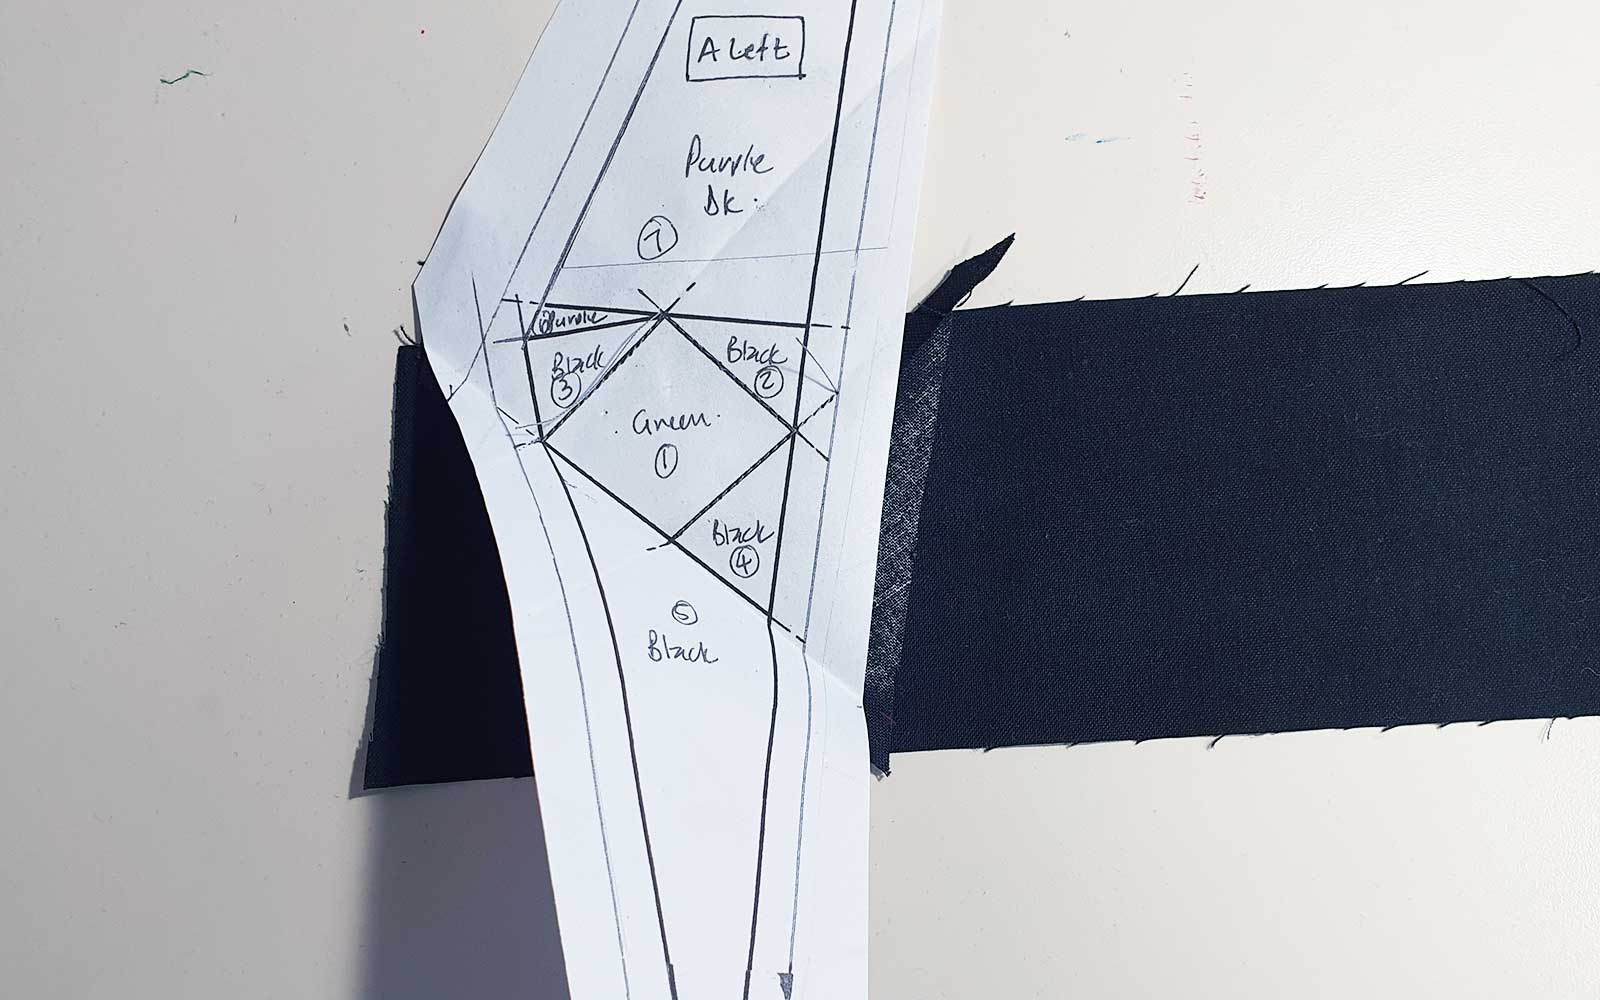
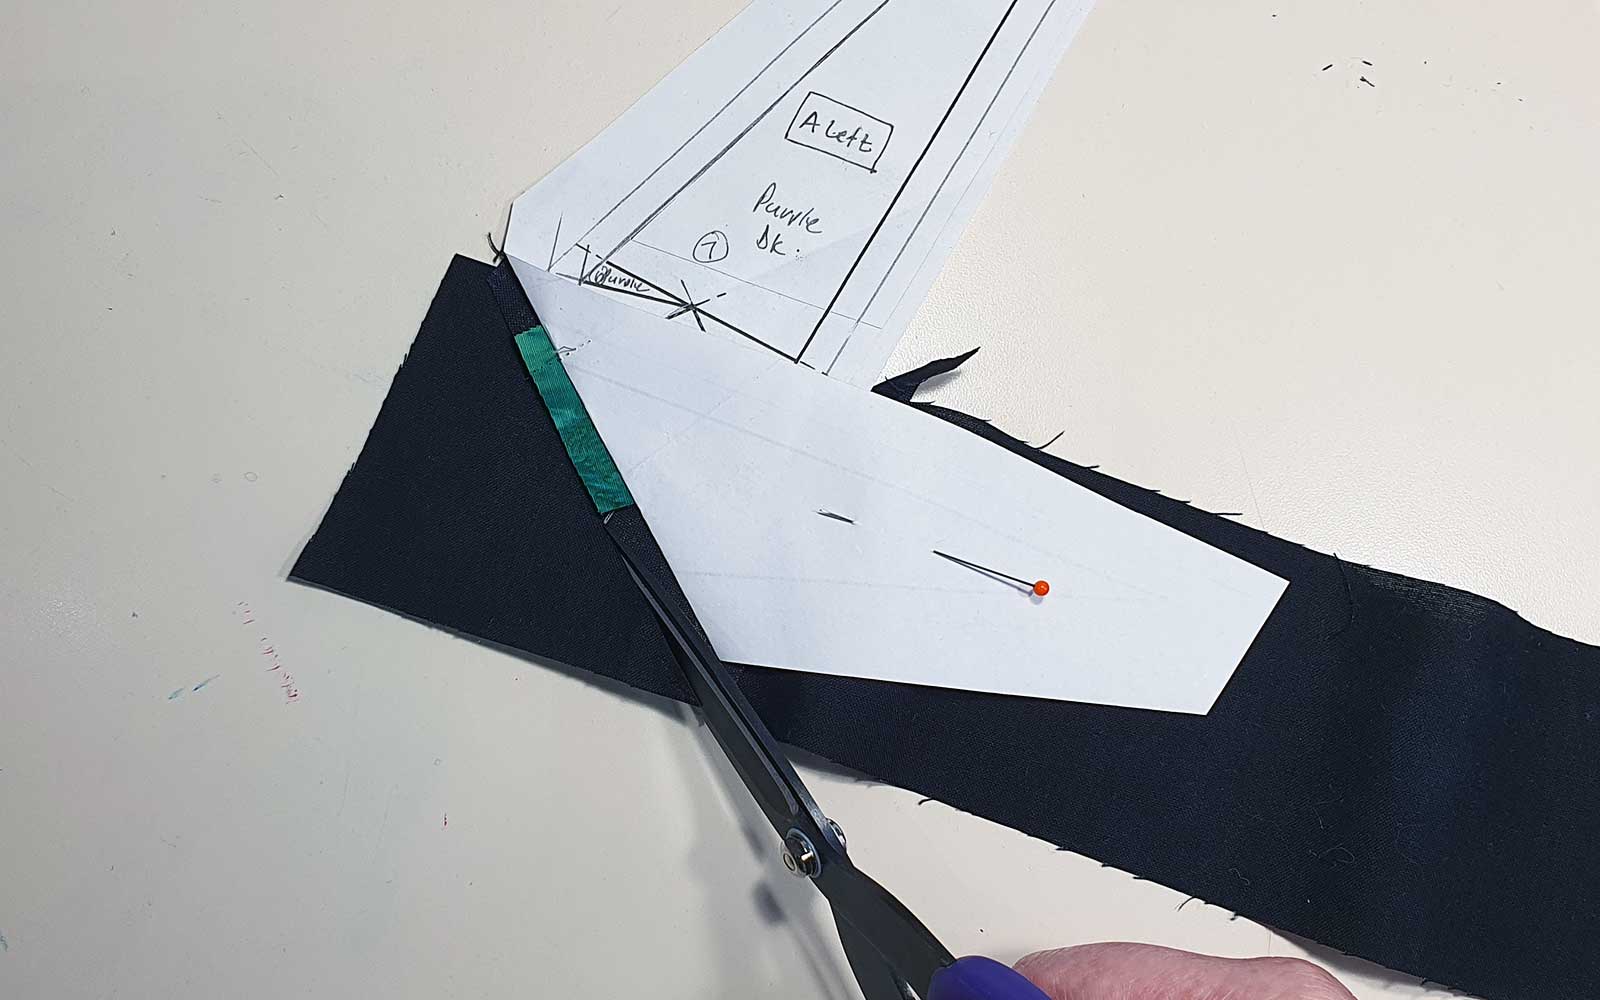
Step 3 - piecing
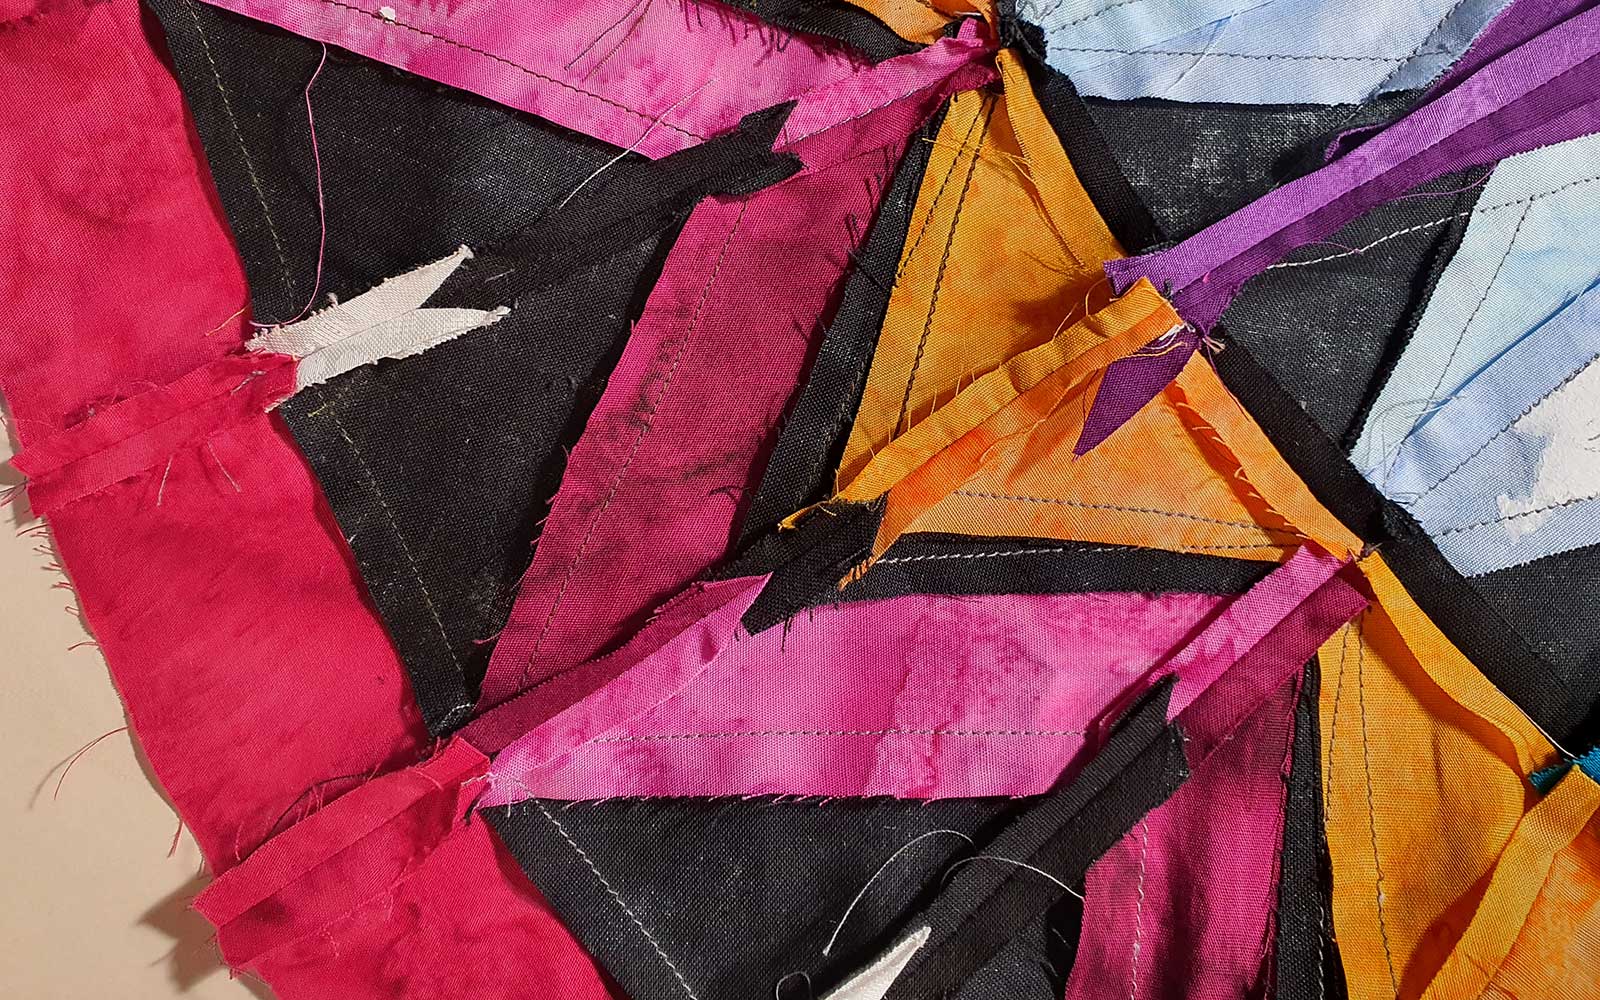
Following the numbers on the pattern pieces, sew all sections. Take care to trim and press after each seam.Tip: you will notice some sewing lines are elongated into the seam allowance. These are the lines you can sew right up to the outer edge of the seam allowance – this allows for a straighter line and accuracy.
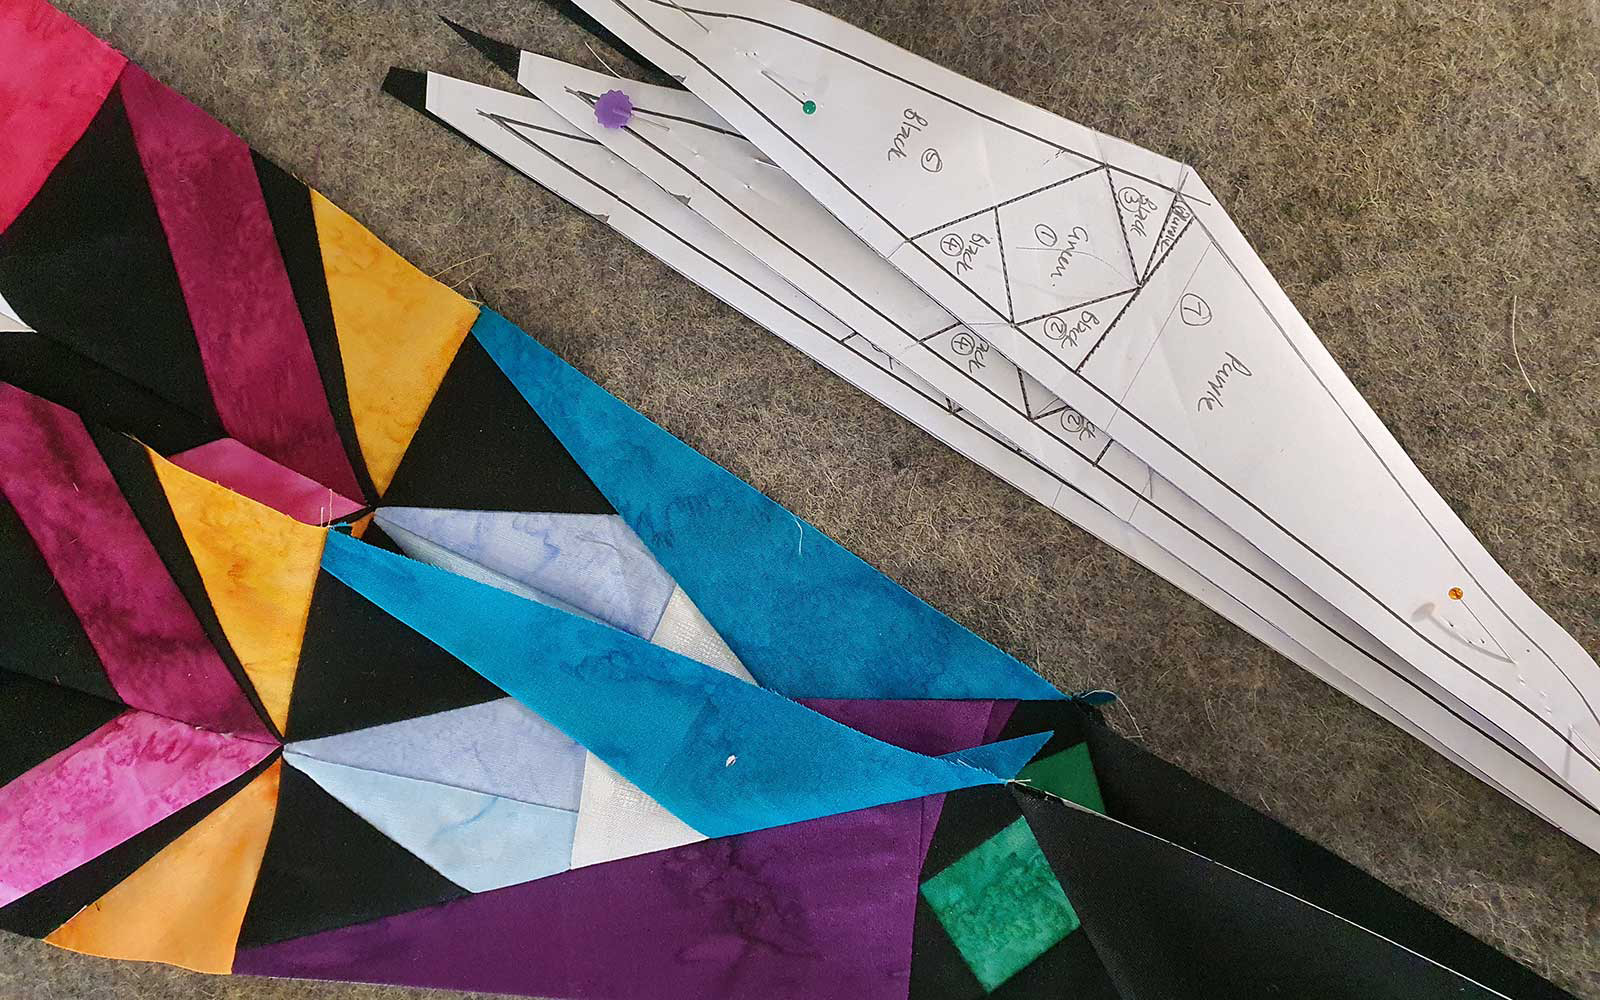
Step 4
Construct the slices – you should have 10 right and 10 left slices.
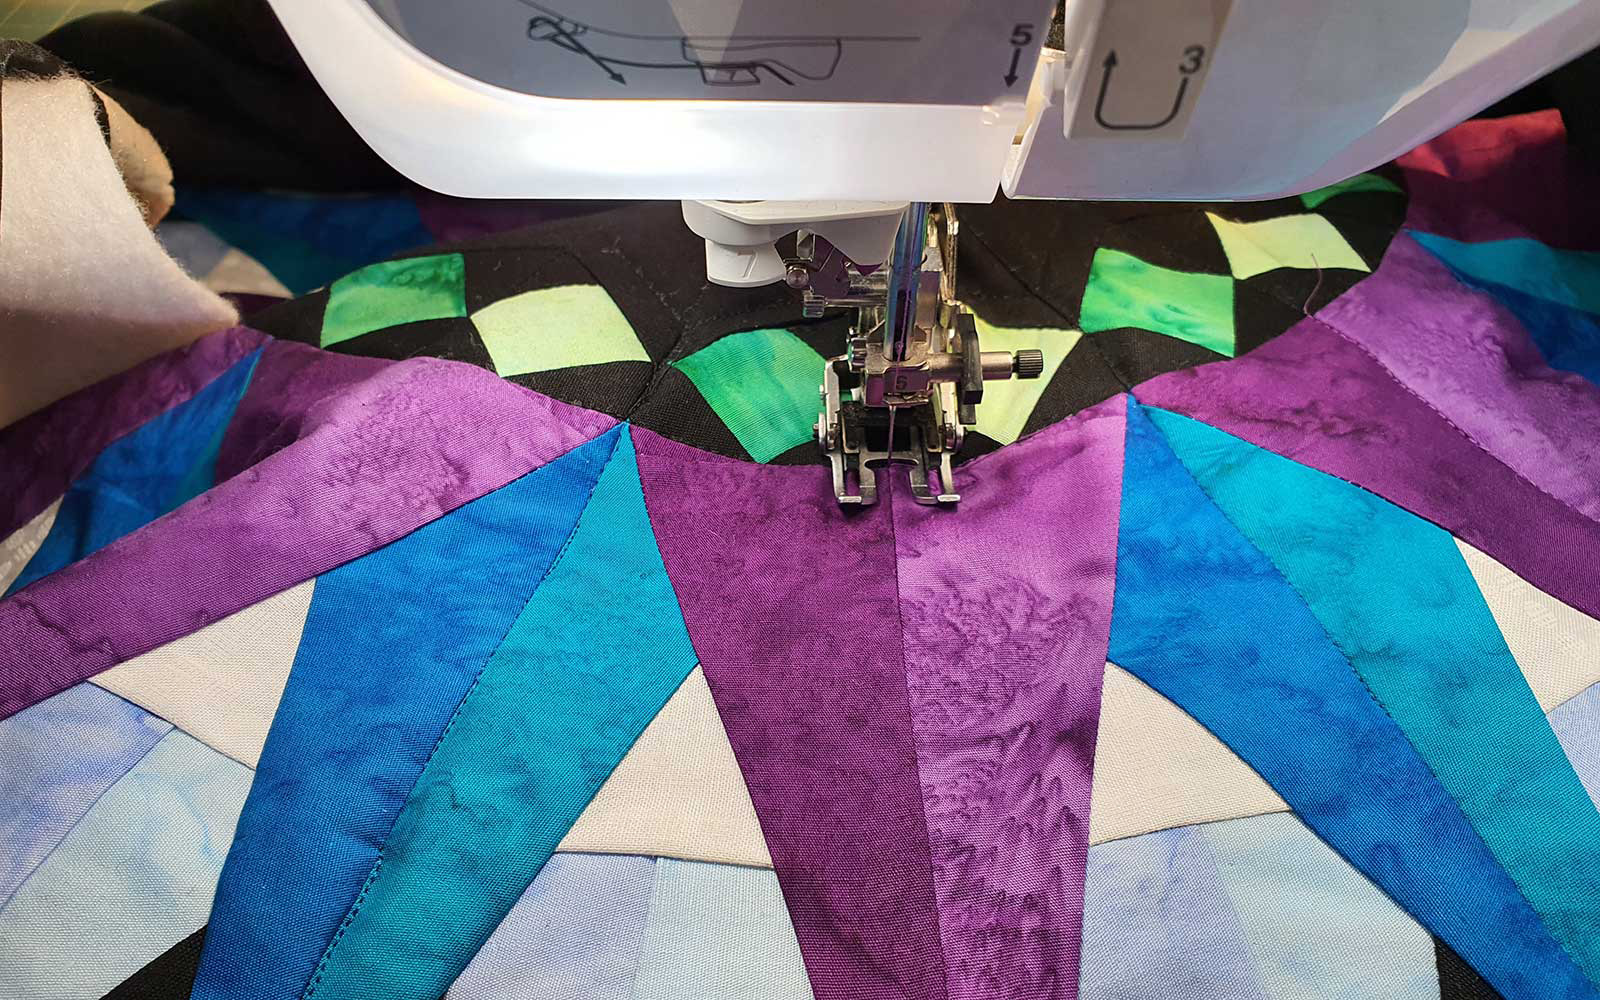
Step 5
Sew one right and one left slice together to form a wedge. You will have 10 wedges.
Step 6
Sew the wedges together to form a circle. You will still have a hole at the centre of your quilt. Don’t worry, this is normal for this pattern!
Step 7
Remove all your foundation piecing paper.Tip: the easiest way to do this is to carefully tear along the sewing lines. This is a messy job – see our list of paper alternatives at the end of the article!
Step 8
Carefully press the seams between the slices and wedges open, checking that your points are perfect. If they do not align perfectly, unpick just the section of the seam where the problem is, plus about an inch to each side. Carefully pin and ease or stretch the fabric to comply. If needed, press the end of the connecting seams open to help lining up. Tip: it is important for your points to line up nicely to get the desired effect on this quilt.
Step 9
Sandwich the quilt on your backing fabric and batting fabric. Flatten the quilt top onto the batting and tack into place. Make sure it is lying completely flat. You can even sew a few lines of tacking stitches from the centre outward to make sure everything stays put. Use your walking foot.Tip: we strongly recommend that you use a black or charcoal batting, as bearding (threads from the batting showing through) is very visible on the black fabric.
Step 10
From your black fabric, cut Template G.Step 11
Cut Template H from card or template material.
Step 12
Centre the card piece (H) over the wrong side of the black fabric circle (G), and carefully fold the fabric over the edge of the template and iron a seam allowance all around. Remove the card and position the hemmed piece over the centre of the quilt where the batting is visible. Pin all around and topstitch in place.
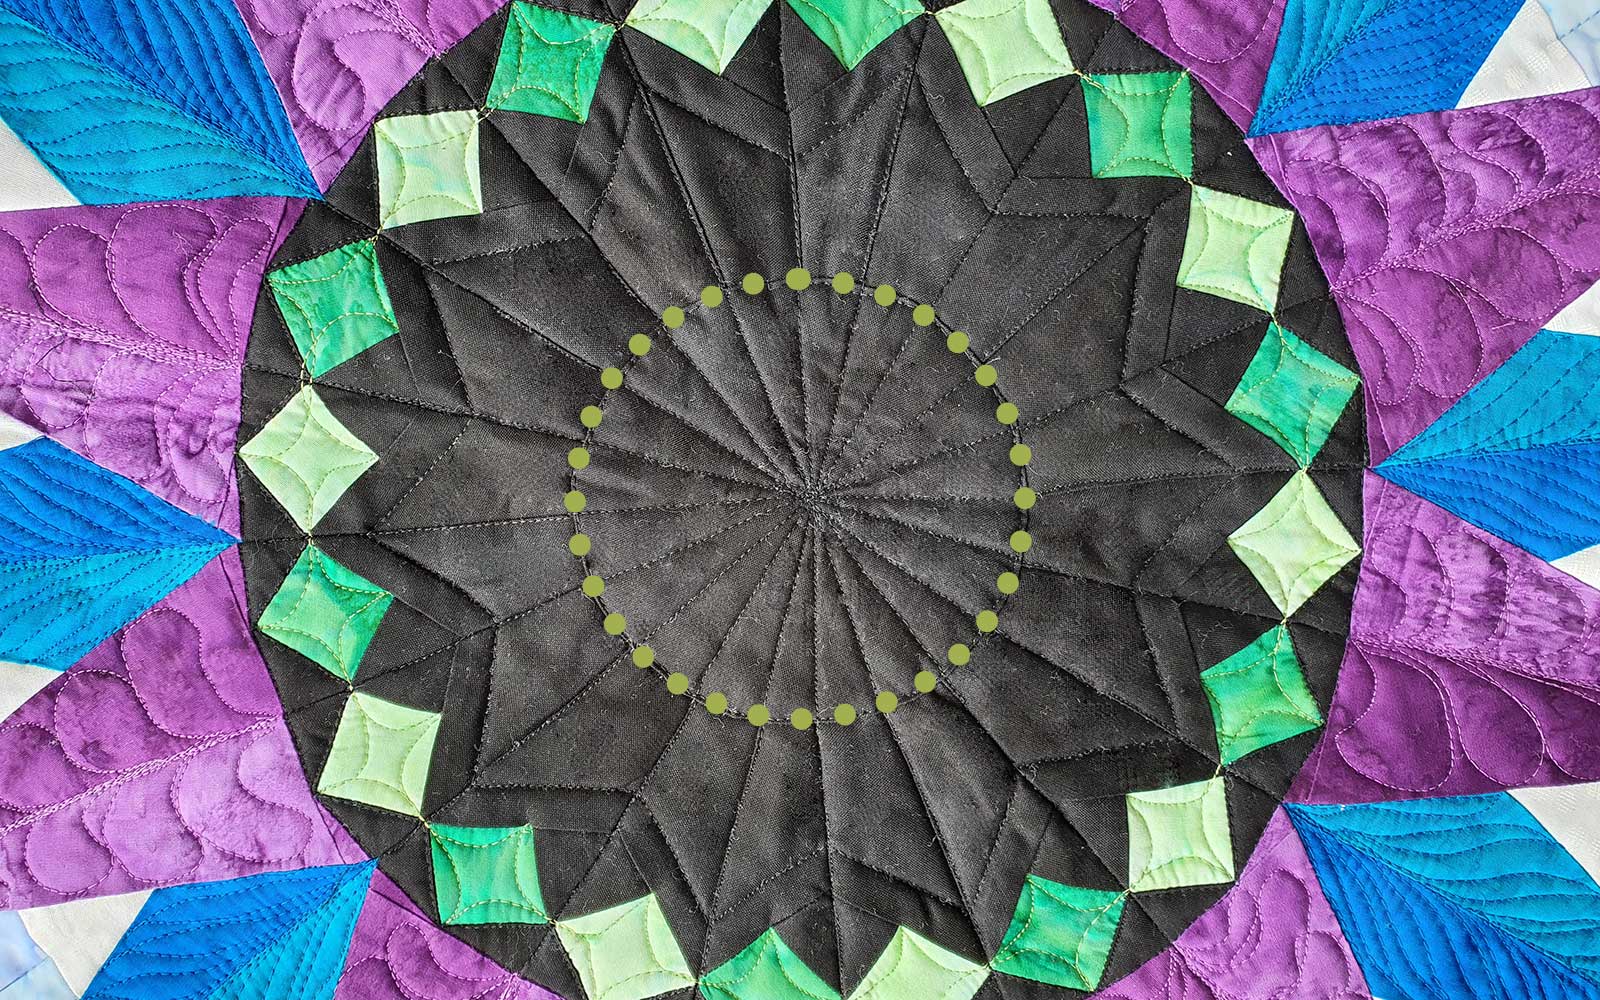
Step 13
With a water-soluble marker, elongate and connect opposite seams across the black circle.Step 14
Stitch in the ditch on all the radial lines you have just drawn, starting from the outside edge of the circle insert, sewing across the centre and to the outside edge of the quilt.
Step 15
To complete the line across the quilt, start again at your starting point on the outside of the circle insert and sew in the opposite direction to the outside edge of the quilt. Leave long tails at the starting points to tie and bury. This prevents having all your starting points in one location.Quilting
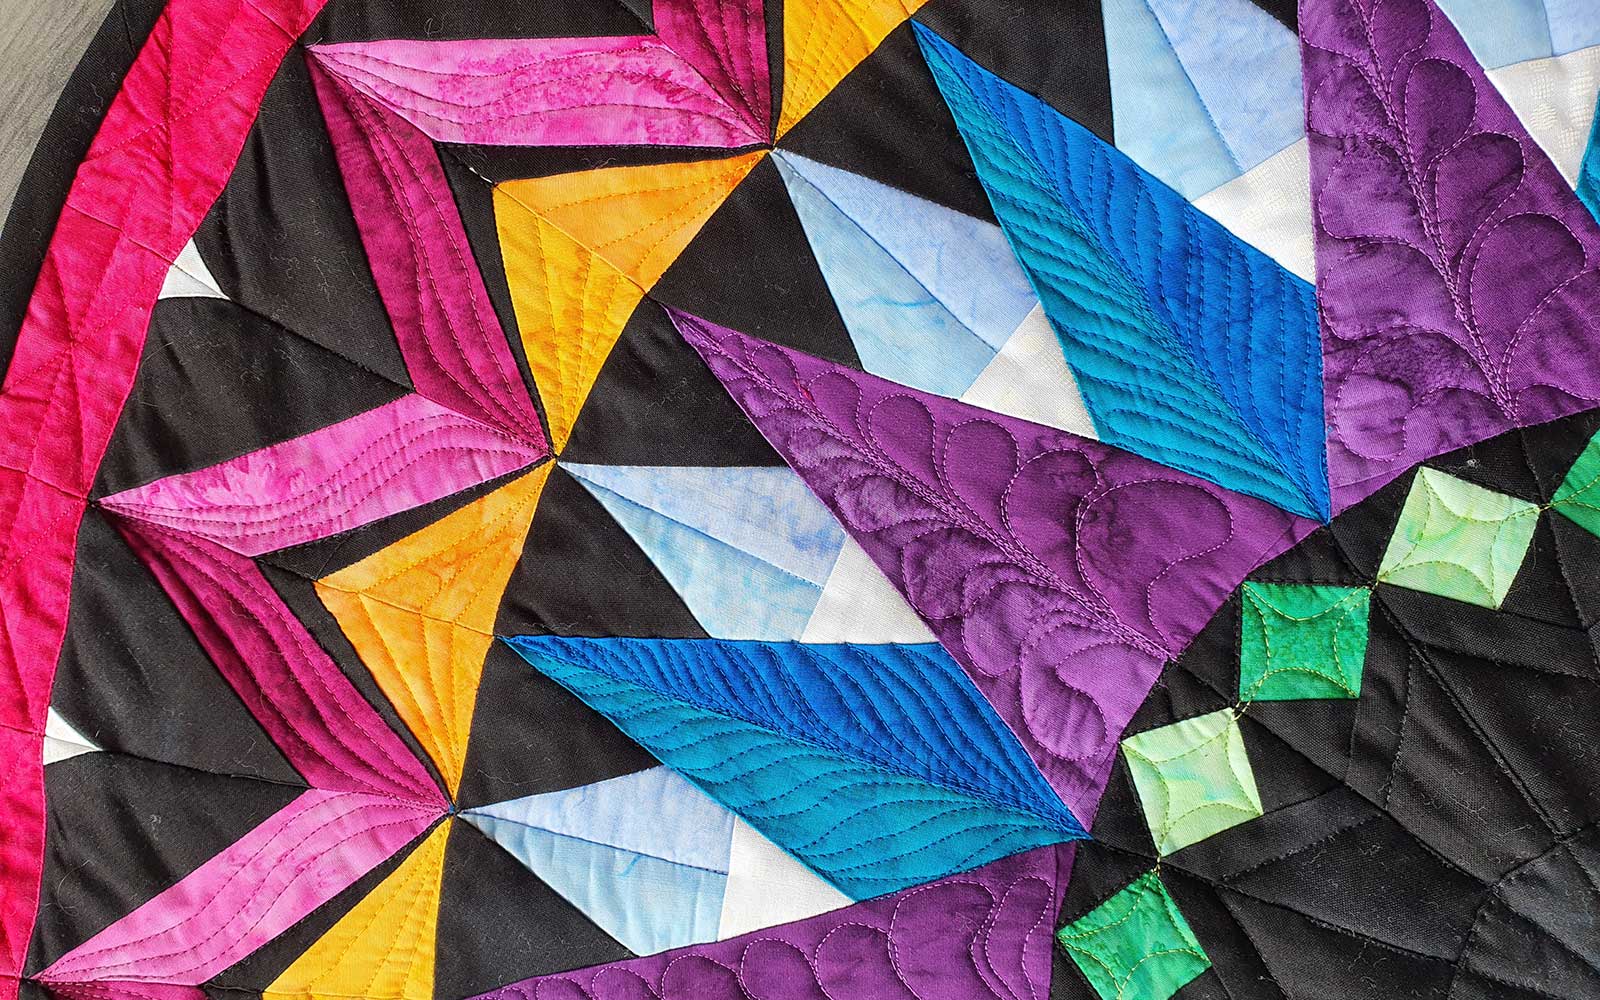
We quilted each section of the quilt with free motion quilting. We added feather quilting patterns on the purple sections, fern quilting patterns on the aqua sections and loose ‘S’ shapes on the pink sections. There really are no rules to what you stitch out where – make it your own!Tip: if you are not up to free motioning, you can sew straight lines using your walking foot.
Binding
Cut and piece a bias strip 3” wide and 1.8 m long. Fold double lengthways, sew, join and hand sew to the back.Caution: do not stretch the bias while sewing it to the quilt. You need a little stretch to get the curve smooth, but if you stretch it too much, the quilt will buckle and not lie flat.
Alternatives to paper for foundation piecing
- Special paper that tears easily – these are normally thin and ‘crisp’ and will tear easily.
- Water soluble – there are several brands of water-soluble sheets that will wash away, so there is no need for you to remove them. They will dissolve in your first wash. Only suitable for washable fabrics.
- Printable non-woven sheets – much like a stabiliser, these sheets can be printed on and do not need removing. They will become softer over time with handling and can stay in your quilt.
These products will add to the cost of your project but will make it faster. The leave-in stabiliser also acts as a reinforcement to help the quilt keep its shape.
Designed and made by Riana Auret.


