3D book gift box


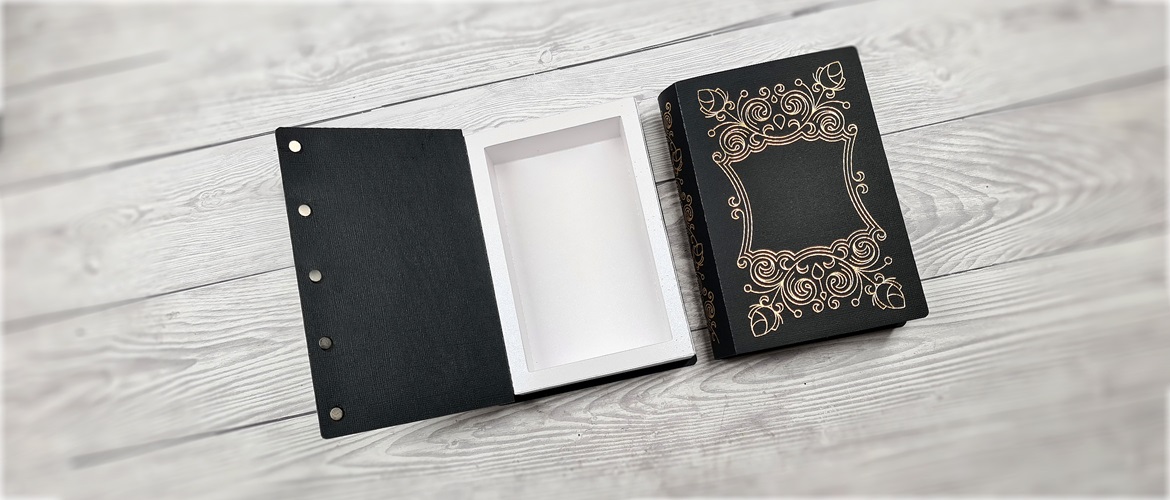
No matter which genre you enjoy this 3D giftbox is perfect for the book lover in your life (even if that’s you!).
You can decorate the cover with different designs or patterned papers to give it an unique look. Personalise the gift box with added embellishments, a message or even a monogram.
Question is: will the box, or what’s in it, be the best part of the present?
Size
Book box measures approximately 105mm wide by 162mm high and 48mm deep.
Materials needed
Paper/card
- 2 sheets of 12 x 12” white 210gsm/80lb cardstock for the inner pages
- 4 sheets of 12 x 12” black 210gsm/80lb cardstock for the outer cover
You will also need
- Bookbinding glue or low tack/quick grab glue
- 3D glue gel or similar
- 5mm/ 1/4 inch double sided tape
- For scoring the fold lines, I recommend a fine tipped stylus and a metal ruler
- For the magnetic closure, I recommend three 6mm diameter x 0.5mm thick N42 Neodymium magnets or similar. Safety notice: magnetic closures are not suitable for children under 16 years old, so please use a ribbon or alternative decorative closing mechanism instead.
- Embellishments (optional)
Equipment needed
ScanNCut - hardware
- Brother ScanNCut – any CM Model
- Standard mat [CAMATSTD12]
- Standard blade [CABLDP1] and blade holder [CAHLP1]
- Foil transfer kit [CAFTKIT1] or any other drawing pens and pen holder [CAPENHL1] or [CAUNIPHL1]
OR
- Brother ScanNCut – any SDX model
- Standard mat [CADXMATSTD12]
- Standard auto-blade [CADXBLD1] and holder [CADXHLD1]
- Foil transfer kit [CAFTKIT1] or any other drawing pens and pen holder [CAPENHL1] or [CAUNIPHL1]
ScanNCut - software
- CanvasWorkspace for PC or Mac
How to
Step 1
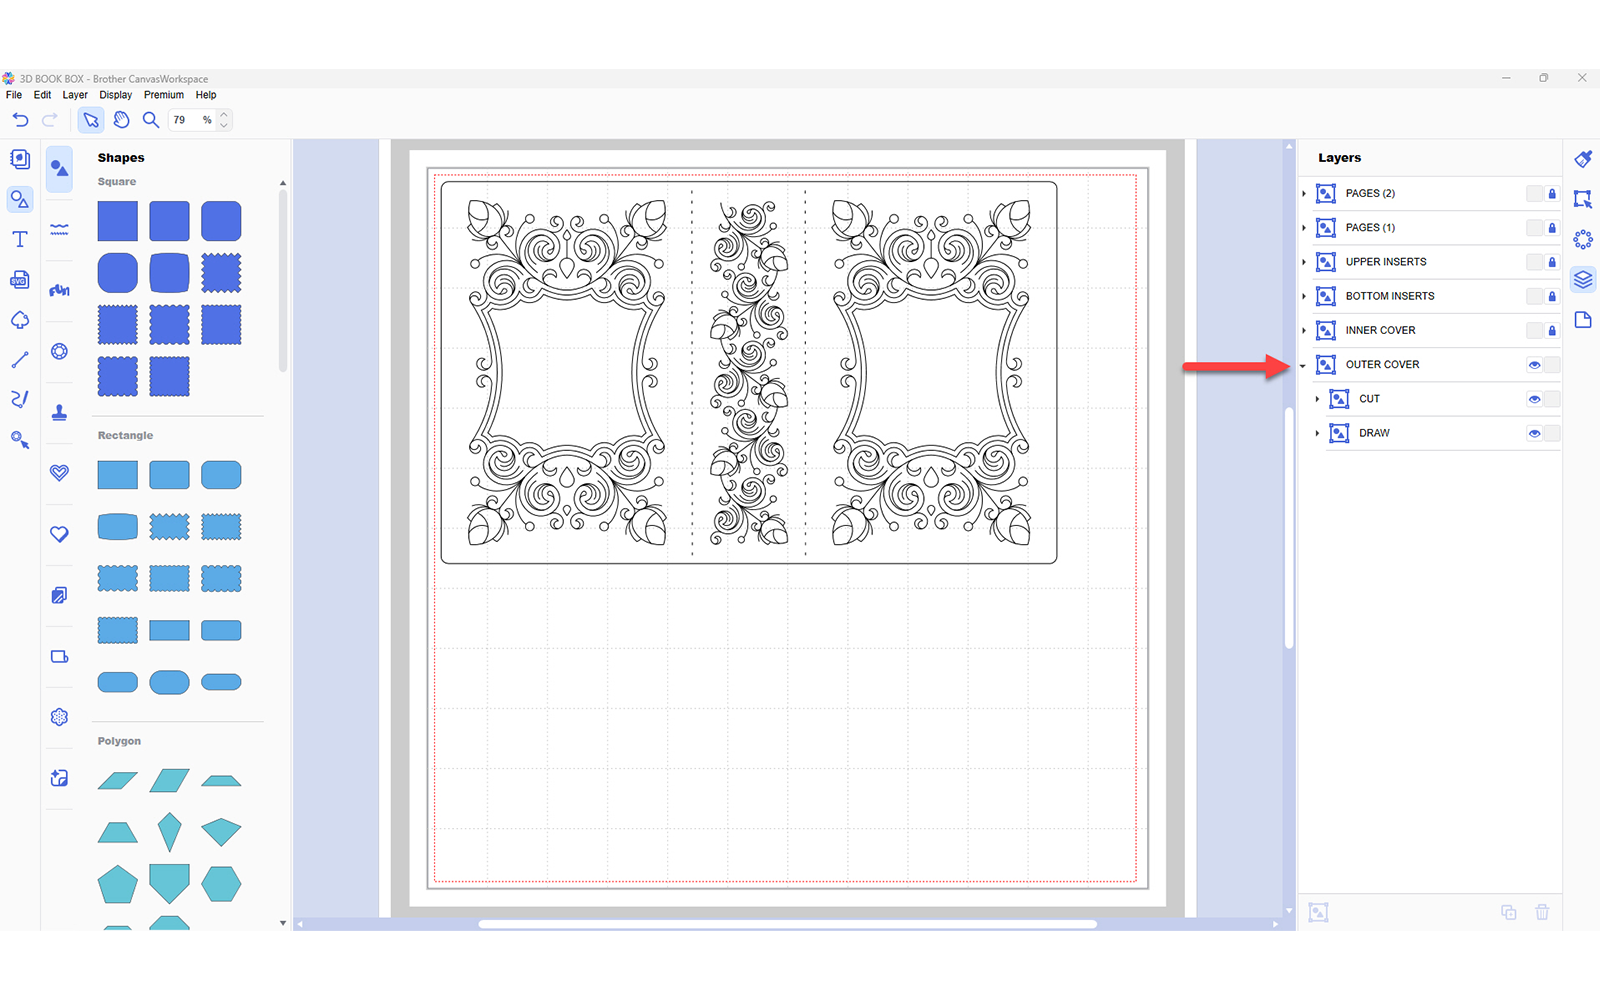
Download the CanvasWorkspace project file. Open it in CanvasWorkspace (the desktop version). Open the layers tab on the right.
Step 2
Hide and lock all layers except the one titled 1-OUTER COVER. Make sure that both layers within that group are unlocked and visible. Transfer this to your machine using the File>Export/Transfer FCM File menu option.
Step 3
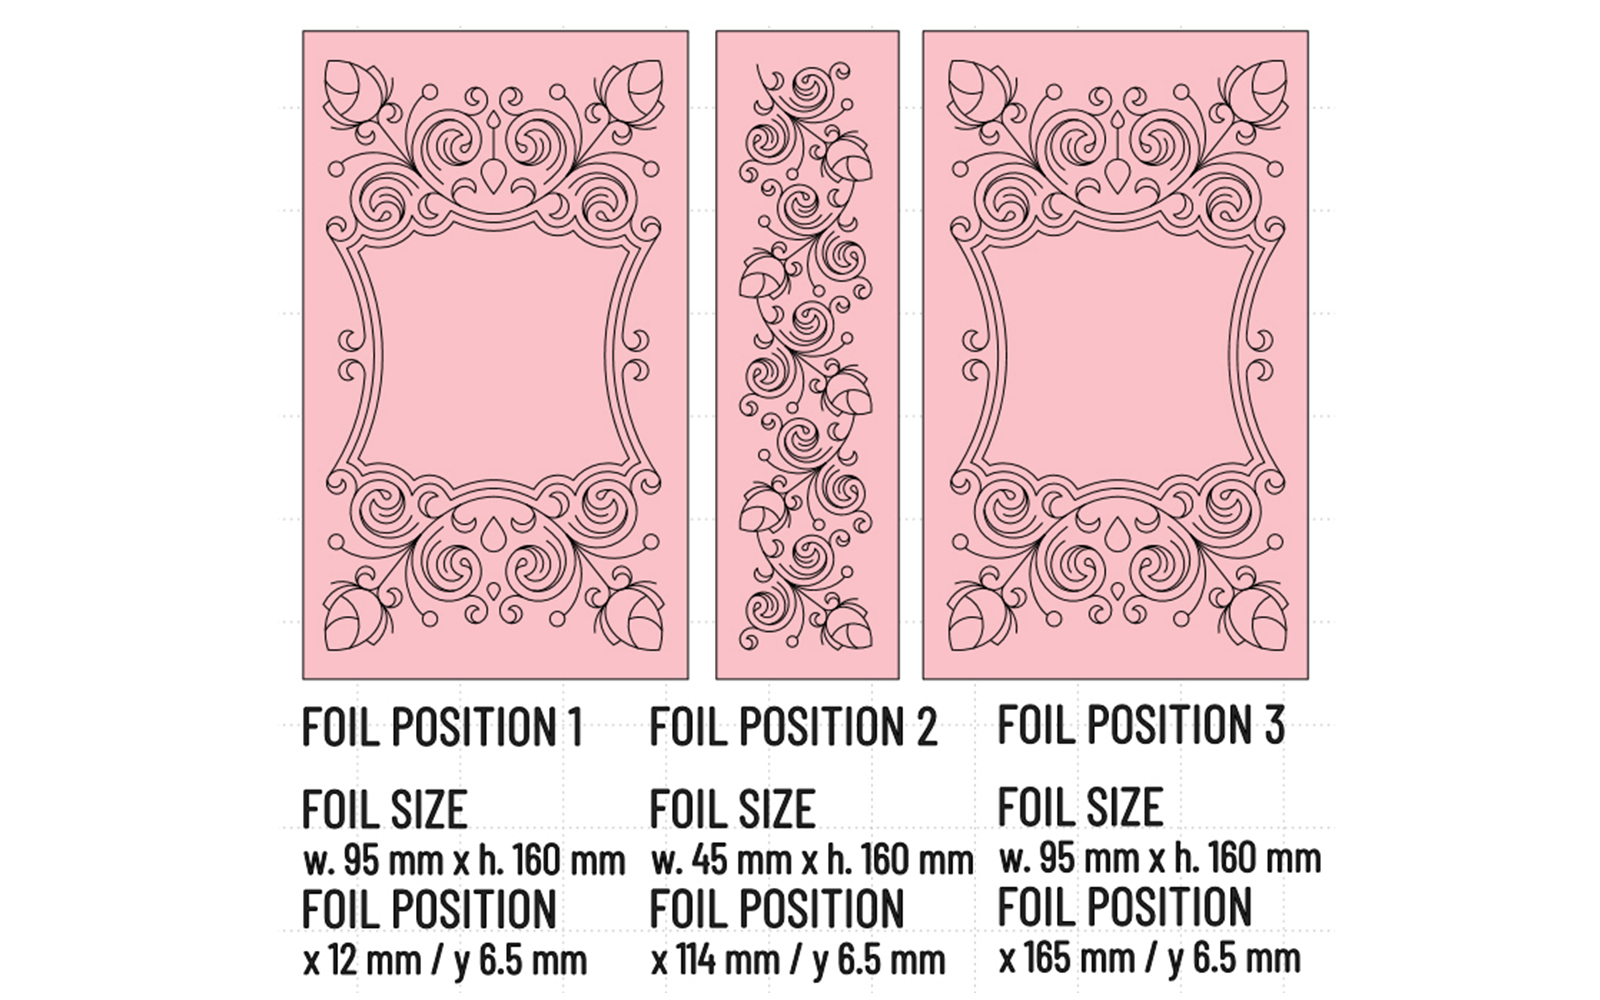
Using either the Foiling Kit, or the pen drawing tools, fit the appropriate tool and draw the design onto the black cardstock sheet.
Note: if you’re using the foiling kit, you will need to measure and cut three pieces of foil. See image below for measurements and placement.
Step 4
Once you have finished drawing/foiling, do not unload the mat! Instead, change the foiling/drawing tool for the blade and cut the design. Cut size is 260.4mm wide x 161.5mm high.
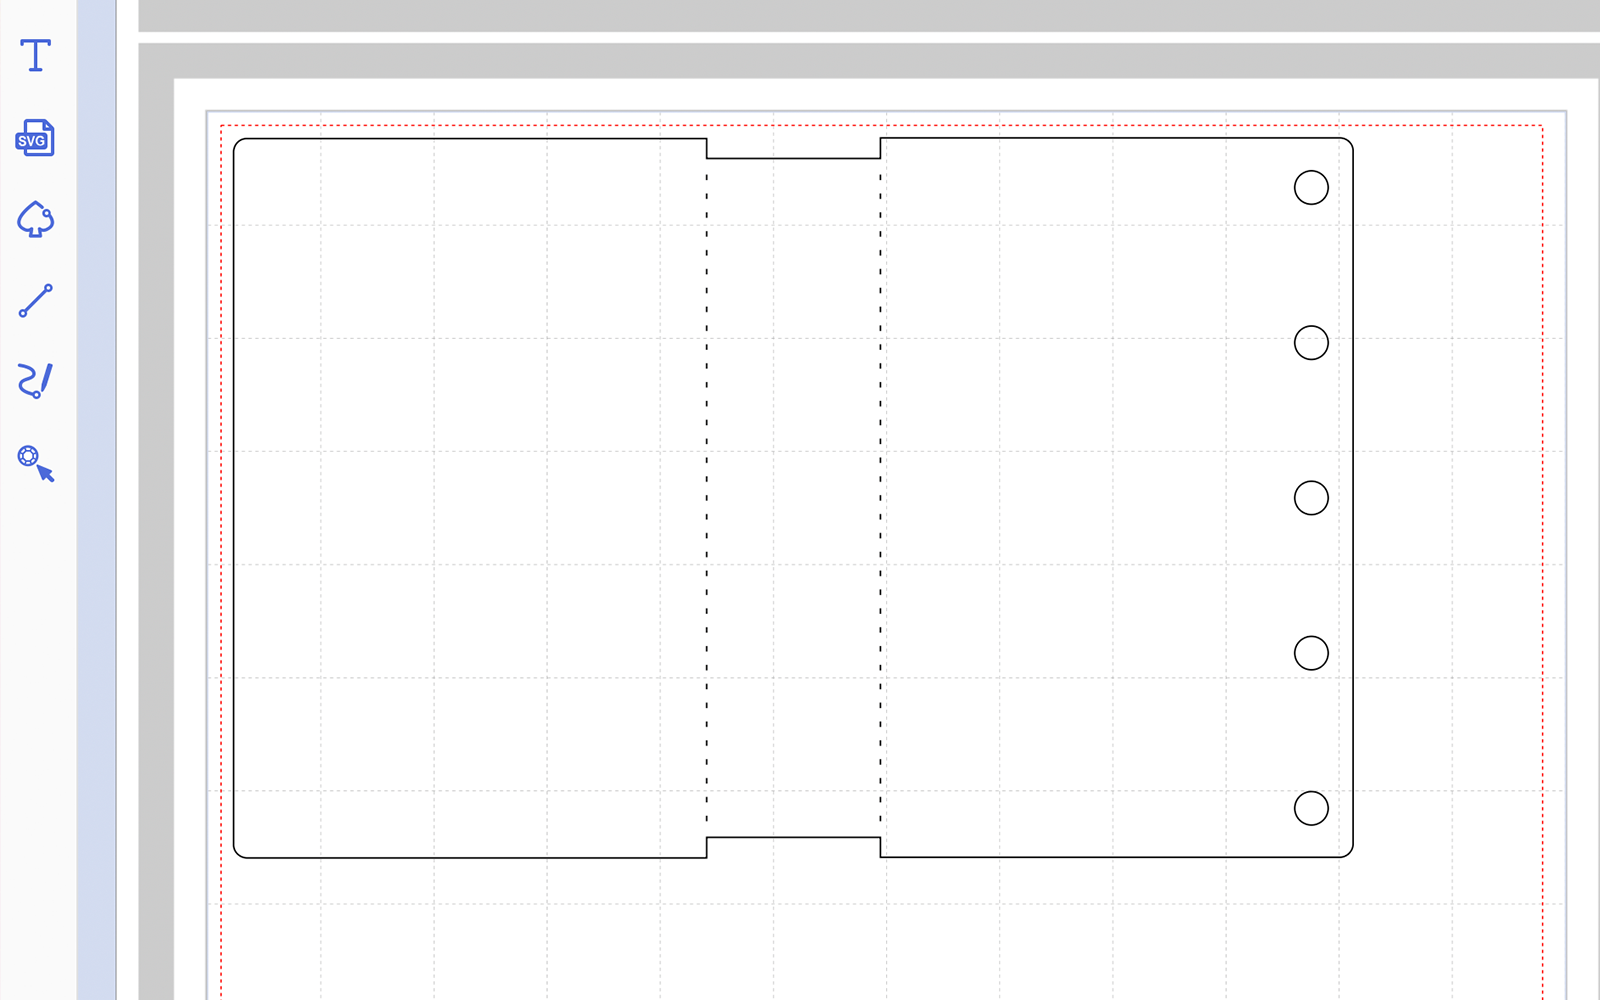
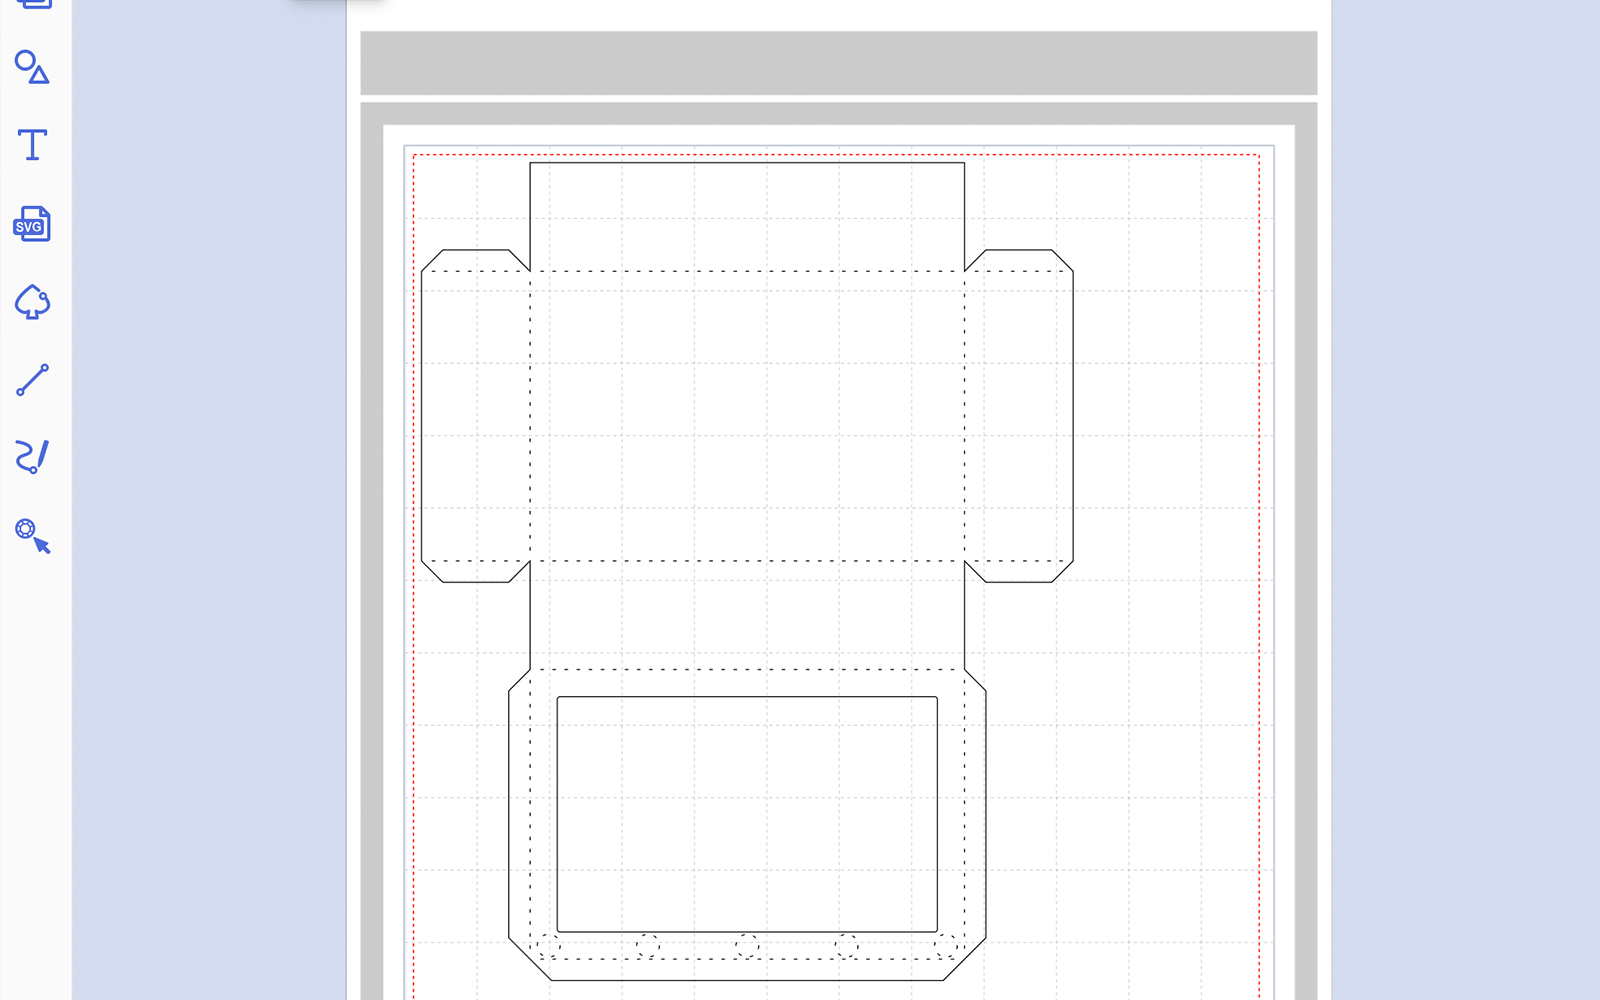
Step 5
Hide and lock all layers except the one titled 2-INNER COVER. Transfer this to your machine using the File>Export/Transfer FCM File menu option. Cut once from black 12 x 12” cardstock. Cut size is 251.3mm wide x 161.6mm high.
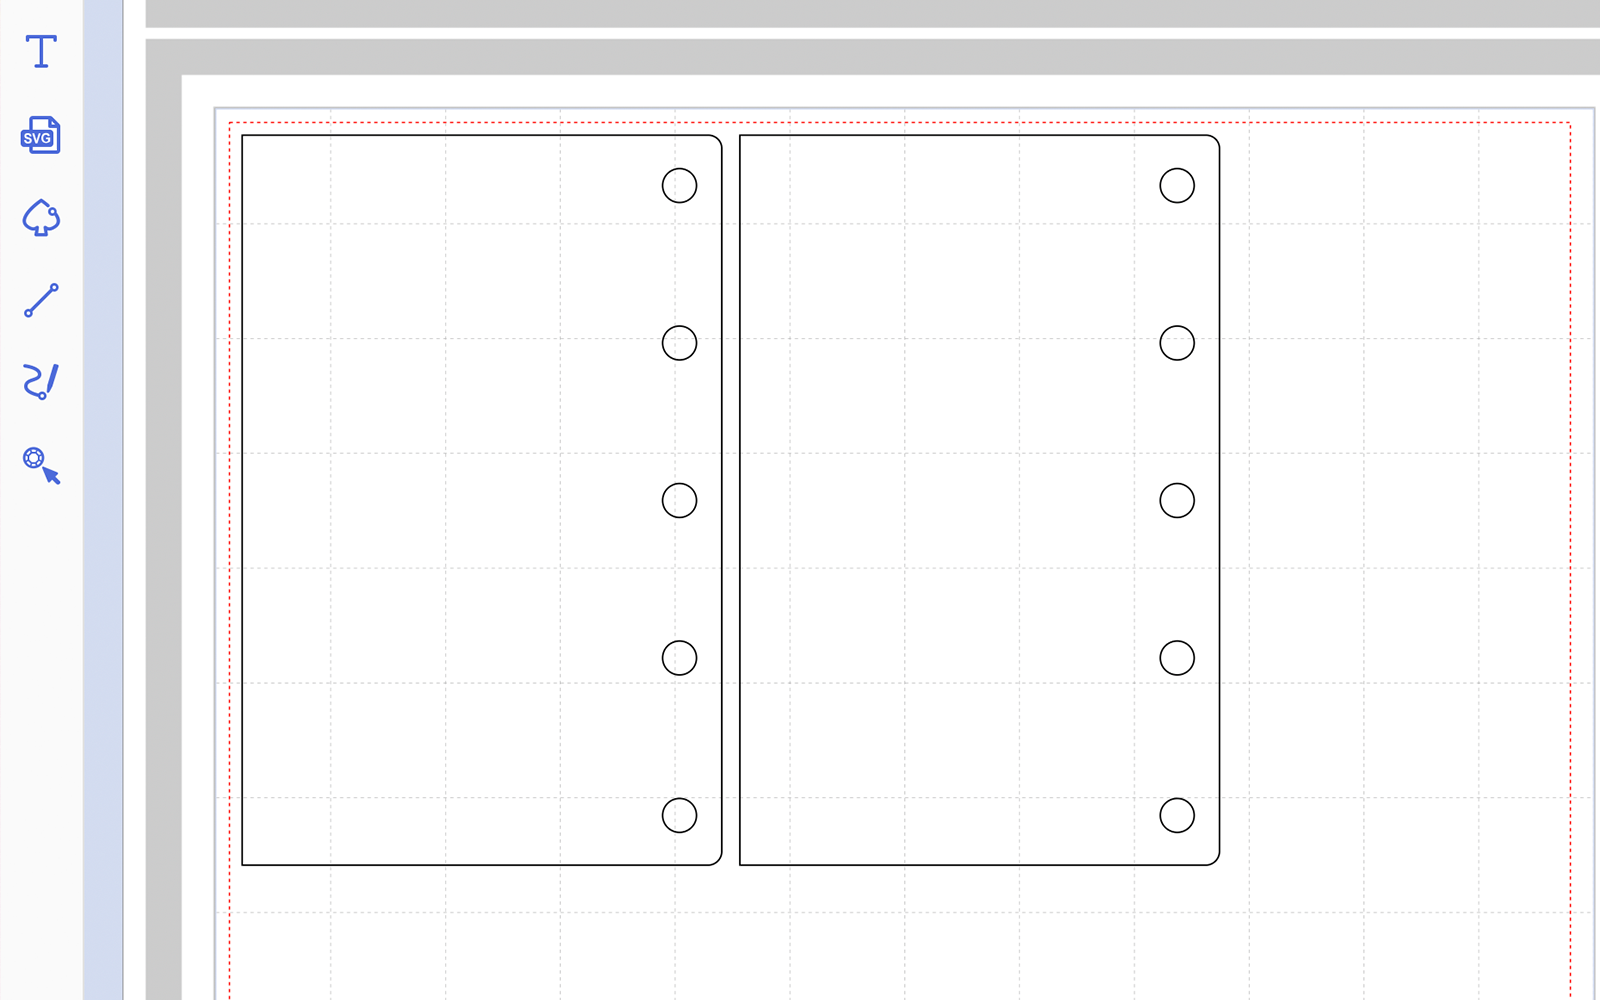
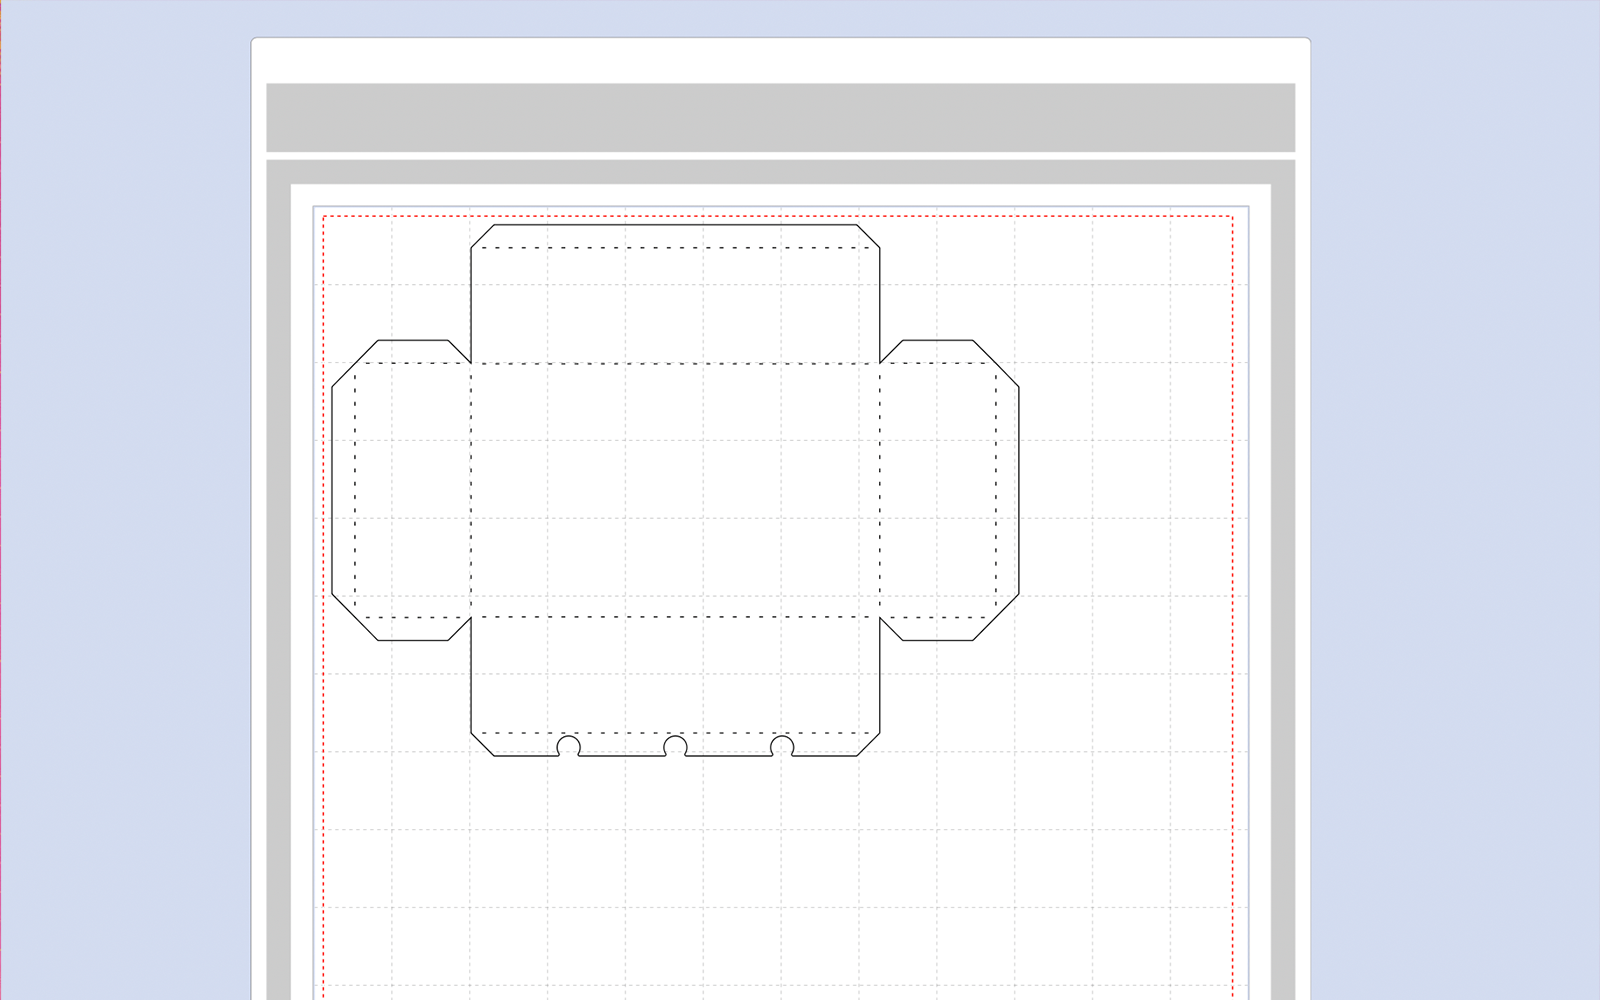
Step 6
Hide and lock all layers except the one titled 3-BOTTOM INSERTS. Transfer this to your machine using the File>Export/Transfer FCM File menu option. Cut once from black 12 x 12” cardstock. Cut size is 216.5mm wide x 161.5mm high.
Step 7
Hide and lock all layers except the one titled 4-UPPER INSERTS. Transfer this to your machine using the File>Export/Transfer FCM File menu option. Cut once from black 12 x 12” cardstock. Cut size is 216.2mm wide x 161.5mm high.
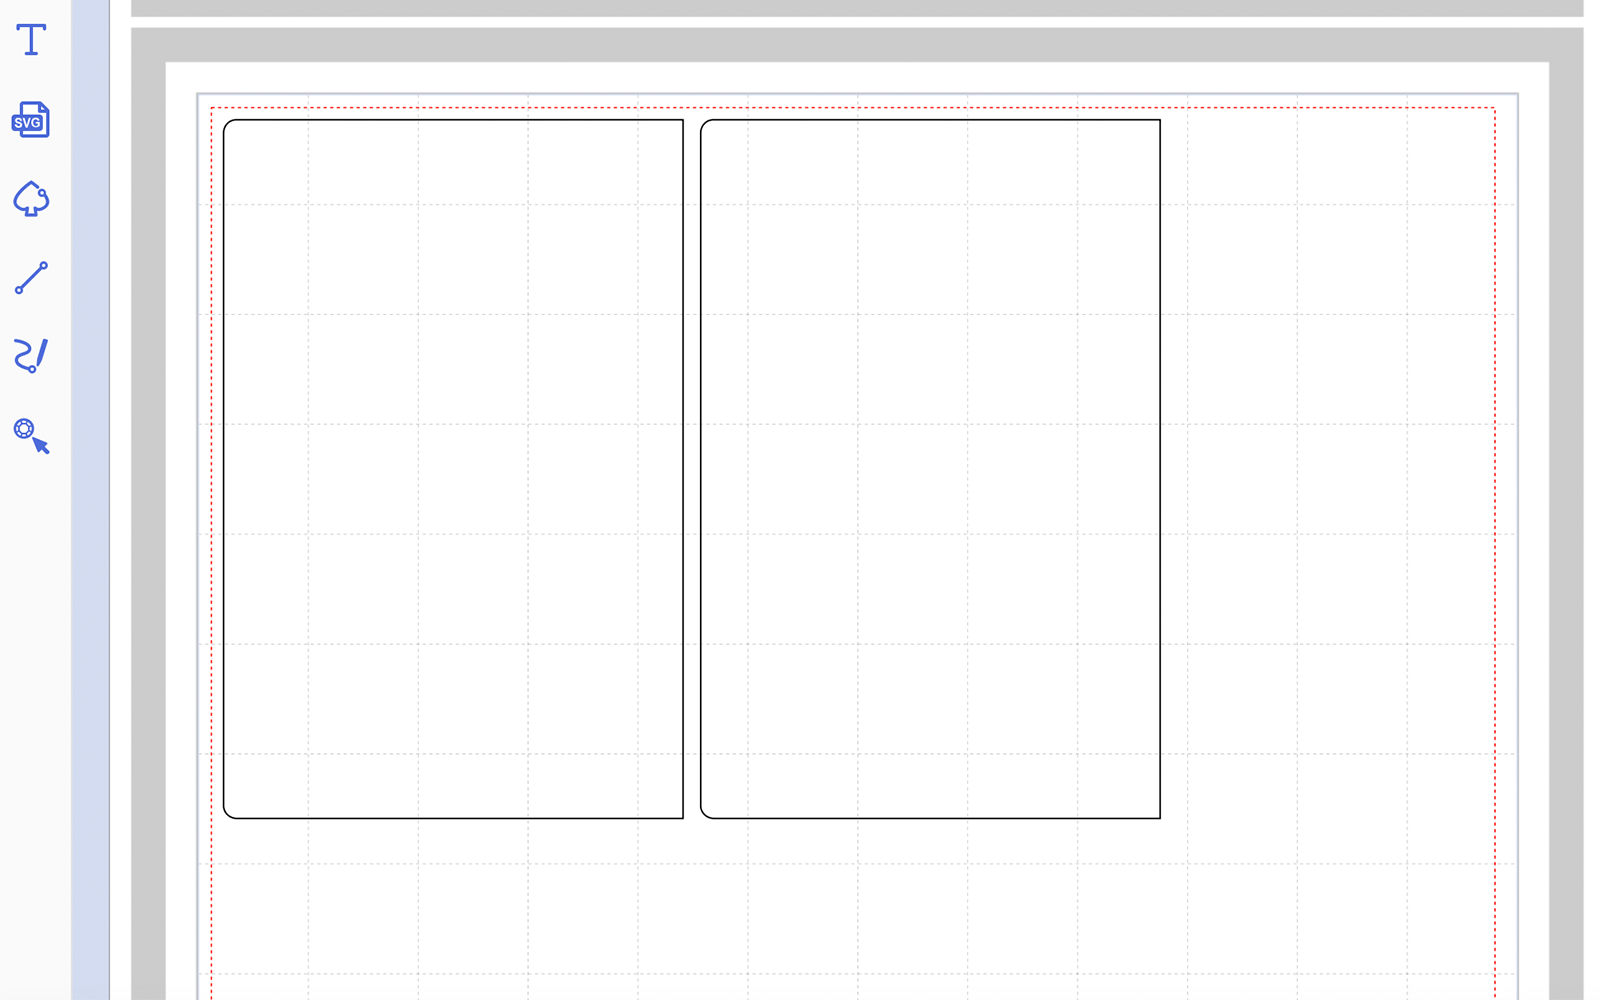
Step 8
Hide and lock all layers except the one titled 5-PAGES(1). Transfer this to your machine using the File>Export/Transfer FCM File menu option. Cut once from white 12 x 12” cardstock. Cut size is 228.6mm wide x 286.9mm high.
Step 9
Hide and lock all layers except the one titled 6-PAGES(2). Transfer this to your machine using the File>Export/Transfer FCM File menu option. Cut once from white 12 x 12” cardstock. Cut size is 224.1mm wide x 173.3mm high.
Step 10
Assemble as shown in the video.
If you make this, remember to tag in Brother on Instagram and Facebook, and myself on Facebook (and give us all a follow too)! You can also find Brother on Pinterest and YouTube for even more ScanNCut inspiration.


