
Spring greetings!


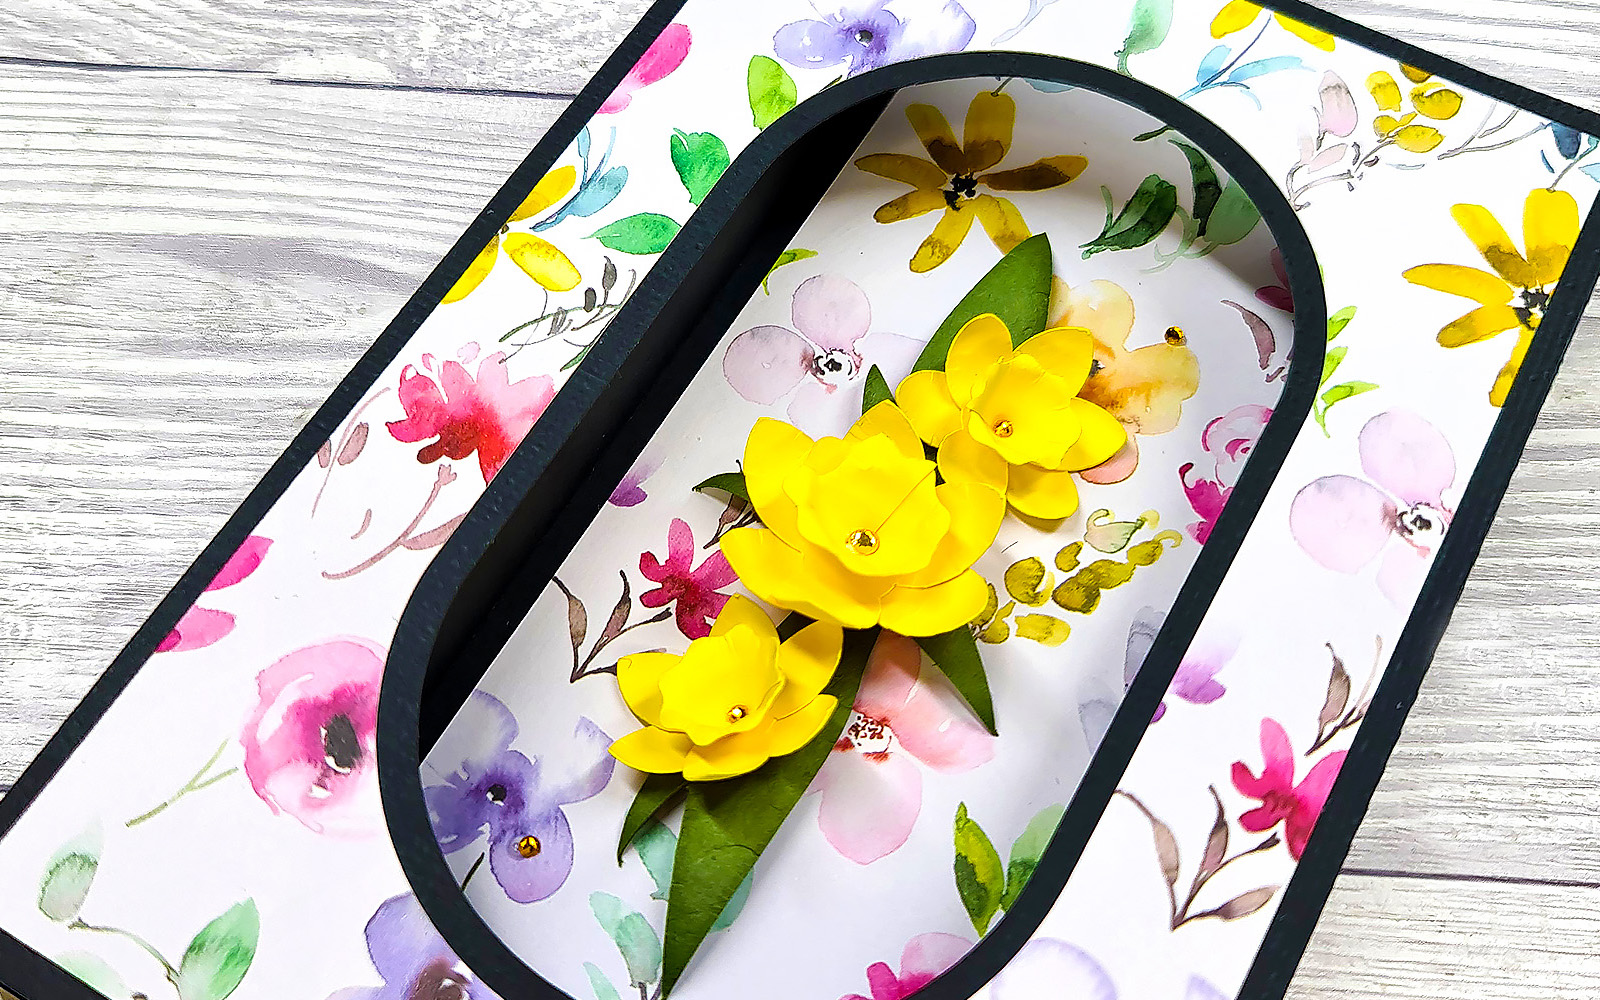
Make a spring themed box card with daffodils to welcome in the spring. The design includes a box to present and then display the card in. John Bloodworth, The Gentleman Crafter, shows us how.
Materials needed
- Two sheets of 12” x 12” (30.5 x 30.5cm) 80lb/210gsm cardstock for the card
- Two sheets of 12” x 12” (30.5 x 30.5cm) 80lb/210gsm cardstock for the box
- One sheet of 12” x 12” (30.5 x 30.5cm) 65lb/180gsm (or less) patterned paper for the decorative panels
- One piece of cardstock for the flower heads. Minimum size: 4” x 4” (10.5 x 10.5cm)
- One piece of cardstock for the leaves. Minimum size: 5” x 3” (13 x 7.5cm)
- Glue with fine tipped applicator
- Mixed flat-backed rhinestones to match your colour choices
Equipment needed
General tools
- Tweezers
- Small-tipped hand embossing ball tool
- Medium-tipped hand embossing ball tool
- Foam embossing mat, or similar
- Fine-tipped metal scoring tool and metal ruler (optional)
- Brother ScanNCut – Any CM Model
- Standard mat [CAMATSTD12]
- Standard blade [CABLDP1] and blade holder [CAHLP1]
OR
- Brother ScanNCut – Any SDX model
- Standard mat [CADXMATSTD12]
- Standard auto blade [CADXBLD1] and holder [CADXHLD1]
ScanNCut Software
How to
Step 1
Download the project file (blue button above) and open it in CanvasWorkspace.Open the layers tab on the right.
Tip: you’ll need the free desktop version of CanvasWorkspace for this project, not the browser version.
Step 2
Hide and lock all layers except the one titled CARD. Transfer this to your machine using the File>Export/Transfer FCM File menu option. Cut the pieces from one of the sheets of cardstock you chose for the card. Step 3
Hide and lock all layers except the one titled DISPLAY. Transfer the file to your machine as in step 1. Cut the pieces from one of the sheets of cardstock you chose for the card.
Step 4
Hide and lock all layers except the one titled BOX BASE. Transfer the design to your machine as in step 1. Cut the box base from one of the sheets of cardstock you chose for the box.
Step 5
Hide and lock all layers except the one titled BOX LID. Transfer to your machine as in step 1. Cut the box lid pieces from one of the sheets of cardstock you chose for the box.
Step 6
Hide and lock all layers except the one titled DECORATIVE PANELS. Transfer to your machine as in step 1. Cut the panels from the sheet of patterned paper you chose for the decorative panels.
Step 7
Hide and lock all layers except the one titled FLOWERS. Transfer to your machine as in step 1. Cut the flower pieces from the piece of cardstock you chose for the flower heads.
Step 8
Hide and lock all layers except the one titled LEAVES. Transfer to your machine as in step 1. Cut leaves from the piece of cardstock you chose for the leaves.
Step 9
Assemble the card and box as shown in the video.
If you make this, remember to tag in Brother on Instagram and Facebook, and myself on Facebook (and give us all a follow too)! You can also find Brother on Pinterest and YouTube for even more ScanNCut inspiration.


