
Magic sublimation mug


Create a fun and uplifting mug design using the Brother Sublimation Printer SP1 and the Artspira mobile design app’s sublimation mug templates.
This beginner-friendly project is perfect for making personalised mugs for gifts or just your own daily motivation. Using the ready-made mug templates in the Artspira app, you can easily create a feel good design to enjoy everyday.
There’s no need for any design experience, using the ready-made designs and built-in templates makes it super simple.
I’ll guide you through each simple step to help you start sublimating with confidence.
Materials needed
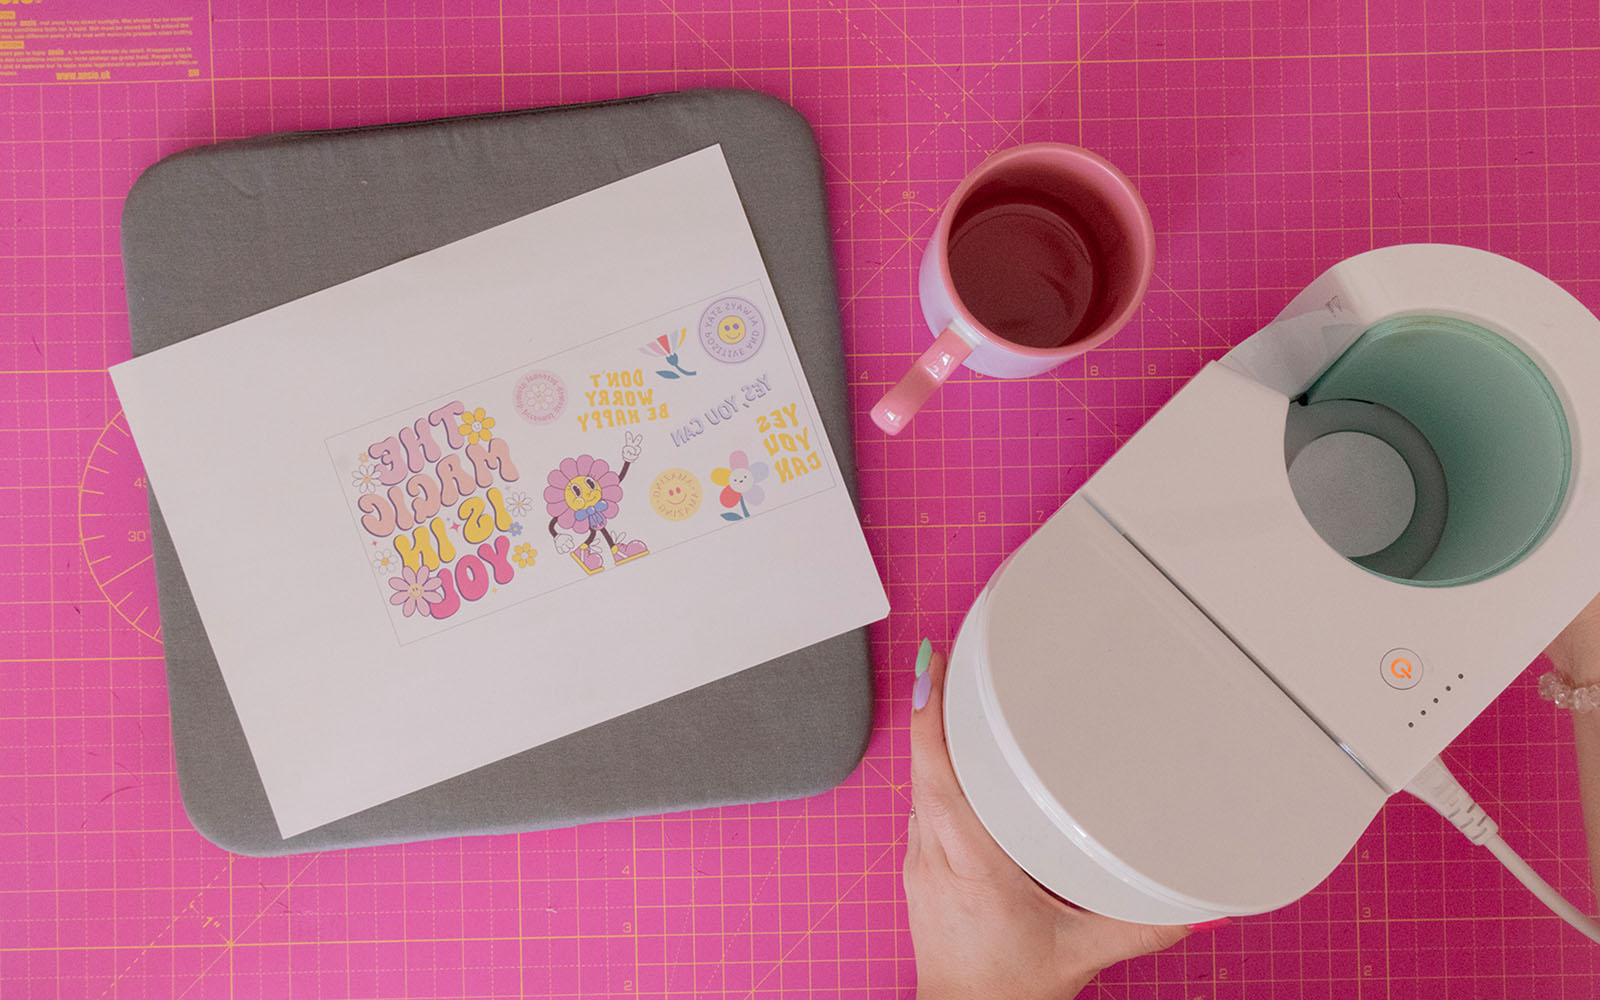
- Brother Sublimation Paper
- White sublimation-ready mug (poly-coated), this one I have used is an 11oz heart shape handle mug from Amazon
Equipment needed
- Brother Sublimation Printer SP1
- Artspira app on your phone/tablet*
- Mug heat press
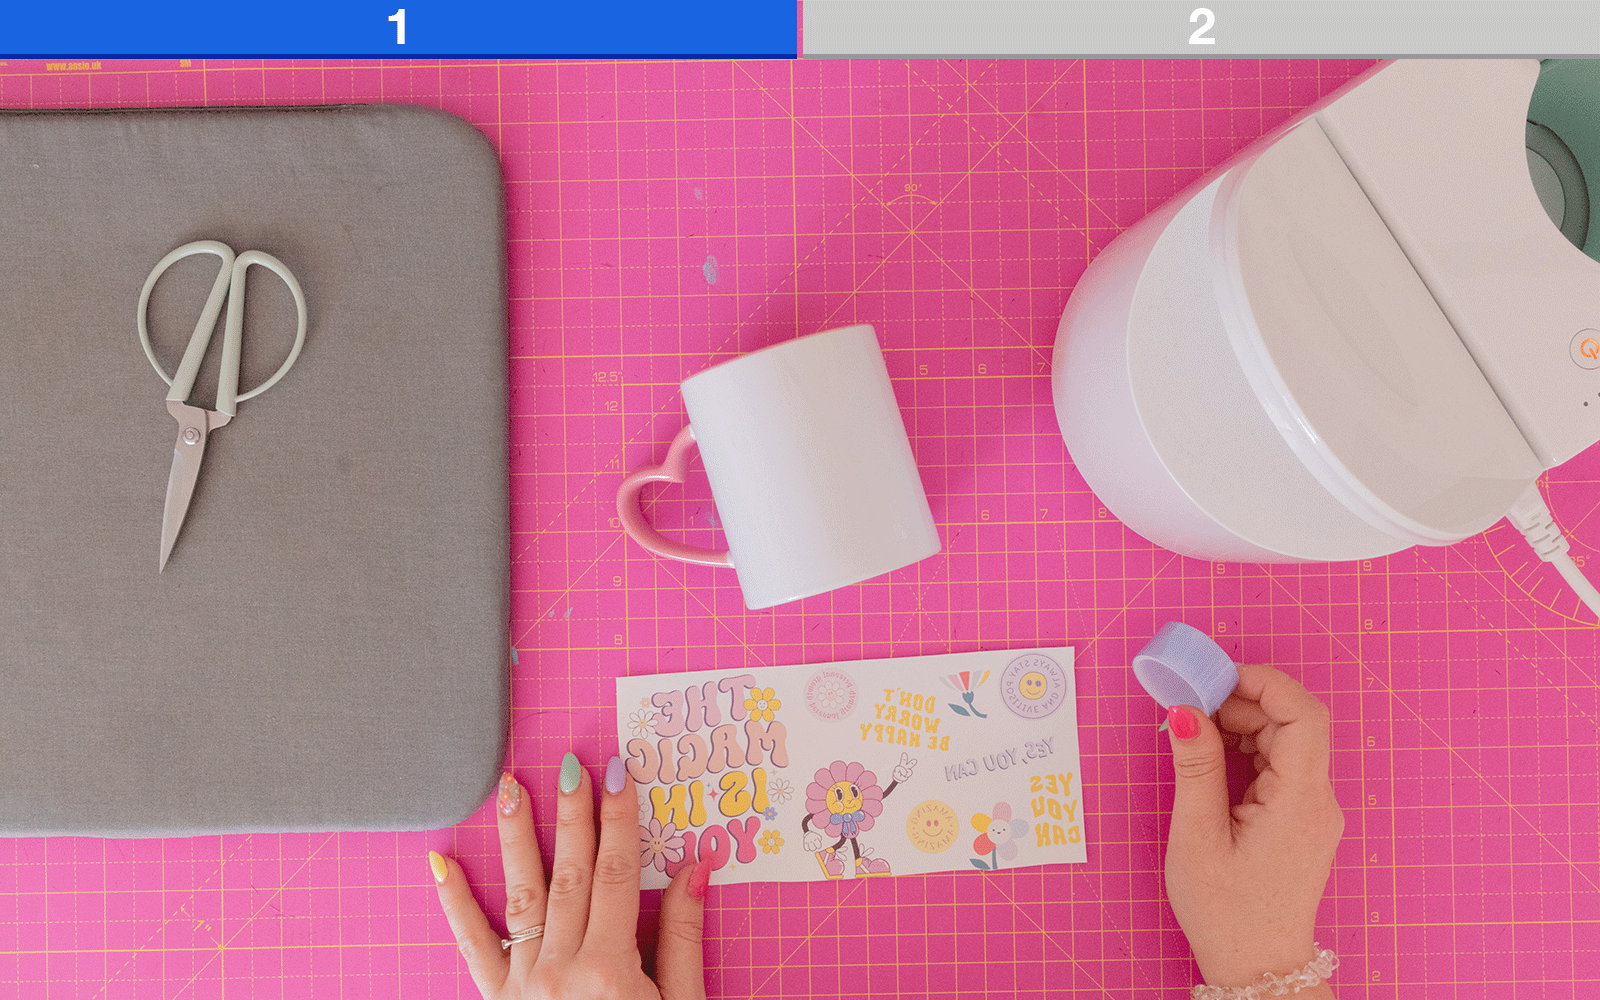
- Scissors
- Heat-proof tape
- Heat-proof mat
How to
Step 1
Open the Artspira app and click Sublimation> Quick Layout> Drinkware.Choose a template to match your mug blank, in my case it’s an 11oz mug. Click on the one you need and select ‘Create’.
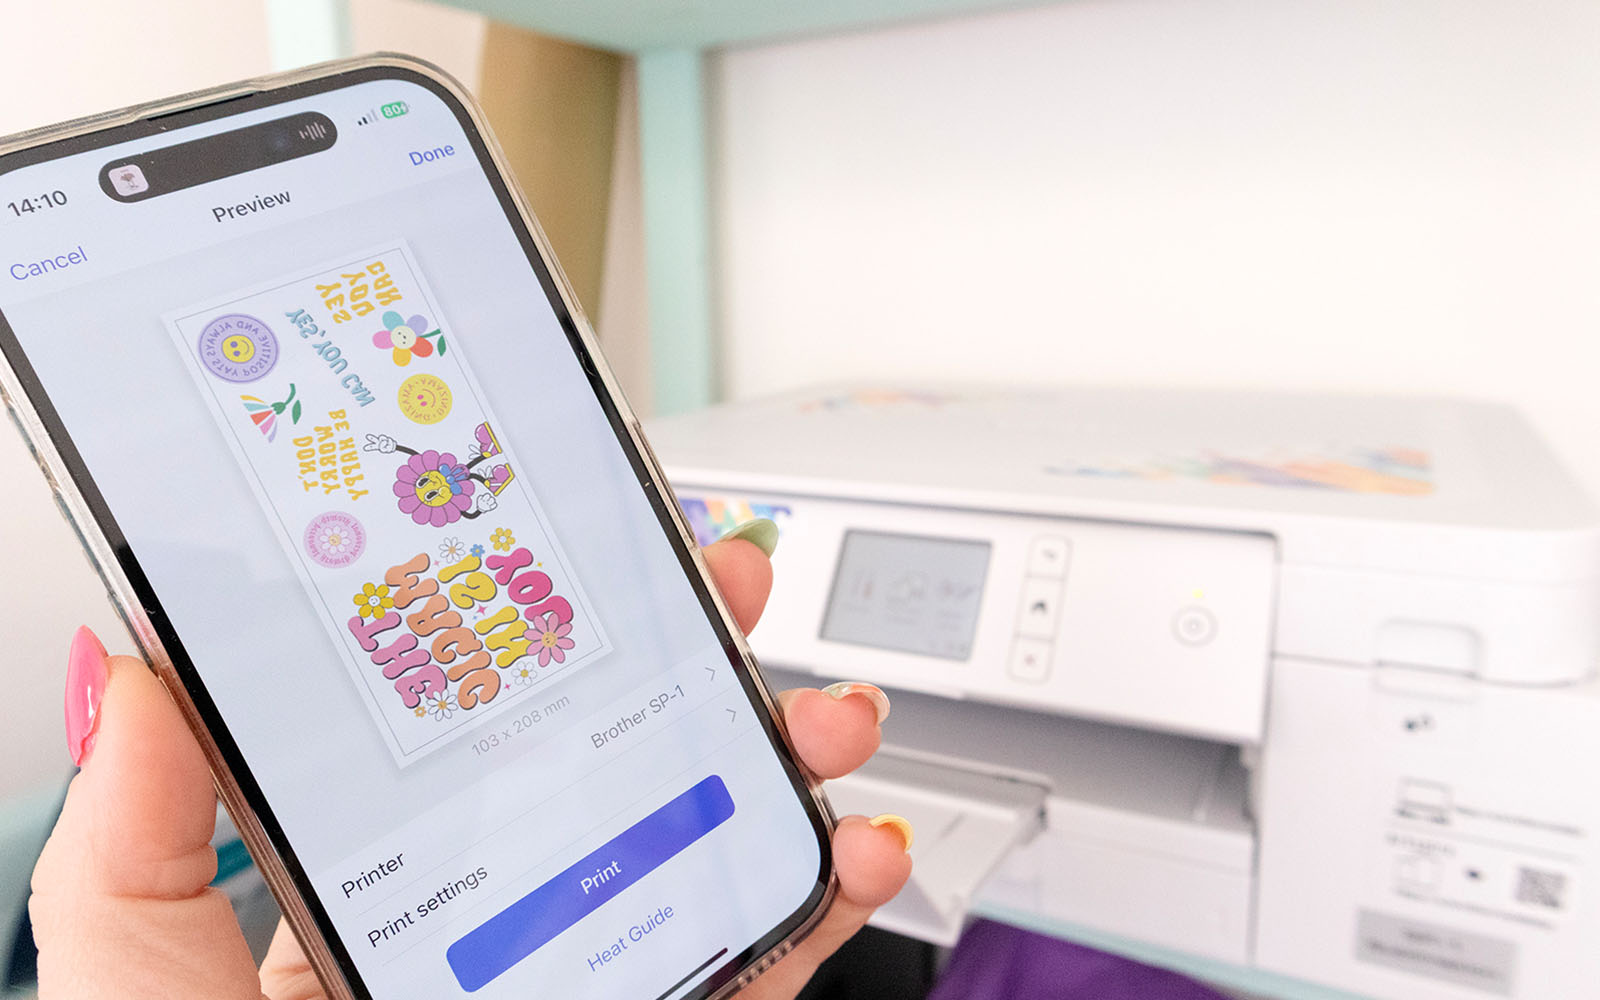
Step 2
Creating the design is really easy, you will find several fun and positive designs in the illustration and logo sections. I chose a mix of colourful icons and a bold positive quote for my mug wrap.
- Insert your chosen elements into the mug layout. You can reposition, resize, and layer them however you like.
- Once you're happy with your layout, tap ‘Print’ and send your design to the Brother Sublimation Printer SP1.
- Load the Brother Sublimation Paper face down and press print.
It’s quick, easy, and requires no colour matching or fussy setting changes.
Step 3
Trim the printed mug design around the outline of the template.
Wrap the sublimation print around the mug with the image side facing the surface of the mug.
Use heat-proof tape to secure the design so it doesn’t shift during pressing, making sure it’s nice and flat.
Tip: make sure to remove any dust from the mug first!
Step 4
Place the mug into a mug press and press at 180°C for around 180 seconds (check your mug press guide for exact times). The heat press I use is all automatic, but follow the manufacturer’s instructions for the press you use!Once the timer ends, carefully remove the mug and once cooled, peel off the sublimation paper to reveal your design. It is important to use the right temperature for the right time, or you will not get a good quality print. Do not ‘wiggle’ the heat press, it will result in a blurred print.
Step 5
Now you have a positive, custom mug design to enjoy or gift. They’re so fun to make and personalise you will want to create mugs over and over again!Remember to tag both me and Brother if you make this, we love to share your work to inspire others.


