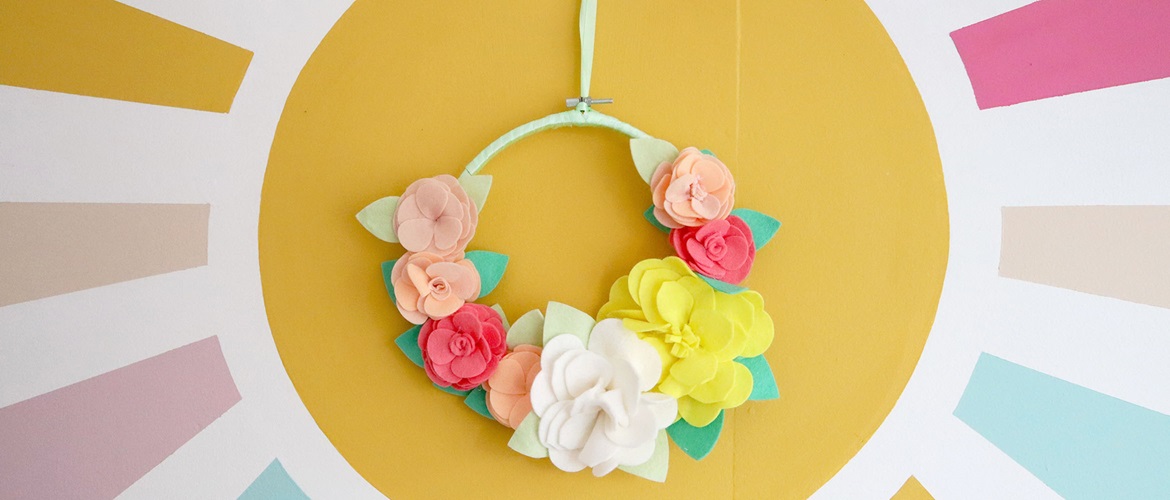
Felt flower wall decor


Create a beautiful felt flower wall decoration for your home.
This is a simple project that is great for beginners, showing you how to use the flower templates from CanvasWorkspace to make something different for your home.We will talk through how to use files from CanvasWorkspace, the ScanNCut USB drive, and the Brother ScanNCut SDX Rotary Auto Blade to create the flowers.
In this project, I demonstrate how to use a USB stick to transfer the designs, but remember, you can also send your designs directly to your machine wirelessly.
Materials needed
- Felt sheets in multiple colours: A4 (roughly 30 x 30cm)
- Hand embroidery hoop
- Ribbon
Equipment needed
- Brother ScanNCut – any SDX model
- Rotary Auto Blade Kit [CADXRBKIT1]
- Glue gun and hot glue stick
Download cutting files here
How to
Step 1
Download the files from CanvasWorkspace. I used all the flower and petal shapes in CanvasWorkspace.
Drag and drop the files onto a USB Drive, or if you choose to, send them to your ScanNCut machine wirelessly and save to the machine.

Step 2
If you are using a USB, plug it into the side of your ScanNCut machine. Select Retrieve Data and select the USB icon.
Load the files you added into the drive by selecting the file, press OK once it loads on the screen, and select Cut as the option.
Each flower design is ready to go, but if you want to resize the shapes you can do this on the screen before cutting.

Step 3
Make sure the rotary blade is inserted correctly into the machine blade housing.

Step 4
Lay your chosen felt colour onto the cutting mat.
Tip: use a ‘brayer’ or rolling tool to make sure the felt is laid nice and flat on the mat and stuck down sufficiently.

Step 5
Send the project through to cut, making sure to do a test cut first and adjust your cut setting if needed.

Step 6
Once the felt shapes have been cut, remove the excess felt, and then carefully remove the shapes from the mat. Repeat with other colours of felt.

Step 7
Once all the shapes have been cut, heat up the glue gun and start to glue the flower shape pieces together.

Step 8
Carefully add glue to each flower shape to join the sides, then glue each layer together to create the flowers. Repeat this process with all the flowers.

Step 9
Wrap ribbon around the embroidery hoop securing the start with hot glue. Wrap it around until you have covered the entire hoop.
Use the rest of the ribbon to create a loop at the top - this will be used to hang the hoop.
Arrange the flowers on the hoop and glue in place.
Tip: it’s a good idea to place your flowers down without glue first. This way you can move them about in and get the placement you like the best!

That is it, it’s a simple but lovely way to add some florals and colour into your home or garden. It would make a great gift during the summer months.
Remember to tag both me and Brother if you make this, we love to share your work to inspire others.


